Cheesy Baked Corn Recipe – Creamy Corn on the Cob
Introduction
Tender corn on the cob gets a delicious upgrade with creamy butter, melted cheese, garlic, and fresh herbs in this easy cheesy baked corn recipe.
Each ear of corn is coated in a rich, savory mixture before baking until the kernels become juicy and tender. The cheese melts into the warm corn, creating a creamy coating with golden, slightly crisp edges.
This recipe is simple enough for a busy weeknight but special enough for a family dinner, summer barbecue, holiday table, or casual gathering.
Unlike plain boiled corn, baked corn develops a deeper flavor as the butter and seasonings slowly coat the kernels. The result is soft, juicy, buttery corn with a rich cheesy finish.
The best part is how little preparation is required. There is no complicated sauce, no special cooking technique, and no long ingredient list.
This baked corn on the cob can be prepared with fresh corn during corn season or with good-quality frozen corn cobs when fresh corn is unavailable.
It makes an excellent side dish for grilled chicken, roasted meats, burgers, sandwiches, and many other family favorites.
Ingredients
For the Cheesy Baked Corn
- 6 large ears fresh corn on the cob, husks and silk removed
- 4 tablespoons unsalted butter, softened
- 4 ounces (115 g) cream cheese, softened
- 1 cup shredded halal-friendly mozzarella cheese
- ½ cup shredded halal-friendly cheddar cheese
- 2 tablespoons mayonnaise
- 2 cloves garlic, finely minced
- 1 tablespoon fresh parsley, finely chopped
- 1 teaspoon paprika
- ½ teaspoon garlic powder
- ½ teaspoon onion powder
- ¼ teaspoon black pepper
- ¼ teaspoon salt, or to taste
- 2 tablespoons grated halal-friendly Parmesan-style cheese
- 1 tablespoon fresh lemon juice
Optional Garnish
- 2 tablespoons fresh parsley, chopped
- 1 tablespoon sliced green onions
- ¼ teaspoon smoked paprika
- Extra shredded mozzarella
- Lemon wedges
Tools Needed
- Baking dish or rimmed baking sheet
- Aluminum foil
- Small mixing bowl
- Spoon or spatula
- Pastry brush
- Tongs
- Sharp knife
- Cutting board
- Measuring cups and spoons
Step-by-Step Instructions
1. Preheat the Oven
Preheat the oven to 400°F (200°C).
Lightly grease a large baking dish with a small amount of butter or cooking oil.
The baking dish should be large enough to hold all six ears of corn without stacking them.
2. Prepare the Corn
Remove the husks and silk from each ear of corn.
Rinse the corn under cool water and pat it dry with a clean kitchen towel.
Check each ear for any remaining strands of silk and remove them.
3. Make the Creamy Cheese Mixture
Add the softened butter and cream cheese to a small bowl.
Add the mayonnaise, minced garlic, paprika, garlic powder, onion powder, black pepper, and salt.
Mix until smooth and creamy.
The mixture should be soft enough to spread easily over the corn.
4. Add the Cheese
Add ½ cup of mozzarella and ¼ cup of cheddar to the creamy mixture.
Add the Parmesan-style cheese and chopped parsley.
Stir gently until everything is evenly combined.
Reserve the remaining mozzarella and cheddar for the topping.
5. Add the Lemon Juice
Stir the fresh lemon juice into the cheese mixture.
The small amount of acidity adds brightness and balances the rich butter and cheese.
Do not add too much lemon juice because excess liquid can make the coating runny.
6. Coat the Corn
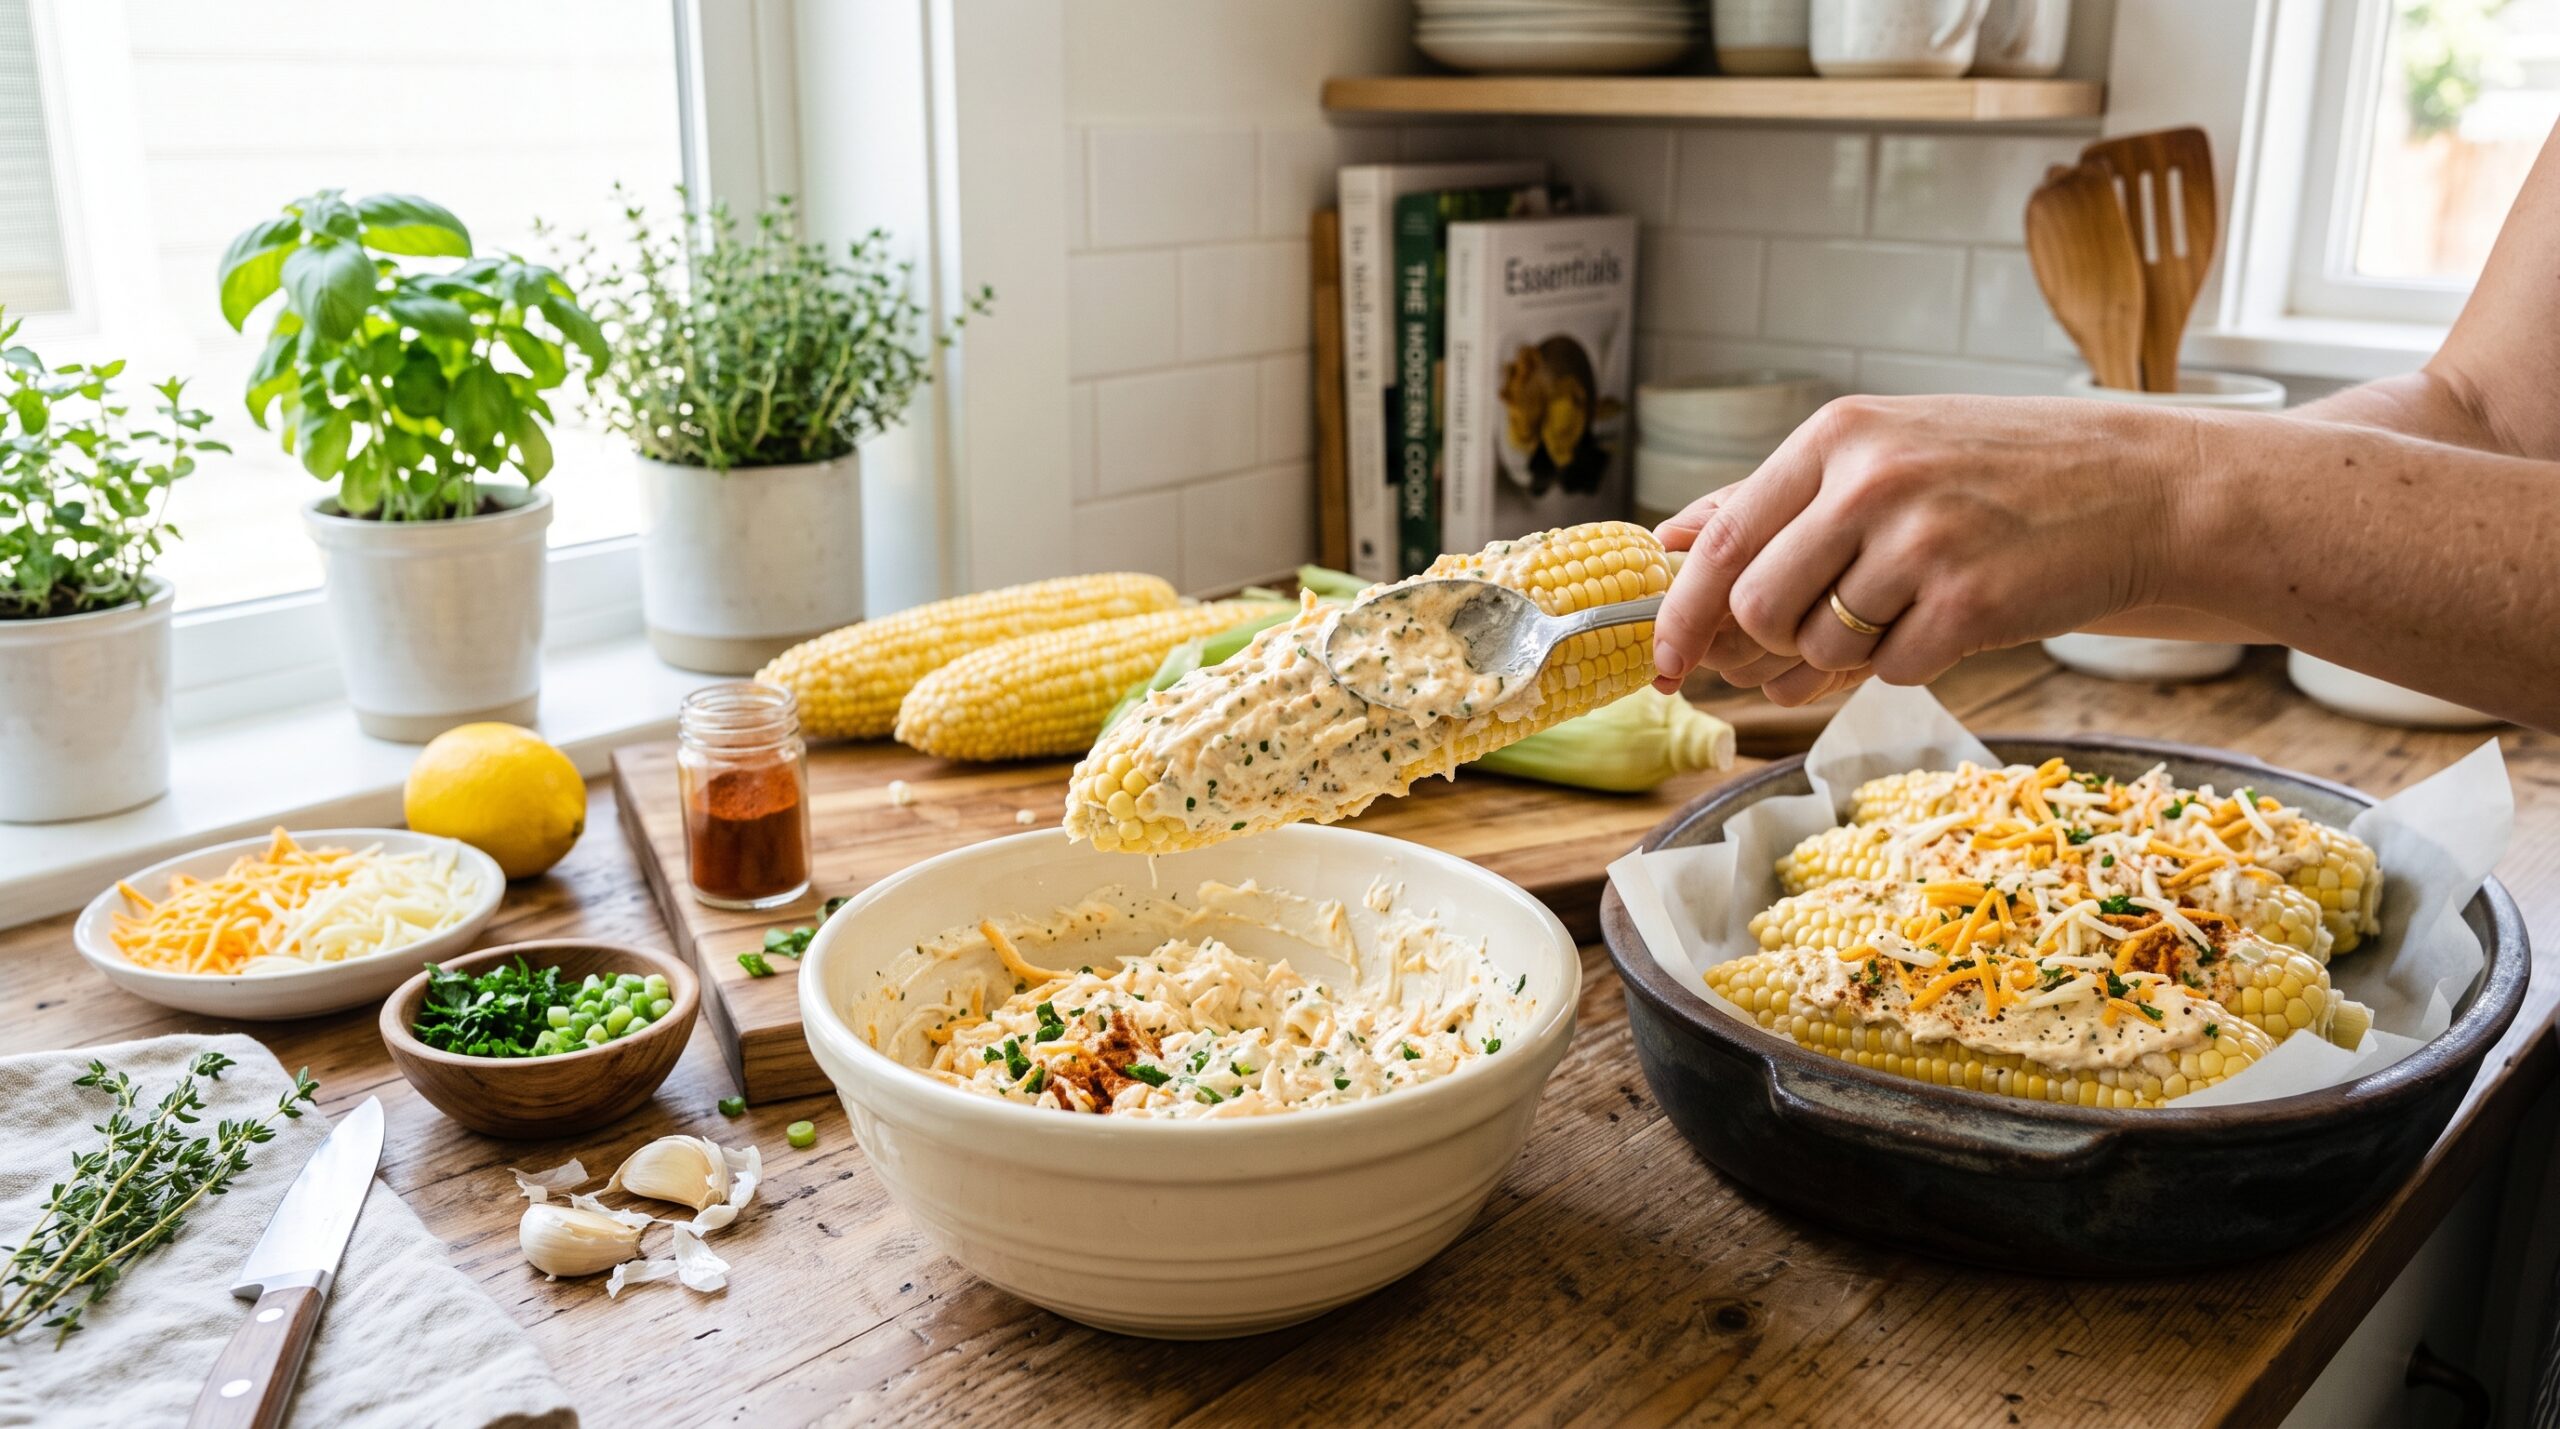
Place the prepared corn on a clean surface or directly into the baking dish.
Spread the creamy cheese mixture evenly over each ear.
Use a spoon or pastry brush to coat the kernels from end to end.
Try to cover the corn evenly rather than applying a very thick layer in one area.
7. Add the Remaining Cheese
Sprinkle the remaining mozzarella and cheddar over the coated corn.
The cheese should cover the top without completely hiding the creamy layer underneath.
For an extra-rich finish, add a light sprinkle of Parmesan-style cheese.
8. Cover the Baking Dish
Cover the baking dish loosely with aluminum foil.
The foil helps trap moisture during the first part of baking, allowing the corn to become tender without drying out.
Keep the foil from pressing directly against the cheese.
9. Bake the Corn
Place the covered dish in the preheated oven.
Bake for approximately 20 minutes.
The corn will begin softening while the creamy coating warms and melts.
10. Remove the Foil
Carefully remove the foil.
Use oven mitts because hot steam will escape when the foil is lifted.
Return the uncovered corn to the oven.
11. Finish Baking
Bake for another 10 to 15 minutes.
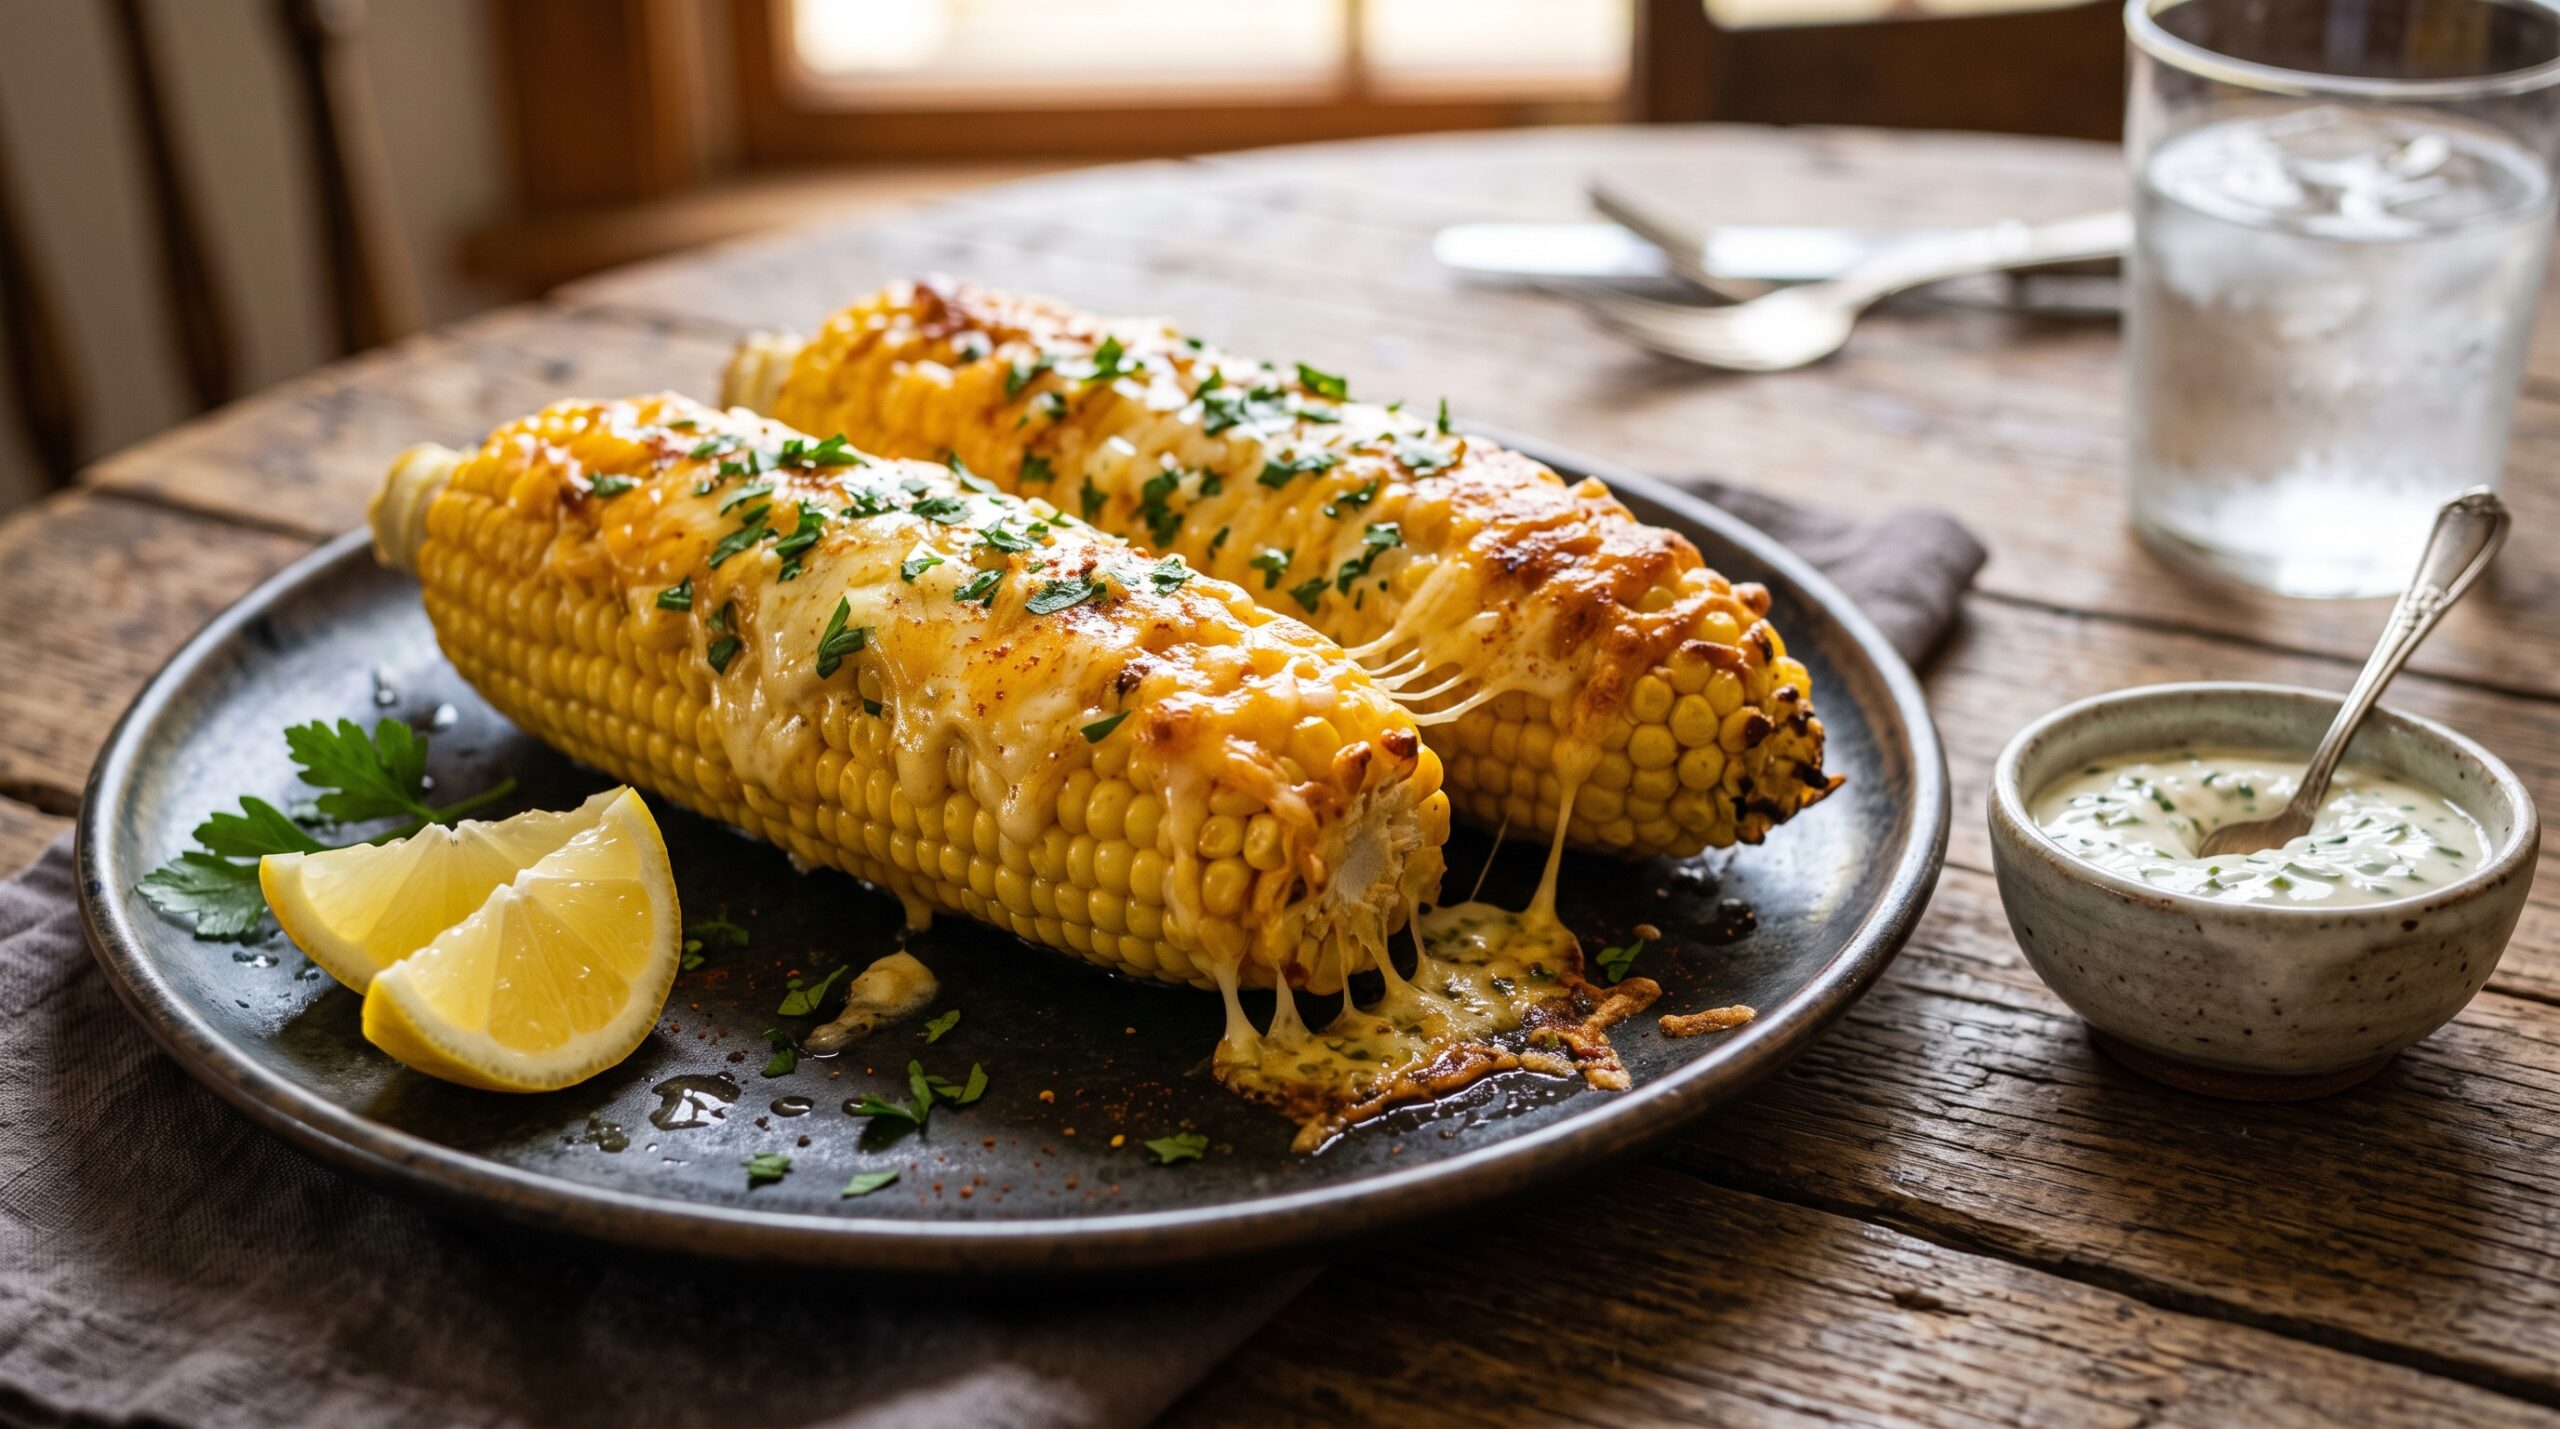
The cheese should be completely melted, creamy, and lightly golden around the edges.
For a more golden topping, place the corn under the broiler for 1 to 2 minutes at the end.
Watch carefully because cheese can brown very quickly under direct heat.
12. Check the Corn
Use tongs to carefully check one ear.
The kernels should look plump, glossy, and tender.
If the corn is still firm, continue baking for another 5 minutes.
Cooking time can vary depending on the size and freshness of the corn.
13. Garnish
Remove the baked corn from the oven.
Sprinkle with fresh parsley and sliced green onions.
A light dusting of smoked paprika adds extra color and a subtle smoky flavor.
14. Serve Warm
Allow the corn to cool for a few minutes before serving.
The cheese mixture will be extremely hot immediately after baking.
Serve with fresh lemon wedges for anyone who enjoys a brighter, tangier flavor.
Tips & Variations for This Cheesy Baked Corn Recipe
Use fresh corn whenever possible for the sweetest flavor and juiciest texture.
Look for ears with bright green husks, fresh-looking silk, and plump kernels.
Avoid corn that feels unusually dry or has shriveled kernels.
Softened cream cheese is much easier to mix than cold cream cheese.
Let it sit at room temperature for about 20 to 30 minutes before preparing the cheese mixture.
Do not apply an extremely thick layer of the creamy mixture. A moderate coating allows the cheese to melt evenly while letting the natural sweetness of the corn shine through.
Covering the corn during the first part of baking helps retain moisture.
Removing the foil near the end allows the cheese to brown and develop a delicious golden surface.
For the best flavor, use freshly minced garlic rather than a large amount of garlic powder.
Make It Extra Cheesy
For a richer version, increase the mozzarella to 1¼ cups.
A little extra cheddar creates a deeper, sharper cheese flavor.
For an especially stretchy topping, add a final handful of mozzarella during the last 5 minutes of baking.
Add a Smoky Flavor
Replace regular paprika with smoked paprika.
A small amount is enough to give the corn a gentle smoky flavor without overpowering the creamy cheese.
For grilled-meal menus, the smoky flavor works particularly well alongside grilled chicken and beef.
Make It Spicy
Add ¼ teaspoon of cayenne pepper to the creamy cheese mixture.
Finely chopped jalapeño can also be added for fresh heat.
For a milder version, remove the jalapeño seeds before chopping.
Add Fresh Herbs
Parsley gives the corn a fresh, clean finish.
Chopped cilantro can be used instead if preferred.
Green onions also add a mild savory flavor and a little crunch.
Use Different Cheese
Mozzarella creates a soft, stretchy texture.
Cheddar provides stronger flavor and a beautiful golden finish.
A halal-friendly Monterey Jack-style cheese can also be used for a smooth, creamy result.
Avoid cheeses with non-halal animal-derived ingredients unless the product is certified halal or clearly suitable.
Add a Crunchy Topping
For a crispy topping, sprinkle seasoned breadcrumbs over the cheese before the final 10 minutes of baking.
The crumbs become lightly toasted while the cheese underneath stays soft and creamy.
This variation creates an interesting contrast between tender corn, melted cheese, and a crunchy topping.
Make Individual Portions
Instead of baking all the corn together, place each coated ear on a separate piece of foil.
Wrap the foil loosely around each ear and bake on a baking sheet.
This method works especially well for family dinners and outdoor-style meals.
Use Frozen Corn
Whole frozen corn on the cob can work when fresh corn is unavailable.
Allow the corn to thaw and pat it dry before coating.
Frozen corn can release additional moisture, so drying it well helps the creamy topping stay thick.
Avoid Soggy Corn
Excess water is one of the biggest problems when making baked corn.
Always pat the corn dry before adding the cheese mixture.
Do not add extra liquid to the baking dish.
The butter, cream cheese, and mayonnaise already provide enough moisture for a creamy coating.
For another comforting side dish, serve this corn alongside creamy cucumber salad for a cool, refreshing contrast.
For a heartier meal, pair it with crispy chicken drumsticks and a fresh green salad.
It also works beautifully beside BBQ bacon-wrapped hot dog bites when preparing a casual party-style spread.
Storage & Serving
How to Store Leftover Baked Corn
Allow leftover corn to cool before storing.
Place the ears in an airtight container or wrap them individually in foil.
Refrigerate within 2 hours of cooking.
The leftovers are best enjoyed within 3 to 4 days.
How to Reheat
The oven is the best option for reheating because it helps maintain the creamy topping without making the corn too watery.
Place the corn in a baking dish and cover loosely with foil.
Heat at 350°F (175°C) for approximately 10 to 15 minutes, or until heated through.
For a quicker option, microwave one ear at a time in short intervals.
The cheese may become softer in the microwave, but the flavor will remain delicious.
Can Cheesy Baked Corn Be Frozen?
Freezing is not recommended for the best texture.
Cream cheese and mayonnaise can separate slightly after freezing and thawing.
The corn kernels can also become softer and more watery.
For the freshest result, prepare the recipe fresh and refrigerate leftovers instead.
What to Serve With Cheesy Baked Corn
This creamy side dish pairs well with almost any savory main course.
Serve it alongside:
- Grilled chicken
- Roasted chicken
- Halal beef burgers
- Grilled beef
- BBQ chicken
- Baked fish
- Crispy chicken
- Grilled vegetables
- Potato wedges
- Fresh green salad
For a summer-style dinner, serve the corn with grilled chicken, cucumber salad, and fresh fruit.
For a family barbecue, place the warm corn on a large platter and garnish with parsley and lemon wedges.
The golden cheese makes the dish especially attractive when served straight from the oven.
Frequently Asked Questions
Can corn on the cob be baked without boiling it first?
Yes. Fresh corn can go directly into the oven. Covering it during the first part of baking helps the kernels soften while retaining moisture.
How long does corn on the cob take to bake?
At 400°F (200°C), large fresh ears generally need around 30 to 35 minutes with this creamy topping. Larger or particularly firm corn may need a few extra minutes.
Can canned corn be used?
Canned corn is not ideal for this specific version because the recipe is designed around whole ears of corn. It can, however, be drained thoroughly and used to make a creamy baked corn casserole.
What cheese is best for baked corn?
Mozzarella and cheddar make an excellent combination. Mozzarella provides stretch and creaminess, while cheddar adds a richer, slightly sharper flavor.
How can the corn become more golden?
After baking, place the uncovered corn under the broiler for 1 to 2 minutes. Keep a close eye on it because the cheese can brown rapidly.
Can this recipe be made without cream cheese?
Yes. Replace the cream cheese with additional shredded mozzarella and a little extra butter. The finished corn will be less creamy but still rich and cheesy.
Can jalapeños be added?
Yes. Finely diced jalapeños work especially well with the creamy cheese topping. Remove the seeds and membranes for less heat.
Is baked corn good for a barbecue?
Absolutely. The creamy, cheesy flavor pairs especially well with grilled chicken, burgers, kebabs, and other barbecue-style dishes.
Can the corn be prepared ahead?
The creamy cheese mixture can be prepared several hours ahead and refrigerated. For the best texture, coat the corn shortly before baking.
Why does the cheese mixture slide off the corn?
Wet corn can prevent the coating from sticking. Pat the corn dry before applying the creamy mixture, and avoid adding excessive liquid.
Conclusion
This cheesy baked corn recipe transforms simple corn on the cob into a rich, creamy, golden side dish that is easy enough for busy weeknights and delicious enough for special gatherings.
Tender sweet corn, buttery cream cheese, stretchy mozzarella, sharp cheddar, garlic, and fresh herbs create layers of comforting flavor in every bite.
The creamy topping becomes beautifully golden in the oven while the corn stays juicy and tender underneath.
Serve this baked corn on the cob alongside grilled chicken, roasted meats, burgers, or fresh salads for a satisfying homemade meal.
With simple ingredients and an easy baking method, this cheesy baked corn recipe is a delicious way to make an everyday vegetable feel extra special.