The Ultimate Brown Butter Chocolate Chip Blondies
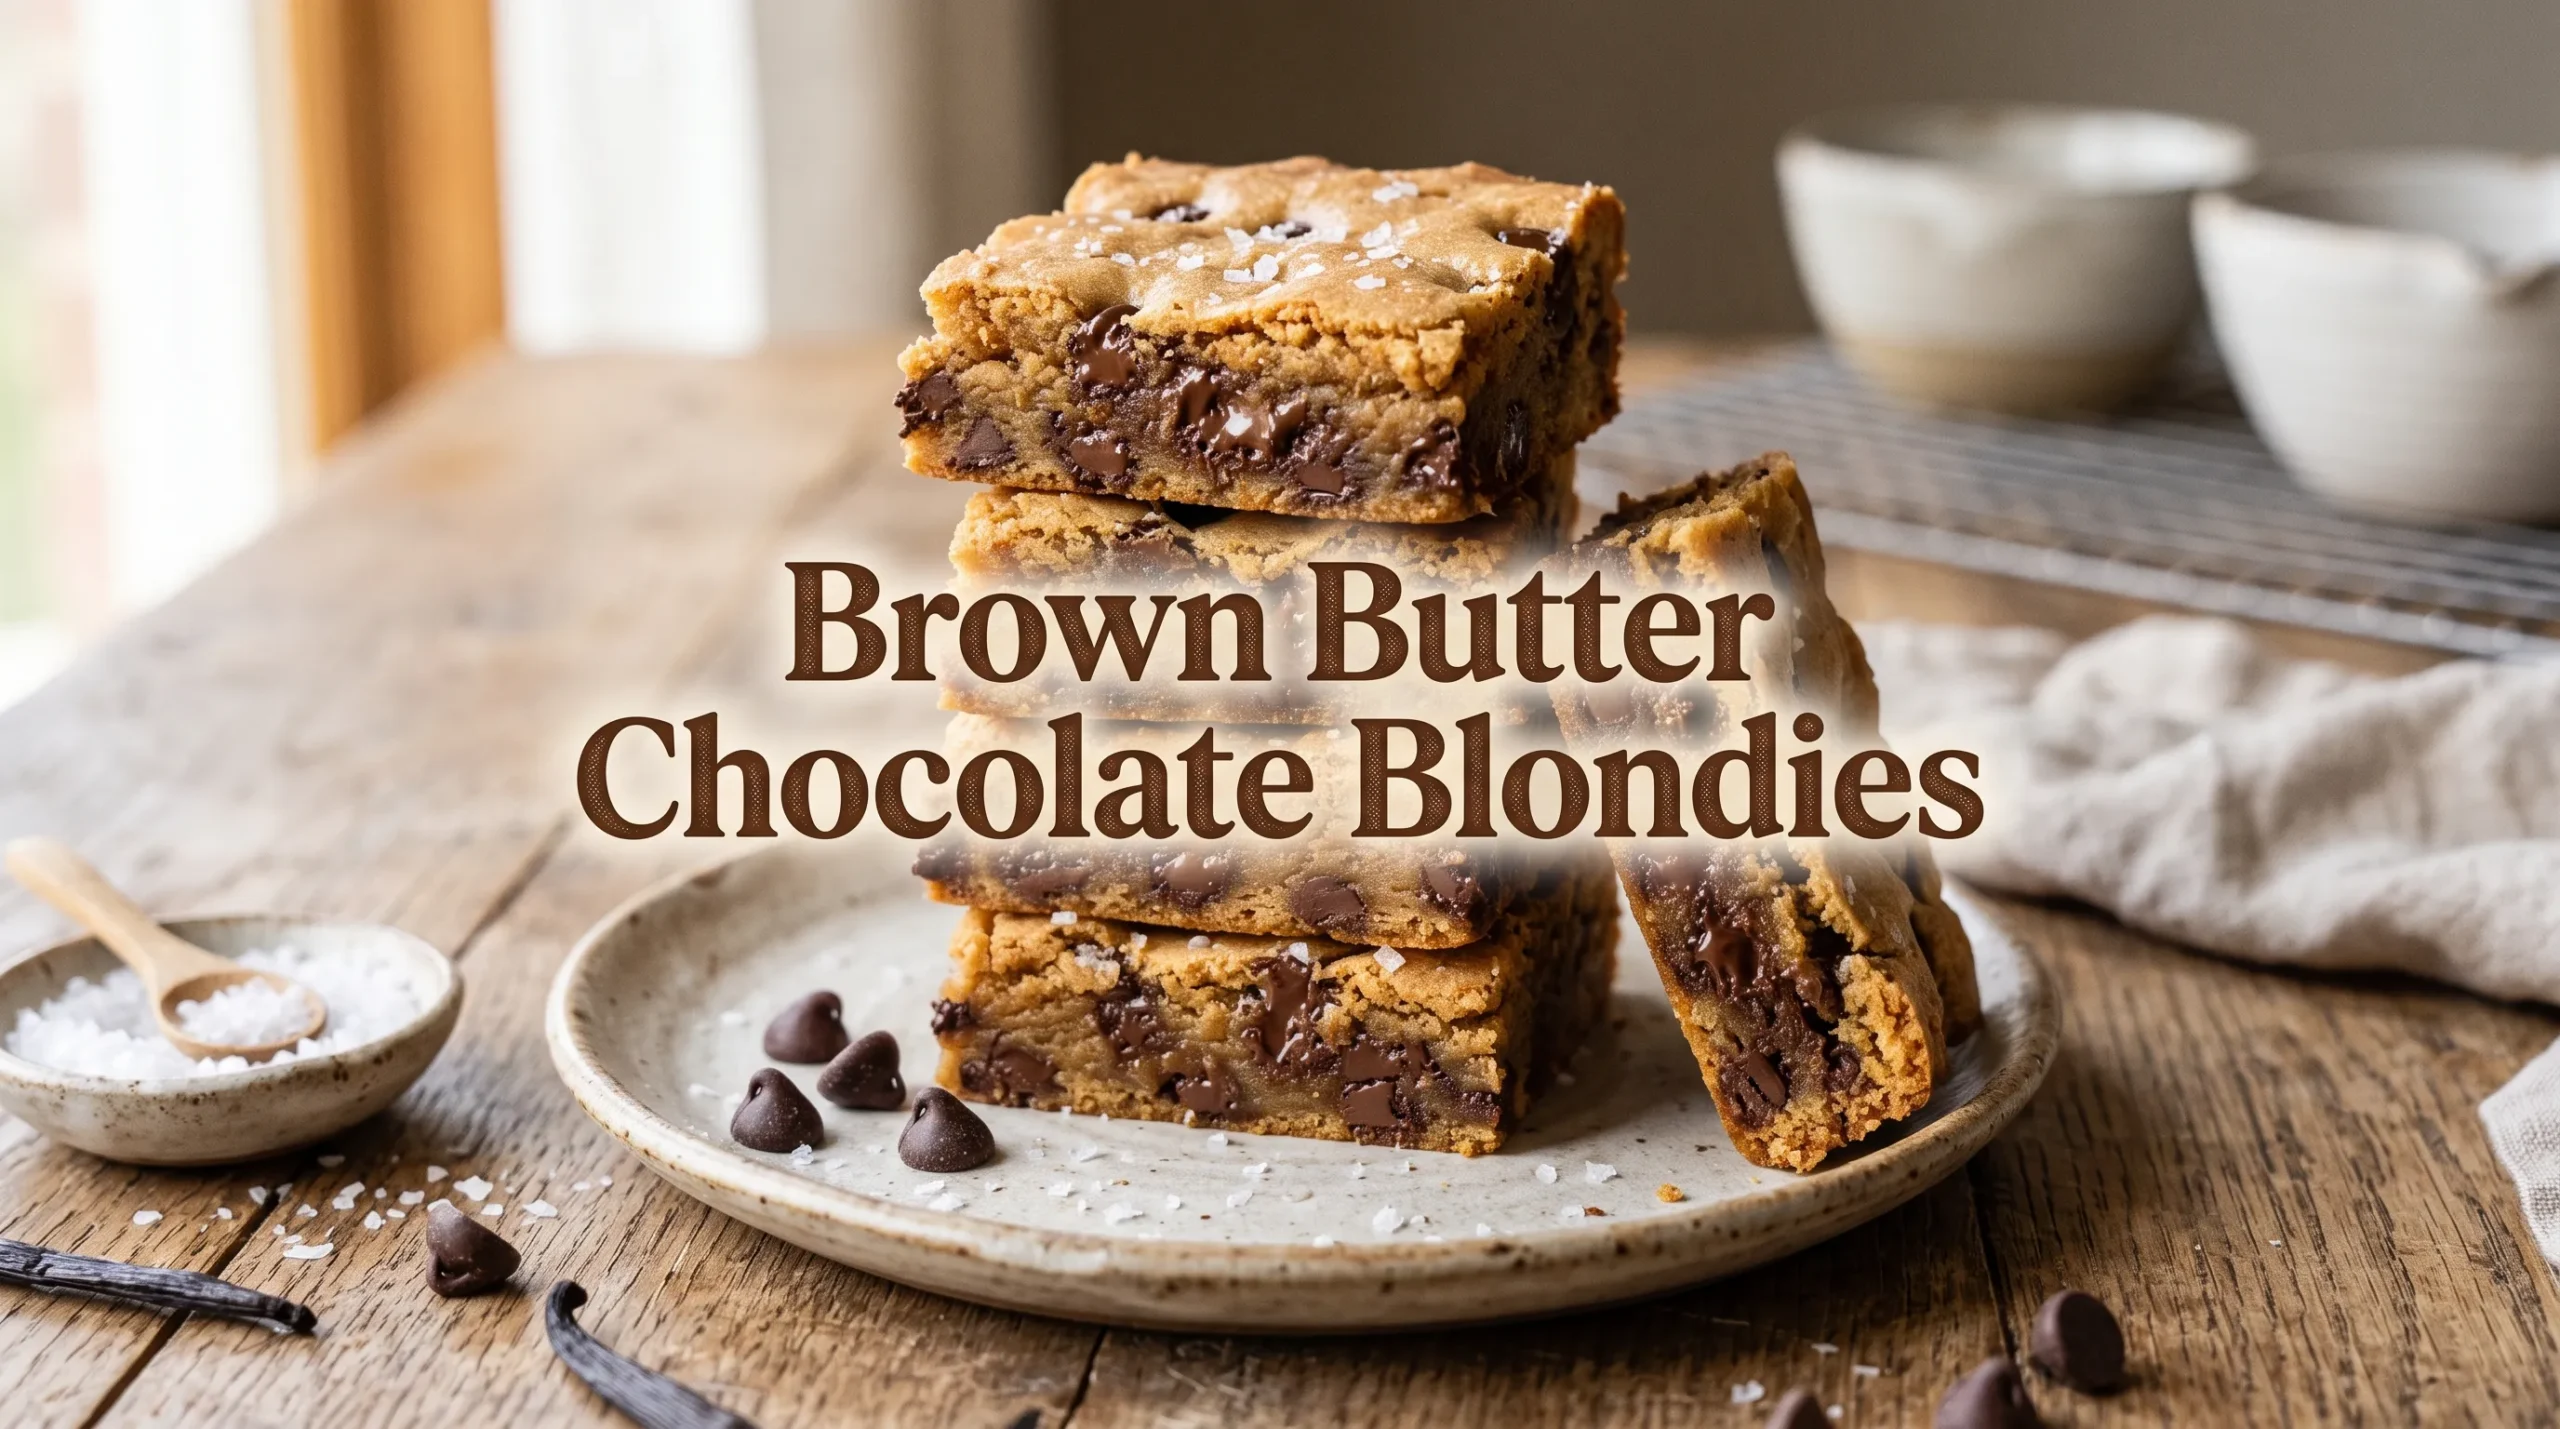
Rich, chewy, buttery, and loaded with melty chocolate chips, these Brown Butter Chocolate Chip Blondies are the kind of dessert that disappears quickly.
The secret is browned butter. Melting the butter until the milk solids turn golden gives it a deep, nutty aroma that makes ordinary blondies taste extra special.
The texture is just as important as the flavor. The edges bake up lightly crisp and golden, while the center stays soft, chewy, and almost fudgy.
These blondies are much easier than making a complicated layer cake or batch of cookies. Everything comes together in one mixing bowl after the butter is browned, and there is no mixer required.
The recipe is ideal for beginner bakers, busy home cooks, bake sales, lunchboxes, family gatherings, and simple weekend desserts.
For more easy sweet treats, serve these blondies alongside [easy homemade chocolate chip cookies] or add them to a dessert table with [soft and chewy brownie recipes].
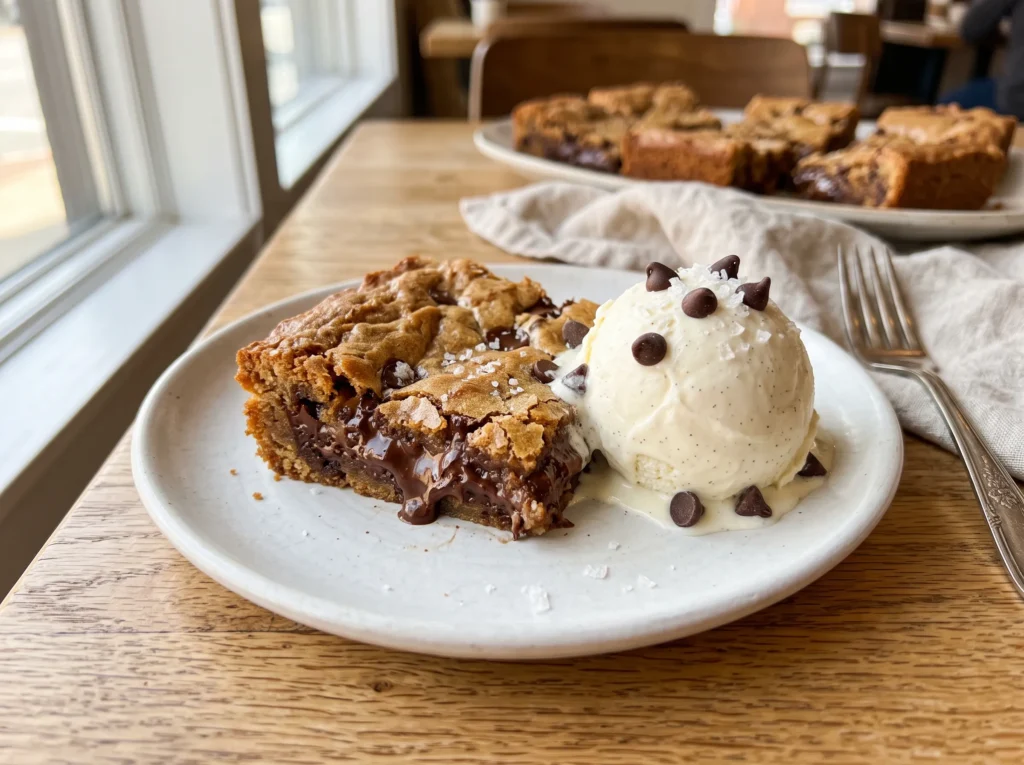
A little flaky salt on top creates a delicious contrast with the rich brown sugar and chocolate. For an even more indulgent dessert, serve a warm square with a scoop of vanilla ice cream.
Ingredients
The ingredients are simple, but each one helps create the ideal blondie texture.
For the blondies
- 1 cup unsalted butter, 226 g
- 1 1/4 cups packed light brown sugar, 250 g
- 1/4 cup granulated sugar, 50 g
- 2 large eggs, room temperature
- 2 teaspoons vanilla extract
- 1 3/4 cups all-purpose flour, 220 g
- 1 teaspoon baking powder
- 1/2 teaspoon fine salt
- 1 1/4 cups semi-sweet chocolate chips, 210 g
- 1/2 cup chopped milk chocolate, optional
- 1/2 teaspoon ground cinnamon, optional
- 1 tablespoon flaky sea salt, for topping, optional
Choosing the chocolate
Semi-sweet chocolate chips provide a balanced flavor without making the blondies overly sweet.
Milk chocolate can be added for a softer, sweeter chocolate flavor. Dark chocolate chips also work well for a richer contrast.
For a halal-friendly recipe, choose chocolate products with suitable ingredients and avoid varieties containing alcohol-based flavorings.
Choosing the butter
Unsalted butter gives better control over the amount of salt in the recipe.
Brown butter is created by cooking the butter until the milk solids turn golden brown. This process gives the butter a warm, toasted, nutty flavor.
Do not walk away while browning the butter because the milk solids can go from golden to burnt quickly.
Tools Needed
- 9 x 9-inch square baking pan
- Parchment paper
- Small saucepan
- Heatproof mixing bowl
- Whisk
- Rubber spatula
- Measuring cups and spoons
- Kitchen scale, optional
- Cooling rack
- Sharp knife
Step-by-Step Instructions
1. Prepare the baking pan
Preheat the oven to 350°F (175°C).
Line a 9 x 9-inch square baking pan with parchment paper, leaving some paper hanging over two sides.
Lightly grease the parchment and exposed sides of the pan.
The parchment makes it much easier to lift the cooled blondies out for clean slicing.
2. Brown the butter
Place the unsalted butter in a small, light-colored saucepan over medium heat.
Allow the butter to melt completely.
Once melted, the butter will begin to foam. Stir or swirl the pan frequently as it cooks.
After several minutes, the foam will begin to settle and tiny golden-brown milk solids will appear at the bottom of the pan.
Continue cooking until the butter smells nutty and the milk solids are deep golden brown.
3. Stop the browning
Immediately remove the saucepan from the heat once the butter reaches a rich golden-brown color.
Pour the browned butter into a large heatproof mixing bowl.
This stops the cooking process and prevents the butter from becoming bitter or burnt.
Allow it to cool for about 10 minutes.
The butter should still be liquid but no longer extremely hot.
4. Add the sugars
Add the packed brown sugar and granulated sugar to the slightly cooled brown butter.
Whisk until the mixture looks smooth and glossy.
Brown sugar provides moisture and chewiness, while the smaller amount of granulated sugar helps create lightly crisp edges.
5. Add the eggs
Add the eggs one at a time.
Whisk well after each addition until the mixture becomes smooth.
Add the vanilla extract and whisk again.
The mixture should look thick, glossy, and evenly combined.
Avoid adding the eggs while the butter is very hot. Excess heat can partially cook the eggs.
6. Mix the dry ingredients
In a separate bowl, combine the all-purpose flour, baking powder, salt, and optional cinnamon.
Stir briefly with a whisk or fork.
Mixing the dry ingredients separately helps distribute the baking powder and salt evenly through the flour.
7. Combine the wet and dry ingredients
Add the dry ingredients to the brown butter mixture.
Use a rubber spatula to gently fold everything together.
Stop mixing as soon as no obvious streaks of dry flour remain.
The batter should be thick and soft.
Do not overmix. Too much mixing can develop the gluten in the flour and make the blondies less tender.
8. Add the chocolate
Fold in the semi-sweet chocolate chips.
If using chopped milk chocolate, add it at the same time.
Reserve a small handful of chocolate pieces for the top.
The batter should now be thick with chocolate distributed throughout.
9. Transfer the batter to the pan
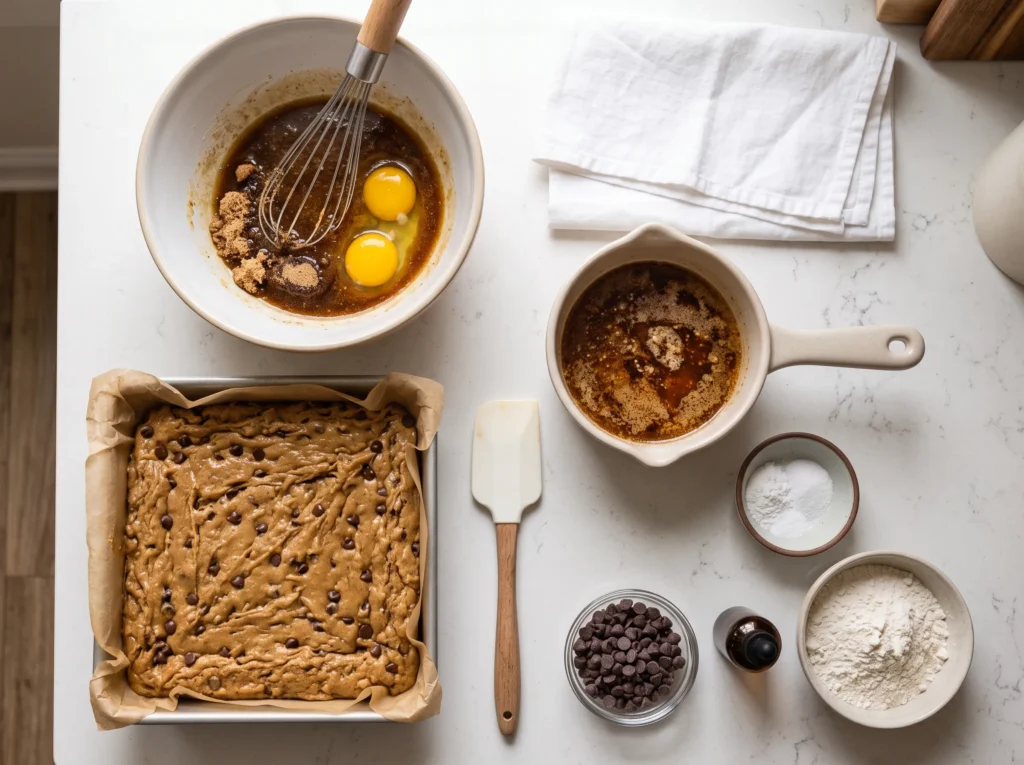
Scrape the batter into the prepared baking pan.
Use a rubber spatula to spread it evenly into the corners.
The batter will be thick, so take a moment to smooth the surface.
Sprinkle the reserved chocolate pieces over the top.
10. Add flaky salt
If using flaky sea salt, sprinkle a small amount evenly over the surface.
The salt adds a delicate savory contrast that makes the brown butter and chocolate flavors stand out.
Do not use a full tablespoon if the flakes are very large or strongly salty. A light, even sprinkle is enough.
11. Bake the blondies
Place the pan in the preheated oven.
Bake for approximately 28 to 34 minutes.
The edges should look set and lightly golden, while the center should still have a slight softness.
Avoid waiting until the entire center looks completely firm. The blondies continue cooking as they cool.
12. Check for doneness
Insert a toothpick into the center.
It should come out with a few moist crumbs attached.
A completely clean toothpick can mean the blondies have been baked too long.
For chewy blondies, slightly underbaked is better than overbaked.
13. Cool completely
Remove the pan from the oven and place it on a cooling rack.
Allow the blondies to cool completely in the pan.
This usually takes about 1 to 2 hours.
Cooling allows the center to firm up and makes the blondies much easier to slice.
14. Lift from the pan
Once completely cool, use the parchment paper to lift the blondies from the pan.
Place them on a cutting board.
Peel away the parchment paper.
15. Slice and serve
Use a sharp knife to cut the blondies into squares.
For large bakery-style pieces, cut into 9 squares.
For smaller servings, cut into 16 squares.
Serve at room temperature for a chewy texture or warm a piece briefly for a softer, gooier center.
Brown Butter Chocolate Chip Blondies Tips & Variations
A few simple baking tips help create blondies with the perfect balance of crisp edges and a soft center.
Watch the brown butter carefully
Brown butter changes quickly near the end of cooking.
The butter can look pale and foamy for several minutes before suddenly developing golden milk solids.
Stay close to the pan and swirl it regularly.
Remove it from the heat as soon as the milk solids turn golden brown and the butter smells nutty.
Use a light-colored pan when browning butter
A stainless steel or light-colored saucepan makes it easier to see the milk solids.
Dark pans can make the color harder to judge.
The goal is a deep golden brown rather than dark brown or black.
Let the butter cool slightly
Hot butter can make the eggs cook when they are added.
Allow the browned butter to cool for about 10 minutes before mixing in the eggs.
It should remain liquid but feel warm rather than piping hot.
Do not overmix the batter
Once the flour is added, use a gentle folding motion.
Mix only until the dry ingredients disappear.
Overmixing can make the blondies more cake-like and less chewy.
Do not overbake
The center should still look slightly soft when the blondies come out of the oven.
A little moisture is desirable.
The blondies will continue setting as they cool, giving them that rich, chewy texture.
Use parchment paper
Parchment makes removing the blondies much easier.
It also reduces sticking and helps keep the edges neat when slicing.
Measure flour accurately
Too much flour can make blondies dry and cakey.
For the most accurate results, use a kitchen scale.
If using measuring cups, spoon the flour lightly into the cup and level the top instead of scooping directly from the flour container.
Use room-temperature eggs
Room-temperature eggs blend more smoothly into the brown butter and sugar mixture.
If the eggs are cold, place them in a bowl of warm water for several minutes before using.
Add extra chocolate
For an especially chocolatey batch, increase the chocolate chips to 1 1/2 cups.
A mixture of semi-sweet chocolate chips and chopped chocolate creates different pockets of melted chocolate throughout the blondies.
Try white chocolate
White chocolate pairs beautifully with the nutty flavor of brown butter.
Replace some or all of the semi-sweet chocolate with halal-friendly white chocolate chips.
Add chopped nuts
Walnuts or pecans add a pleasant crunch.
Use 1/2 cup of chopped nuts and fold them into the batter with the chocolate.
Toast the nuts first for a deeper, richer flavor.
Add espresso powder
For a stronger chocolate flavor, add 1 teaspoon of instant espresso powder to the dry ingredients.
It does not make the blondies taste strongly like coffee. Instead, it can deepen the chocolate flavor.
Make them extra gooey
For softer centers, bake toward the lower end of the recommended baking time.
Allow the blondies to cool completely before cutting so the center has time to set.
Add a cinnamon twist
A small amount of cinnamon works surprisingly well with brown butter and brown sugar.
Use 1/2 teaspoon for a subtle warm spice flavor.
Add a little orange zest
For a fresh variation, add 1 teaspoon of finely grated orange zest to the wet mixture.
The citrus adds brightness without overpowering the chocolate.
Avoid a cakey texture
The biggest causes of cakey blondies are too much flour, too much baking powder, and overbaking.
Keep the ingredient measurements accurate and remove the pan while the center is still slightly soft.
Avoid cutting while hot
Hot blondies can look underbaked even when they are perfectly cooked.
Cutting them too early can cause the center to collapse or stick to the knife.
Let them cool fully for the cleanest slices.
For cleaner cuts
Use a sharp knife and wipe it clean between cuts.
For especially neat bakery-style squares, chill the cooled blondies for 20 to 30 minutes before slicing.
Storage & Serving
How to store blondies
Store cooled blondies in an airtight container at room temperature.
Place parchment paper between layers if stacking the pieces.
They stay soft and chewy for about 4 to 5 days when stored properly.
Should blondies be refrigerated?
Refrigeration is not necessary for basic blondies.
Room-temperature storage usually gives the best soft and chewy texture.
If the kitchen is particularly warm, refrigeration can help preserve the chocolate and butter, but the blondies may become firmer.
Allow chilled blondies to sit at room temperature before serving.
Can blondies be frozen?
Yes.
Wrap individual blondies tightly in plastic wrap or freezer-safe wrapping, then place them in an airtight freezer container or bag.
Freeze for up to 2 to 3 months for the best quality.
How to thaw frozen blondies
Place the wrapped blondies at room temperature for 1 to 2 hours.
For a warm dessert, unwrap one piece and microwave it for about 10 to 15 seconds.
The chocolate will soften and the center will become pleasantly gooey.
Can the batter be made ahead?
The batter is best baked shortly after mixing.
For easier preparation, brown the butter in advance and refrigerate it once cooled.
Bring the browned butter back to a soft or liquid consistency before using it in the recipe.
How to serve blondies
Serve the squares on their own for a simple snack.
For a more indulgent dessert, warm a blondie slightly and top it with vanilla ice cream.
A drizzle of chocolate sauce or caramel-style sauce also works well.
Serve with fresh fruit
Fresh strawberries, raspberries, or sliced bananas add a bright contrast to the rich blondies.
A few fresh berries can make the dessert feel lighter without taking away from the chocolate flavor.
Make a dessert platter
Cut the blondies into small squares and arrange them with cookies, fresh fruit, and other simple desserts.
The golden color and visible chocolate chips make them especially appealing on a party dessert table.
Frequently Asked Questions
What makes brown butter blondies taste different?
Brown butter adds a toasted, nutty flavor that regular melted butter does not have.
The milk solids caramelize slightly during browning, creating a deeper and richer taste.
Why are blondies called blondies?
Blondies are similar to brownies but usually use brown sugar and vanilla as the main flavor base rather than cocoa powder.
Their golden color comes from butter, brown sugar, flour, and vanilla.
Can salted butter be used?
Yes.
If using salted butter, reduce the added salt in the recipe to about 1/4 teaspoon.
Unsalted butter is preferred because it gives more control over the final flavor.
Why did the blondies turn out dry?
The most common reasons are too much flour or overbaking.
Even a few extra minutes in the oven can make a noticeable difference because blondies continue cooking in the hot pan after they are removed.
Why are the blondies too soft?
Blondies can seem very soft while warm.
Allow them to cool completely before judging the texture. If they are still unusually soft after cooling, they may have needed a few additional minutes of baking.
Can brown sugar be replaced?
Dark brown sugar can replace light brown sugar for a deeper molasses flavor.
Using only granulated sugar is not recommended because brown sugar contributes moisture and chewiness.
Can these blondies be made without chocolate chips?
Yes.
Chopped nuts, white chocolate, or a combination of both can be used instead.
For a simple brown butter blondie, the chocolate can be omitted completely.
Can a different pan size be used?
Yes, but the baking time will change.
A larger pan creates thinner blondies that bake more quickly, while a smaller or deeper pan produces thicker blondies that require more time.
For the most predictable results, use a 9 x 9-inch pan.
Can the recipe be doubled?
Yes.
For a larger batch, double the ingredients and use a larger baking pan.
Avoid making the batter extremely deep because the center may take too long to bake.
Are blondies better warm or cold?
Both textures are delicious.
Warm blondies are soft and gooey with melted chocolate, while fully cooled blondies are chewier and easier to slice cleanly.
What chocolate is best for blondies?
Semi-sweet chocolate is a reliable choice because it balances the sweetness of the brown sugar.
Dark chocolate gives a richer contrast, while milk chocolate creates a sweeter, creamier result.
Conclusion
These Brown Butter Chocolate Chip Blondies combine everything that makes a homemade dessert irresistible: crisp golden edges, a soft chewy center, rich brown butter, brown sugar sweetness, and plenty of melted chocolate.
The method is simple enough for beginner bakers, yet the browned butter gives the finished blondies a bakery-style depth of flavor.
Keep an eye on the butter, avoid overmixing the batter, and take the blondies out of the oven while the center is still slightly soft. Those small details create the ideal chewy texture.
Serve the squares with a cup of tea, a glass of milk, fresh berries, or a scoop of vanilla ice cream for an extra-special treat.
For a rich, easy dessert that requires no mixer and no complicated decorating, Brown Butter Chocolate Chip Blondies are a perfect choice. Bake a batch, let them cool, slice into golden squares, and enjoy.