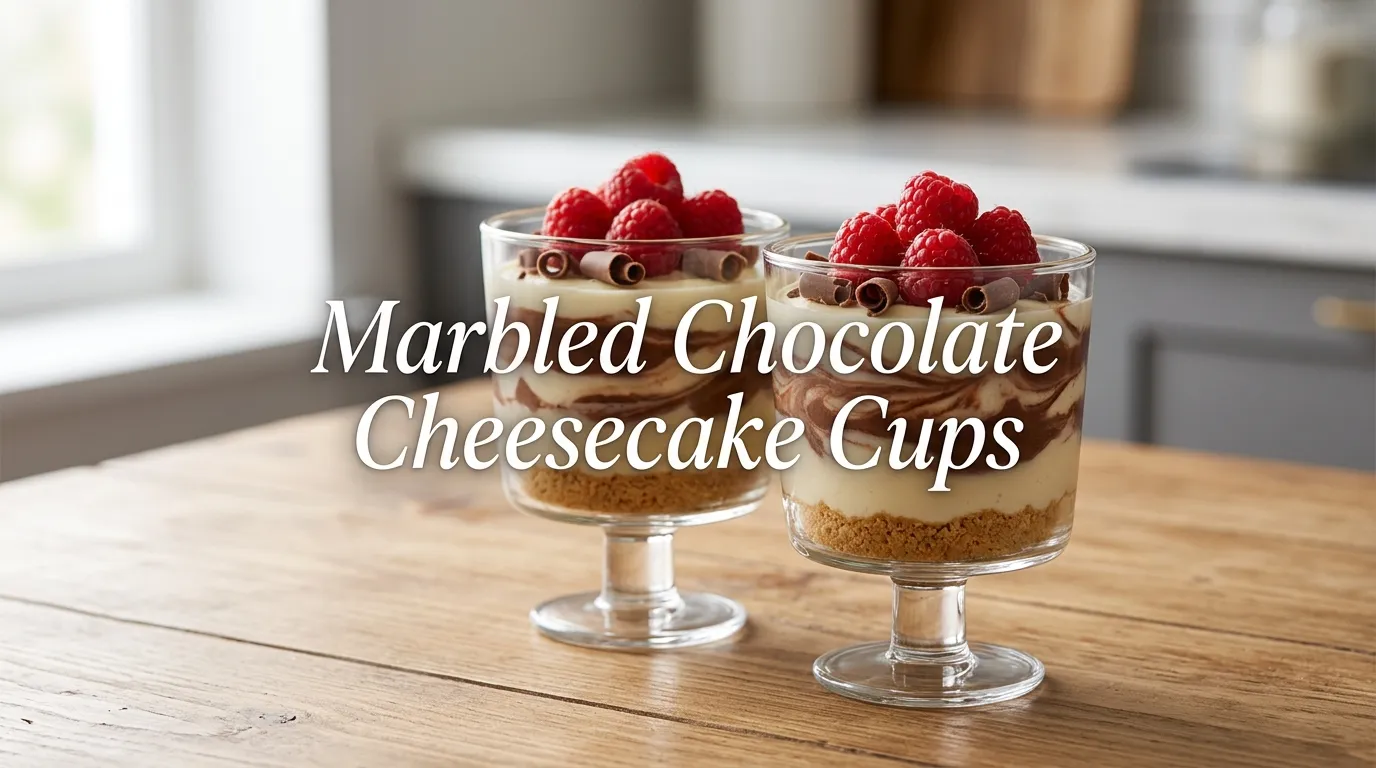
Marbled Chocolate Cheesecake Cups
Creamy, rich, and beautifully swirled, Marbled Chocolate Cheesecake Cups are the perfect dessert for anyone who loves chocolate and cheesecake in one easy treat. Every spoonful delivers a smooth, velvety texture with ribbons of chocolate that melt into the creamy cheesecake filling.
These individual dessert cups are ideal for beginners and busy home cooks because they require simple ingredients, minimal preparation, and no complicated baking techniques. They are perfect for family dinners, birthday parties, holiday celebrations, or whenever a quick homemade dessert is needed.
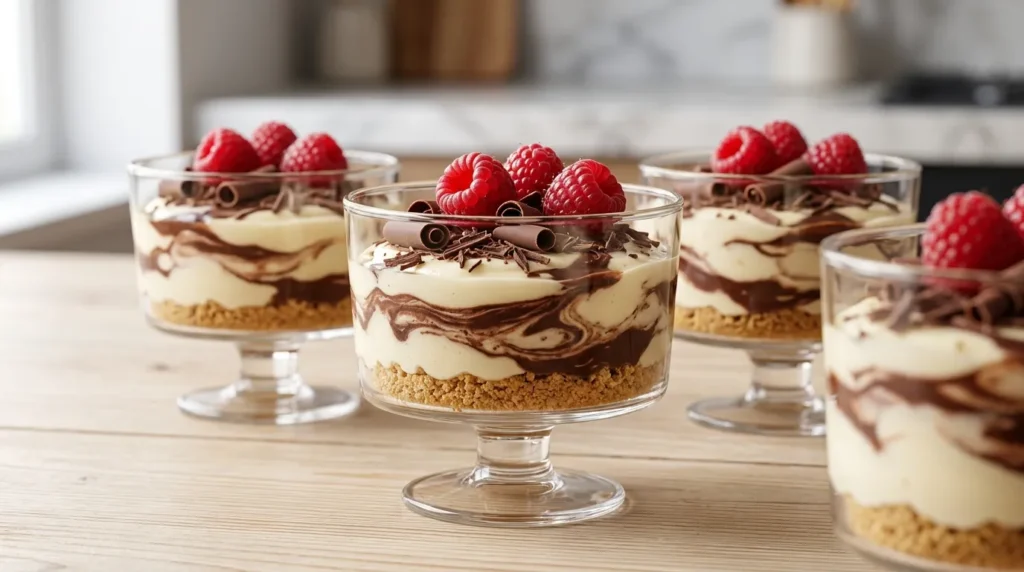
The attractive chocolate marble pattern makes each serving look impressive while taking only a few extra minutes to create. With a buttery biscuit base, silky cheesecake filling, and rich chocolate swirls, these Marbled Chocolate Cheesecake Cups offer bakery-style results from the comfort of home.
Readers looking for easy cheesecake cups, no-bake chocolate desserts, or individual cheesecake recipes will appreciate how effortless this recipe is while still delivering incredible flavor and texture.
Ingredients for Marbled Chocolate Cheesecake Cups
For the Biscuit Base
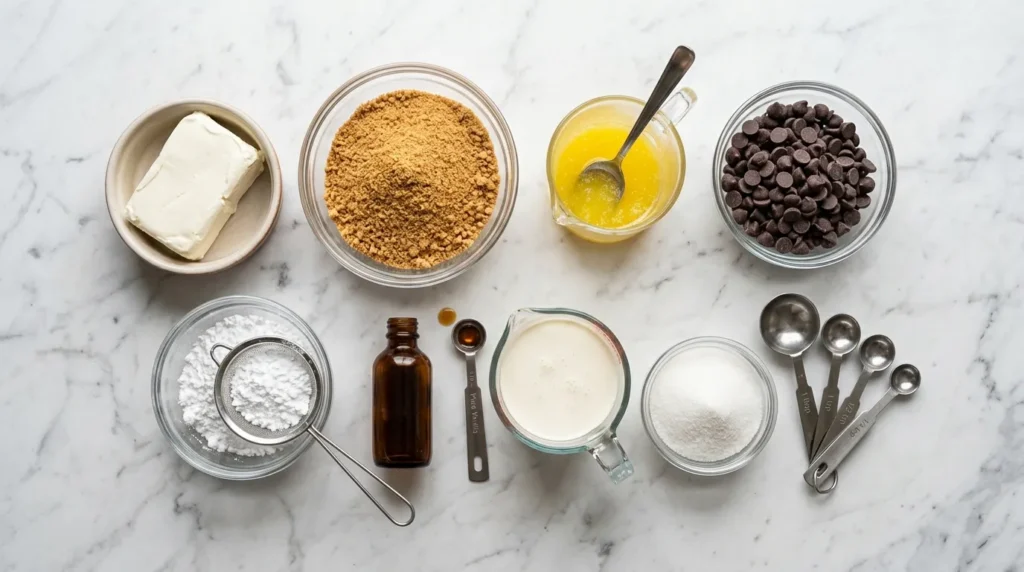
- 1½ cups digestive biscuit or graham cracker crumbs (180 g)
- 5 tablespoons unsalted butter, melted (70 g)
- 2 tablespoons granulated sugar
For the Cheesecake Filling
- 16 oz (450 g) cream cheese, softened
- ½ cup powdered sugar (60 g)
- 1 teaspoon vanilla extract
- 1 cup cold heavy whipping cream (240 ml)
For the Chocolate Swirl
- ½ cup semi-sweet chocolate chips (90 g)
- 2 tablespoons heavy cream
Optional Garnishes
- Chocolate curls
- Cocoa powder
- Mini chocolate chips
- Fresh strawberries
- Fresh raspberries
- Whipped cream
- Chocolate shavings
- Crushed biscuits
- Mint leaves
Equipment Needed
- Mixing bowls
- Electric hand mixer or stand mixer
- Rubber spatula
- Microwave-safe bowl
- Measuring cups and spoons
- Dessert cups or small glasses
- Spoon
- Toothpick or skewer
- Refrigerator
Step-by-Step Instructions
1. Prepare the Biscuit Base
Mix the biscuit crumbs, melted butter, and sugar until evenly combined.
The texture should resemble damp sand.
2. Fill the Dessert Cups
Divide the crumb mixture evenly among 8 dessert cups.
Press the crumbs firmly using the back of a spoon.
Place the cups in the refrigerator while preparing the filling.
3. Melt the Chocolate
Combine the chocolate chips and heavy cream in a microwave-safe bowl.
Heat in 20-second intervals, stirring after each, until completely smooth.
Allow the chocolate to cool slightly.
4. Beat the Cream Cheese
Place the softened cream cheese into a large bowl.
Beat until smooth and free from lumps.
5. Add the Sweeteners
Mix in the powdered sugar and vanilla extract.
Continue beating until the mixture becomes creamy.
6. Whip the Cream
In another bowl, whip the cold heavy cream until stiff peaks form.
Do not overmix.
7. Fold Everything Together
Gently fold the whipped cream into the cream cheese mixture.
Use slow movements to keep the filling light and fluffy.
8. Fill the Cups
Spoon the cheesecake filling over the chilled biscuit bases.
Leave a little space at the top for the chocolate swirl.
9. Create the Marble Effect
Drop small spoonfuls of melted chocolate onto the cheesecake filling.
Use a toothpick or skewer to gently swirl the chocolate.
Avoid overmixing to keep the marbled appearance visible.
10. Chill
Refrigerate for at least 4 hours.
For the best texture, chill overnight.
11. Decorate
Before serving, top with whipped cream, chocolate curls, fresh berries, or chocolate shavings.
Serve chilled.
Tips & Variations for Marbled Chocolate Cheesecake Cups
Making this dessert is easy, but a few simple tips can make it even better.
Use Room Temperature Cream Cheese
Soft cream cheese blends more easily and prevents lumps.
Chill the Mixing Bowl
A cold bowl helps the whipping cream reach stiff peaks faster.
Don’t Overmix the Swirls
A few gentle strokes create the prettiest marble pattern.
Too much mixing blends everything into one color.
Try Different Chocolate
Milk chocolate creates a sweeter dessert.
Dark chocolate gives a deeper, richer flavor.
White chocolate makes an elegant contrast.
Make Mini Cheesecake Cups
Use smaller serving glasses for parties or dessert buffets.
Add Crunch
Sprinkle chopped toasted almonds, pistachios, or hazelnuts on top for extra texture.
Fresh Fruit Twist
Add diced strawberries or raspberries between the crust and cheesecake layer.
The fruit adds freshness and balances the richness.
Flavor Variations
Mix a teaspoon of instant coffee into the melted chocolate for a mocha flavor.
Add orange zest for a refreshing citrus note.
Stir crushed chocolate sandwich cookies into the filling for extra crunch.
Common Mistakes to Avoid
- Using warm whipped cream
- Skipping the chilling time
- Overmixing the filling
- Pressing the crust too loosely
- Swirling the chocolate too much
- Using hot melted chocolate
Helpful dessert guides such as the Easy No-Bake Cheesecake Guide, Best Homemade Chocolate Desserts, and Simple Party Dessert Ideas provide even more inspiration for creating beautiful desserts at home.
Storage & Serving
These cheesecake cups store very well, making them ideal for preparing ahead.
Refrigerator
Cover each dessert cup with plastic wrap or an airtight lid.
Store for up to 5 days.
Freezer
Freeze without whipped cream garnish for up to 2 months.
Thaw overnight in the refrigerator before serving.
Make Ahead
Prepare the dessert one day in advance.
The extra chilling time creates an even creamier texture.
Serving Ideas
Serve with:
- Fresh strawberries
- Raspberry sauce
- Chocolate syrup
- Caramel sauce
- Chocolate curls
- Fresh blueberries
- Crushed cookies
- Toasted nuts
- Hot coffee
- Fresh mint garnish
These cheesecake cups are perfect for:
- Birthday parties
- Eid celebrations
- Family dinners
- Potluck desserts
- Afternoon tea
- Holiday gatherings
- Summer picnics
- Weekend treats
For more dessert inspiration, readers often enjoy exploring Easy Family Dessert Recipes, Quick No-Bake Party Treats, and Homemade Chocolate Dessert Collections.
Frequently Asked Questions About Marbled Chocolate Cheesecake Cups
Can these cheesecake cups be made ahead of time?
Yes. They can be prepared one day in advance. Overnight chilling improves both flavor and texture.
Can frozen whipped topping be used instead of heavy cream?
Yes. Use the same volume and gently fold it into the cheesecake mixture.
Why is the cheesecake filling runny?
The whipped cream may not have reached stiff peaks, or the filling may not have chilled long enough.
Can this recipe be baked instead?
This recipe is designed as a no-bake dessert. Baking will change the texture significantly.
What biscuits work best for the crust?
Digestive biscuits and graham crackers both create a delicious buttery base.
How can cleaner chocolate swirls be created?
Allow the melted chocolate to cool slightly before swirling gently with a toothpick.
Can white chocolate be used?
Yes. White chocolate creates a beautiful contrast and a sweeter flavor.
Can these dessert cups be made without refined sugar?
Yes. Powdered sugar can be replaced with a powdered sweetener suitable for baking.
How long should the cheesecake chill?
At least 4 hours is recommended.
Overnight chilling produces the best consistency.
Can these cheesecake cups be made in one large dish?
Absolutely.
Prepare the recipe in an 8-inch serving dish and slice before serving.
Conclusion
These Marbled Chocolate Cheesecake Cups combine creamy cheesecake, buttery biscuit crumbs, and rich chocolate swirls into one elegant yet incredibly simple dessert. They are easy enough for beginners while looking beautiful enough for special occasions.
The smooth filling, delicate chocolate marbling, and crisp biscuit base create a delicious balance of flavors and textures in every bite. Since they can be prepared ahead of time, they are also an excellent choice for entertaining or busy schedules.
Whether served at family gatherings, celebrations, or as a relaxing weekend treat, these cheesecake cups are guaranteed to impress. Try these Marbled Chocolate Cheesecake Cups, enjoy every creamy bite, and share this delightful recipe with family and friends.