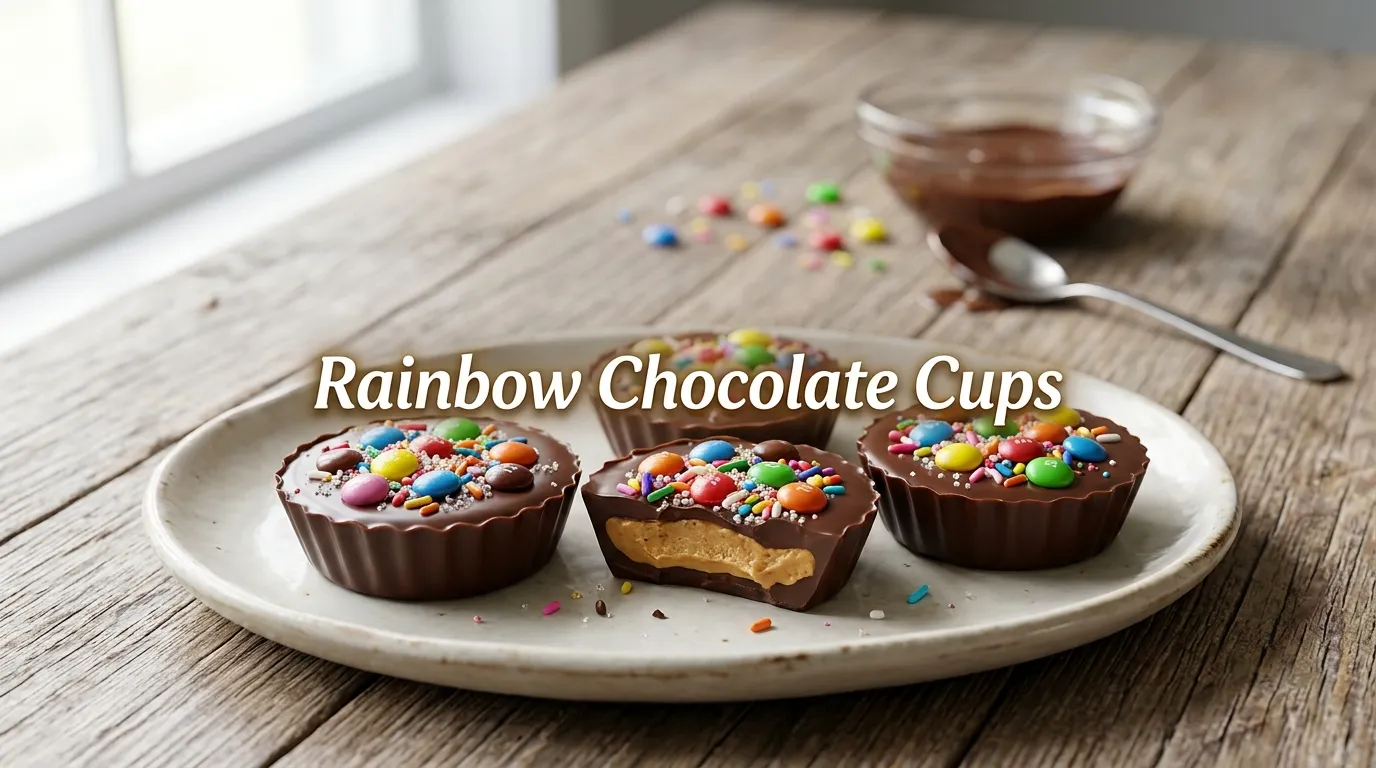
Rainbow Chocolate Peanut Butter Cups
Bright, colourful, creamy, and topped with crunchy rainbow candy, Rainbow Chocolate Peanut Butter Cups are a fun twist on the classic chocolate and peanut butter treat. Every bite delivers a smooth peanut butter filling wrapped in rich melted chocolate with a cheerful rainbow topping that makes these homemade cups look as good as they taste.
This simple no-bake dessert is perfect for beginners because it requires only a handful of ingredients and very little preparation. There is no need for complicated baking techniques, making it an excellent recipe for family gatherings, birthday parties, holiday dessert tables, or afternoon treats.
The creamy peanut butter filling pairs beautifully with silky chocolate, while colourful candy-coated chocolates and rainbow sprinkles add texture, sweetness, and eye-catching appeal. These homemade peanut butter cups can also be prepared ahead of time, making them ideal for busy schedules.
Anyone searching for easy no-bake desserts, homemade peanut butter cups, or colourful chocolate treats will enjoy how simple and delicious this recipe is.
Ingredients for Rainbow Chocolate Peanut Butter Cups
Main Ingredients
- 300 g milk chocolate, chopped
- 150 g dark chocolate, chopped (optional for richer flavour)
- 2 tablespoons coconut oil or unsalted butter
- 1 cup (250 g) smooth peanut butter
- ¼ cup (60 g) unsalted butter, softened
- ¼ cup (30 g) icing sugar
- ½ teaspoon vanilla extract
- Pinch of salt
Rainbow Toppings
- ½ cup rainbow candy-coated chocolate pieces
- 2 tablespoons rainbow sprinkles
- 2 tablespoons colourful sugar crystals (optional)
Optional Variations
- White chocolate drizzle
- Mini marshmallows
- Chopped roasted peanuts
- Colourful chocolate chips
Tools Needed
- 12-hole muffin tin
- Paper cupcake liners
- Microwave-safe bowl
- Heatproof bowl
- Saucepan
- Rubber spatula
- Mixing bowl
- Spoon
- Small cookie scoop
- Refrigerator
Step-by-Step Instructions
1. Prepare the Muffin Tin
Line a standard muffin tin with paper cupcake liners.
Set aside while preparing the filling and chocolate.
2. Melt the Chocolate
Place the chopped chocolate and coconut oil into a microwave-safe bowl.
Heat in 20-second intervals, stirring after each interval until completely smooth.
Alternatively, melt the chocolate over a bowl of gently simmering water.
3. Make the Peanut Butter Filling
In a mixing bowl, combine:
- Peanut butter
- Softened butter
- Icing sugar
- Vanilla extract
- Salt
Mix until smooth and creamy.
The mixture should hold its shape but still be easy to scoop.
4. Create the Chocolate Base
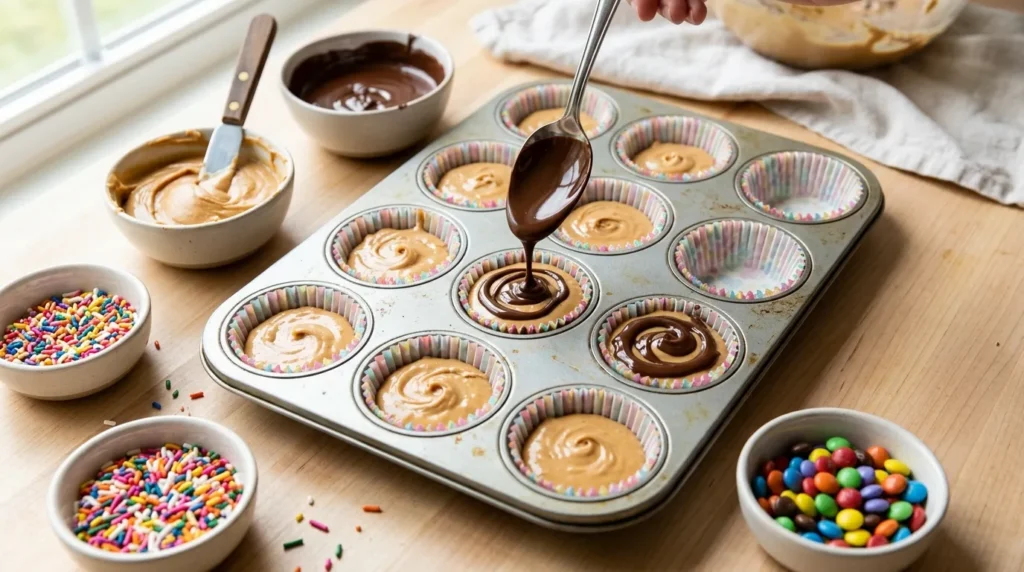
Spoon about one tablespoon of melted chocolate into each cupcake liner.
Gently spread the chocolate across the bottom.
Tap the tray lightly on the counter to remove air bubbles.
Place the tray into the refrigerator for 10 minutes.
5. Add the Peanut Butter Filling
Scoop about one tablespoon of peanut butter mixture into each chocolate cup.
Flatten gently with the back of a spoon, leaving a small border around the edges.
6. Cover with Chocolate
Pour another spoonful of melted chocolate over each peanut butter layer.
Spread carefully so the filling is completely covered.
Tap the tray again for a smooth finish.
7. Decorate
Immediately sprinkle rainbow candy-coated chocolates over the tops.
Add rainbow sprinkles and colourful sugar crystals before the chocolate sets.
8. Chill
Refrigerate for 45 to 60 minutes until completely firm.
9. Serve
Remove the paper liners.
Arrange on a serving plate and enjoy.
Tips & Variations for Rainbow Chocolate Peanut Butter Cups
Choose good-quality chocolate for the richest flavour and smoothest finish.
Natural peanut butter can be used, but stir it well before measuring because the oil separates easily.
Allow the softened butter to reach room temperature before mixing. This creates a silky filling without lumps.
Avoid overheating the chocolate. Gentle melting keeps it glossy and smooth.
For perfectly even cups, use a small cookie scoop when adding the filling.
Milk chocolate creates a sweeter dessert, while dark chocolate balances the sweetness with a richer cocoa flavour.
For a colourful party version, use pastel sprinkles during spring celebrations or themed candy colours for birthdays.
Crunchy peanut butter adds extra texture if a little crunch is preferred.
Try different toppings, including:
- Chopped pistachios
- Mini chocolate chips
- Toasted coconut flakes
- Freeze-dried raspberries
- Crushed pretzels
- Chopped almonds
White chocolate can be melted and drizzled over the tops after chilling for an elegant bakery-style finish.
Sunflower seed butter makes an excellent peanut-free alternative for those avoiding peanuts.
Mini cupcake liners create bite-sized treats that are perfect for dessert platters.
Common mistakes to avoid include:
- Overheating the chocolate
- Using warm filling
- Skipping the chilling step
- Overfilling each cup
- Decorating after the chocolate has already set
For more colourful dessert inspiration, explore the collection of no-bake chocolate treats and easy homemade candy recipes. Readers who enjoy festive sweets may also like simple holiday desserts and fun party snacks for every celebration.
Storage & Serving
Rainbow Chocolate Peanut Butter Cups store beautifully and are perfect for making ahead.
Place the fully chilled cups into an airtight container.
Store in the refrigerator for up to 7 days.
Separate layers with baking paper to prevent sticking.
Freeze for up to 3 months.
Thaw in the refrigerator for about one hour before serving.
These treats taste especially delicious when served slightly chilled.
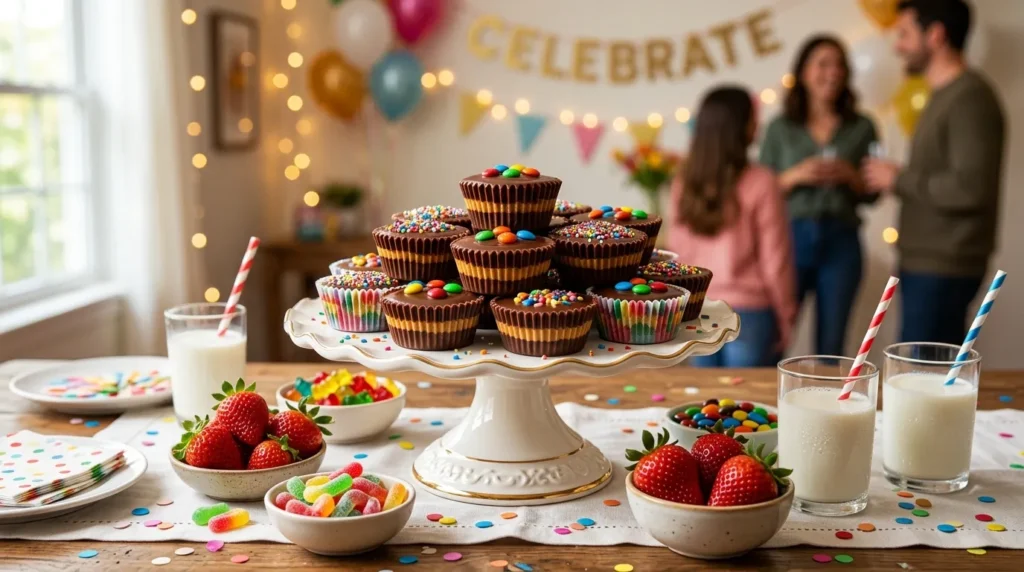
Serve alongside:
- Fresh strawberries
- Mixed berries
- Hot chocolate
- Cold milk
- Fresh coffee
- Vanilla ice cream
- Fruit platters
Arrange them on colourful dessert boards for birthdays, baby showers, school parties, or holiday celebrations.
They also make thoughtful homemade gifts when packed into decorative boxes or clear treat bags.
Frequently Asked Questions
Can Rainbow Chocolate Peanut Butter Cups be frozen?
Yes. Freeze them in an airtight container for up to three months. Thaw overnight in the refrigerator before serving.
What chocolate works best?
Milk chocolate provides a sweeter flavour, while dark chocolate offers a richer and less sweet finish. A combination of both creates a balanced taste.
Can crunchy peanut butter be used?
Yes. Crunchy peanut butter adds small pieces of peanuts for extra texture without changing the recipe.
Why is the chocolate cracking?
Very cold filling and overly thick chocolate layers can cause cracking. Allow the filling to sit at room temperature for a few minutes before assembling.
Can these be made without peanut butter?
Yes. Almond butter, sunflower seed butter, or cashew butter all work well as substitutes.
How long do they last?
Stored in the refrigerator, they stay fresh for up to seven days.
Can white chocolate be used?
Yes. White chocolate works well for drizzling or even as the main chocolate layer if a sweeter dessert is preferred.
Why is the filling too soft?
The peanut butter may contain extra oil. Add a little more icing sugar until the mixture becomes firm enough to scoop.
Can children help make this recipe?
Yes. Children can mix the filling, add sprinkles, and decorate the tops with colourful candies while an adult handles the melted chocolate.
Are these suitable for parties?
Absolutely. Their colourful appearance, easy preparation, and bite-sized portions make them ideal for birthdays, celebrations, bake sales, and holiday dessert tables.
Conclusion
Rainbow Chocolate Peanut Butter Cups combine rich chocolate, creamy peanut butter, and cheerful rainbow toppings into one irresistible no-bake dessert. They are simple enough for beginners, fun to decorate, and perfect for everything from family movie nights to festive celebrations. With easy ingredients, straightforward steps, and endless topping ideas, this colourful homemade treat is sure to become a favourite. Make a batch, share them with family and friends, and enjoy every creamy, chocolatey bite.