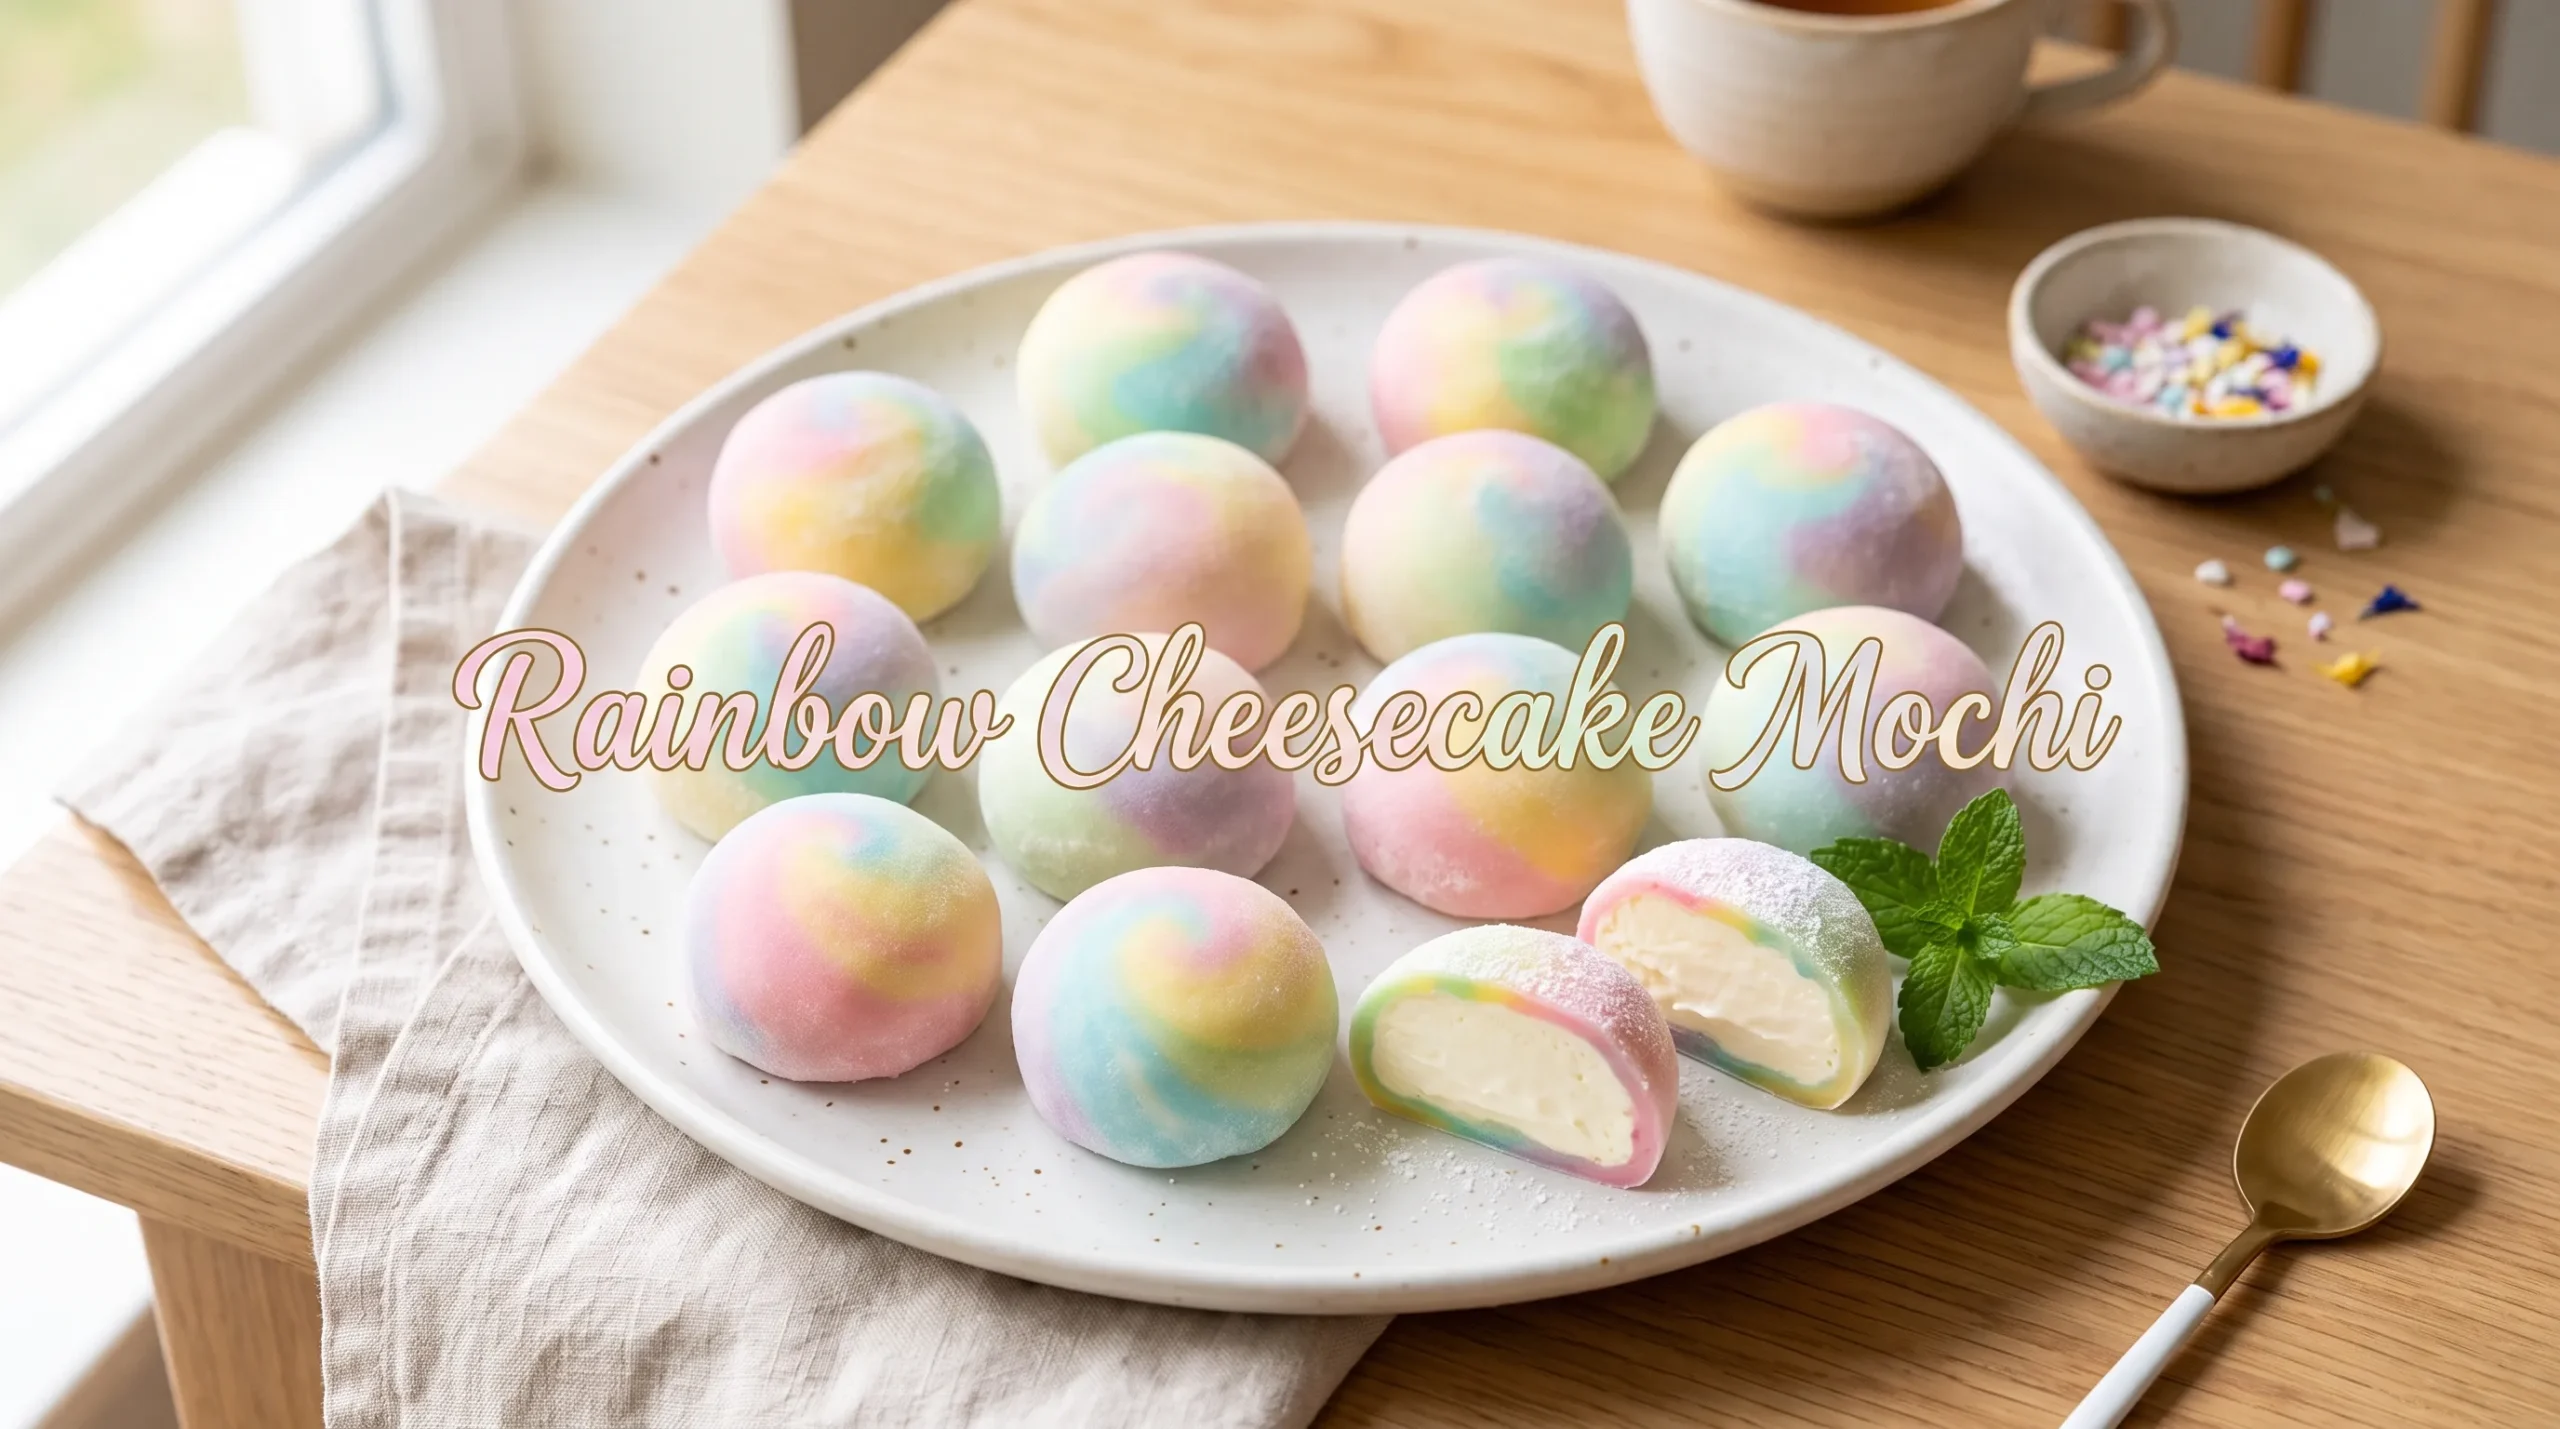
Rainbow Cheesecake Mochi
Soft, chewy mochi wrapped around a creamy cheesecake center makes every bite of Rainbow Cheesecake Mochi extra special. The outside is tender and slightly stretchy, while the inside is smooth, rich, and lightly sweet.
This colorful dessert looks impressive, but the method is surprisingly simple. A microwave-friendly mochi dough comes together with just a few basic ingredients, and the cheesecake filling can be prepared in minutes.
Rainbow Cheesecake Mochi is a fun choice for birthday parties, afternoon treats, Eid gatherings, family celebrations, or whenever a bright homemade dessert is needed. The pastel colors make each piece look cheerful without requiring complicated decorating skills.
The recipe uses halal-friendly ingredients and contains no alcohol. Gel food coloring gives the mochi its rainbow appearance, while vanilla adds a gentle bakery-style flavor.
For more chewy dessert ideas, explore these easy homemade mochi recipes, or pair this treat with other creamy desserts from the cheesecake recipe collection.
Ingredients for Rainbow Cheesecake Mochi
For the Cheesecake Filling
- 8 ounces (225 g) full-fat cream cheese, softened
- 1/4 cup (50 g) granulated sugar
- 1 teaspoon pure vanilla extract
- 2 tablespoons heavy cream
- 1 tablespoon cornstarch
For the Mochi Dough
- 1 1/2 cups (180 g) glutinous rice flour, also called sweet rice flour
- 1/4 cup (50 g) granulated sugar
- 1 cup (240 ml) whole milk
- 1 tablespoon neutral-flavored vegetable oil
- 1 teaspoon pure vanilla extract
- Pink gel food coloring
- Yellow gel food coloring
- Green gel food coloring
- Blue gel food coloring
- Purple gel food coloring
- 1/2 cup (60 g) cornstarch or potato starch, for dusting
Tools and Equipment
- Medium mixing bowl
- Small mixing bowl
- Microwave-safe bowl
- Rubber spatula
- Whisk or hand mixer
- Rolling pin
- Parchment paper
- Fine-mesh sieve
- Microwave
- Sharp knife or kitchen scissors
- Small cookie cutter or round cutter, about 3 to 3 1/2 inches wide
How to Make Rainbow Cheesecake Mochi
1. Prepare the Cheesecake Filling
Place the softened cream cheese in a mixing bowl. Add the sugar and beat until smooth and creamy.
Add the vanilla extract, heavy cream, and cornstarch. Mix until the filling is thick, smooth, and free from large lumps.
The filling should be firm enough to scoop. If it feels too soft, chill it for 15 to 20 minutes before shaping.
2. Portion the Filling
Line a small tray or plate with parchment paper.
Divide the cheesecake mixture into about 12 equal portions. A small cookie scoop makes this step quick and easy.
Roll each portion gently into a ball and place it on the prepared tray.
Chill the cheesecake balls for at least 30 minutes. Firm filling is much easier to wrap with warm mochi dough.
3. Mix the Mochi Dough
Add the glutinous rice flour and sugar to a microwave-safe bowl. Whisk until evenly combined.
Pour in the milk, vegetable oil, and vanilla extract. Whisk until the mixture becomes smooth.
A few tiny lumps are fine, but the batter should be mostly smooth before cooking.
4. Cook the Mochi Dough
Cover the bowl loosely with microwave-safe plastic wrap or a microwave-safe lid that allows steam to escape.
Microwave on high for 1 minute. Carefully remove the bowl and stir the mixture with a spatula.
Microwave for another 1 minute, then stir again.
Continue cooking in 20 to 30-second bursts until the dough becomes thick, sticky, and slightly translucent.
The exact cooking time can vary between microwaves. Avoid overcooking because excessively firm mochi can become difficult to stretch.
5. Divide the Dough
Generously dust a clean work surface with cornstarch or potato starch.
Transfer the hot mochi dough onto the dusted surface. Allow it to cool for several minutes until it is comfortable enough to handle.
Divide the dough into six equal portions.
Keep the pieces covered with a clean sheet of parchment or plastic wrap while working. This helps prevent the dough from drying out.
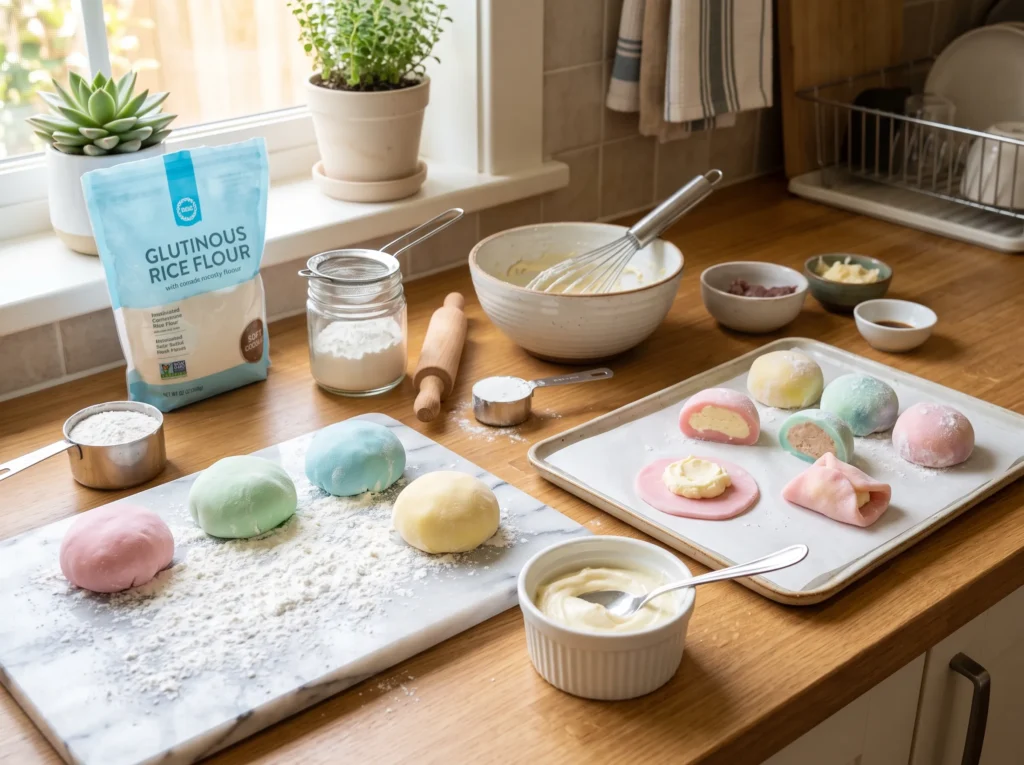
6. Add the Rainbow Colors
Place each dough portion into a separate small bowl.
Add a tiny amount of one gel food coloring to each portion. Use pink, yellow, green, blue, and purple, leaving one portion white for a soft rainbow effect.
Knead each piece gently until the color is evenly distributed.
Only a small amount of gel coloring is needed. Adding too much can make the mochi sticky and overly bright.
If the dough sticks to fingers, lightly dust hands with starch before handling it.
7. Create the Rainbow Dough
Take small pieces from each colored dough portion.
Arrange the colors side by side and gently press them together. Avoid heavy kneading because the colors can blend into a single shade.
Roll the combined dough gently with a starch-dusted rolling pin.
Roll it into a thin round or oval sheet about 1/8 inch thick. The dough should be thin enough to fold around the filling but thick enough that it does not tear.
8. Add the Cheesecake Center
Take one chilled cheesecake ball and place it in the middle of the rolled mochi dough.
Carefully lift the edges of the dough around the filling.
Pinch the edges together firmly to seal the cheesecake inside.
Turn the mochi seam-side down and gently shape it into a smooth round.
Repeat with the remaining cheesecake filling and colored dough.
9. Dust and Shape
Lightly dust each finished mochi with cornstarch or potato starch.
Brush away excess starch with a clean pastry brush or your fingertips.
For a polished finish, gently roll each mochi between the palms for a few seconds. Avoid squeezing too hard because the creamy filling may push through the dough.
10. Chill Before Serving
Place the finished Rainbow Cheesecake Mochi on a parchment-lined tray.
Refrigerate for about 30 minutes before serving.
This short chilling time helps the cheesecake center become creamy but firm and gives the mochi a pleasant chewy texture.
For another colorful dessert idea, try these easy no-bake cheesecake treats for a simple party spread.
Tips & Variations for Rainbow Cheesecake Mochi
Use Glutinous Rice Flour
Regular rice flour cannot replace glutinous rice flour in this recipe.
Glutinous rice flour creates the soft, stretchy, chewy texture that makes mochi different from ordinary rice-based dough.
Look for flour labeled “glutinous rice flour” or “sweet rice flour.” Despite the name, it does not contain gluten.
Keep the Filling Cold
Cold cheesecake filling is easier to handle.
If the filling starts becoming too soft while assembling the mochi, return it to the refrigerator for 10 to 15 minutes.
This small step can make the wrapping process much easier for beginners.
Do Not Overcook the Dough
Mochi dough becomes firmer as it cooks and cools.
Overcooking can make the dough tough and harder to stretch around the cheesecake filling.
Cook in short microwave bursts and check the consistency often.
Use Gel Food Coloring
Gel food coloring provides strong color without adding much liquid.
Liquid food coloring can make the dough wetter and stickier, so gel coloring is the better choice for this recipe.
Keep the Colors Separate
For distinct rainbow colors, combine the colored dough gently.
Too much kneading causes the colors to mix and can turn the pretty rainbow pattern into a muddy shade.
A few uneven streaks actually create a charming homemade look.
Dust Lightly
Cornstarch or potato starch prevents the mochi from sticking to the work surface.
However, too much starch can leave the outside powdery and dry.
Use enough to prevent sticking, then brush away the excess before serving.
Try Pastel Colors
For an elegant look, use very small amounts of gel coloring.
Soft pink, pale yellow, mint green, baby blue, lavender, and white create a delicate pastel rainbow that works beautifully for birthdays and afternoon tea.
Make Mini Mochi
For bite-sized treats, divide the cheesecake filling into smaller portions and roll the dough slightly thinner.
Mini Rainbow Cheesecake Mochi is especially convenient for dessert tables because guests can enjoy one or two pieces without needing a plate and fork.
Add a Fruity Twist
A very small amount of finely crushed freeze-dried strawberry or raspberry can be mixed into the cheesecake filling.
Make sure the fruit powder is completely dry. Avoid adding fresh fruit directly to the filling because excess moisture can make the center too loose.
Use Lemon Flavor
For a brighter cheesecake flavor, add 1 teaspoon of finely grated lemon zest to the filling.
Fresh lemon zest balances the sweetness and gives the creamy center a light, refreshing taste.
Avoid Common Mochi Mistakes
One common mistake is using ordinary rice flour instead of glutinous rice flour.
Another is making the mochi wrapper too thin. A very thin wrapper can tear when the filling is added.
Overfilling is another problem. The cheesecake ball should sit comfortably in the center with enough dough around it to seal completely.
Finally, avoid leaving uncooked mochi dough uncovered. It can dry out quickly, making it less flexible.
Storage & Serving
Rainbow Cheesecake Mochi is best served chilled or slightly cool.
Place finished pieces in an airtight container lined with parchment paper. Keep a little space between each piece so they do not stick together.
Store the mochi in the refrigerator for up to 3 days.
The texture is best during the first 1 to 2 days because the mochi gradually becomes firmer in the refrigerator.
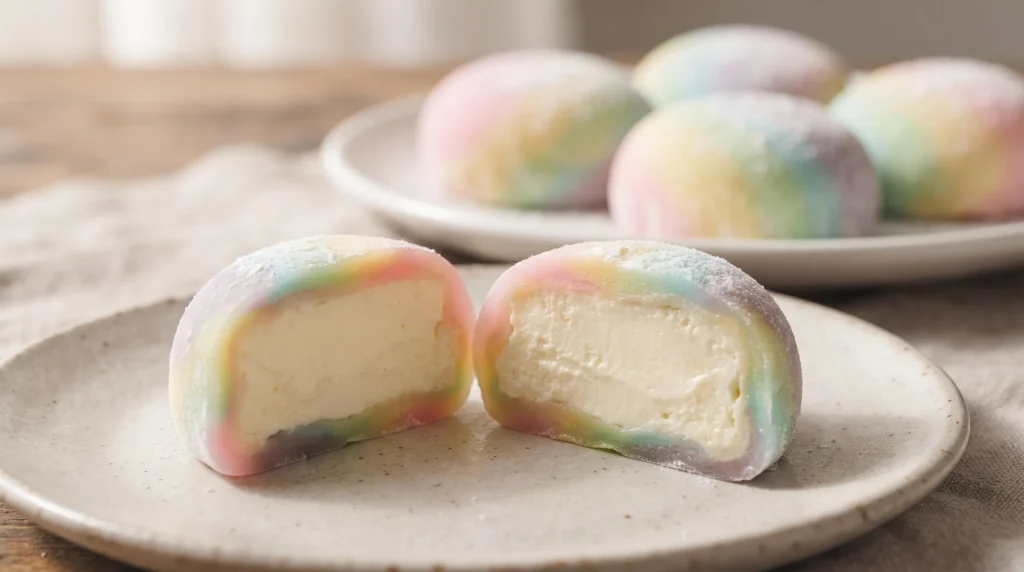
For the best texture, allow refrigerated mochi to sit at room temperature for about 5 to 10 minutes before serving.
Avoid leaving cheesecake-filled mochi at room temperature for extended periods. The cream cheese filling is perishable.
Freezing is possible, but the texture may change slightly after thawing. To freeze, place the mochi in a freezer-safe airtight container with parchment between the layers.
Freeze for up to 1 month.
Thaw the mochi in the refrigerator before serving. Do not microwave the finished mochi because the cheesecake center can become excessively soft and the outer dough may turn sticky.
For a colorful dessert platter, serve Rainbow Cheesecake Mochi alongside easy fruit dessert recipes and small cups of tea or coffee.
Frequently Asked Questions
1. What does Rainbow Cheesecake Mochi taste like?
Rainbow Cheesecake Mochi has a mildly sweet, chewy outer layer with a rich and creamy cheesecake center.
The vanilla gives the dessert a soft bakery-style flavor, while the mochi provides a pleasant contrast to the smooth filling.
2. Can regular rice flour be used instead of glutinous rice flour?
No. Regular rice flour produces a different texture and will not create the stretchy, chewy consistency needed for mochi.
Use glutinous rice flour or sweet rice flour for the best result.
3. Can Rainbow Cheesecake Mochi be made without a microwave?
Yes. The mochi dough can also be steamed.
Pour the prepared batter into a heatproof dish and steam until the dough becomes thick, sticky, and translucent. The cooking time will depend on the depth of the dish and the steaming setup.
4. Why is the mochi dough too sticky?
Freshly cooked mochi is naturally very sticky.
A generous dusting of cornstarch or potato starch makes it easier to roll and shape.
If the dough remains unusually sticky, allow it to cool slightly before adding more starch.
5. Why did the mochi wrapper tear?
The dough may have been rolled too thin or the cheesecake filling may have been too large.
Another possible cause is dough that has cooled and dried out.
Work with one dough portion at a time and keep the remaining portions covered.
6. Can the cream cheese filling be prepared ahead?
Yes. The cheesecake filling can be made up to 1 day ahead.
Keep it covered in the refrigerator and shape it into balls shortly before assembling the mochi.
7. Can different colors be used?
Absolutely. Any halal-friendly gel food coloring can be used.
Pastel pink, orange, yellow, green, blue, and purple create a soft rainbow effect, while stronger colors produce a brighter party-style dessert.
8. Is Rainbow Cheesecake Mochi gluten-free?
The basic ingredients are naturally gluten-free, but packaged ingredients can vary.
Check the labels on the glutinous rice flour, cream cheese, cornstarch, food coloring, and other packaged ingredients if gluten avoidance is important.
9. Can homemade cream cheese be used?
Homemade cream cheese can work if it is thick and smooth.
A very soft or watery cream cheese can make the filling difficult to shape, so it should be drained or chilled until firm enough to scoop.
10. How can mochi stay soft in the refrigerator?
Keeping the mochi in a tightly sealed airtight container helps prevent moisture loss.
Avoid storing it uncovered because refrigerator air can quickly dry the outer layer.
11. Can this recipe be made less sweet?
Yes. The sugar in the cheesecake filling can be reduced slightly according to taste.
The sugar in the mochi dough also contributes to texture, so large reductions are not recommended.
12. Is this recipe suitable for children?
Children can enjoy the finished dessert, and the colorful assembly can be a fun family activity.
An adult should handle the hot mochi dough because it can be very hot and sticky immediately after cooking.
Conclusion
Rainbow Cheesecake Mochi brings together everything that makes a homemade dessert fun: soft chewy mochi, creamy cheesecake filling, gentle vanilla flavor, and cheerful rainbow colors.
The recipe looks fancy but does not require advanced baking skills. With chilled cheesecake filling, properly cooked glutinous rice dough, and a light dusting of starch, even beginners can create smooth, colorful mochi at home.
Serve the pieces chilled for birthdays, celebrations, afternoon snacks, or a simple sweet treat after dinner.
For an extra-pretty presentation, arrange the mochi on a white serving plate so the pastel colors stand out.
With its creamy center and soft, stretchy exterior, Rainbow Cheesecake Mochi is a dessert that is as enjoyable to look at as it is to eat.