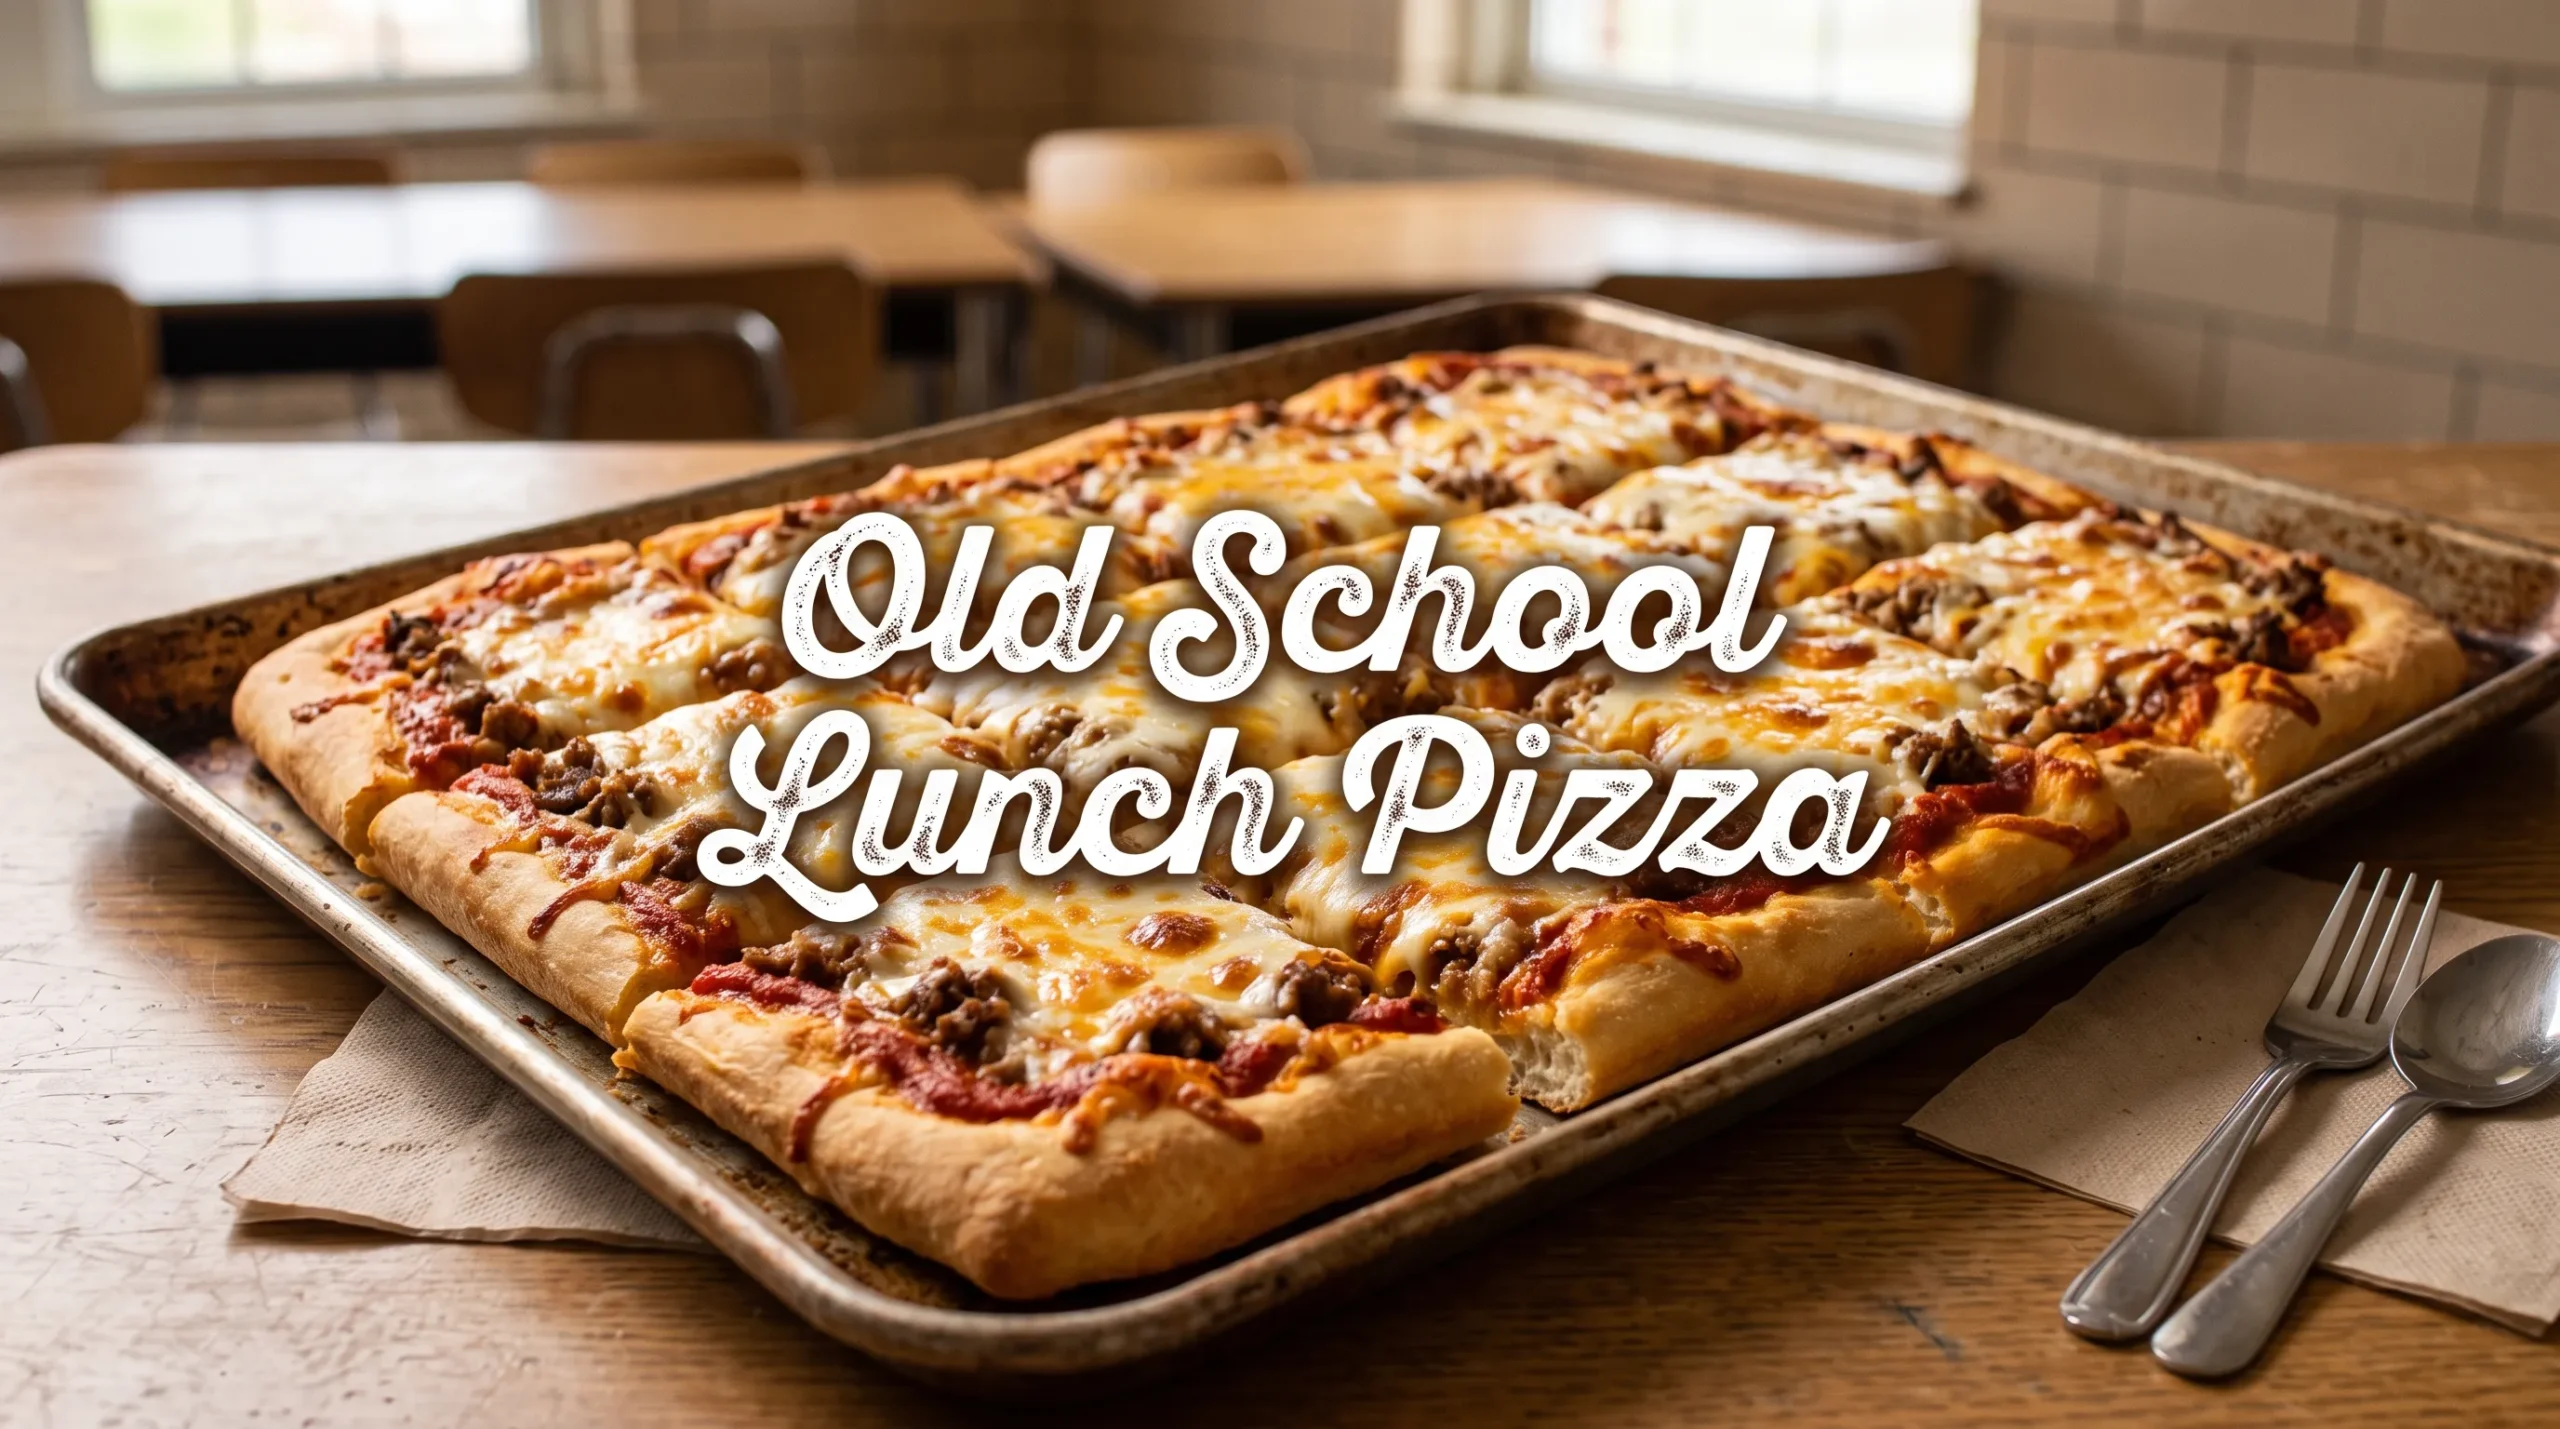
Old School Lunch Pizza
Soft, chewy crust, rich tomato sauce, plenty of melted cheese, and a savory seasoned beef topping bring back the taste of classic school cafeteria pizza.
Old School Lunch Pizza is the nostalgic rectangular pizza often remembered for its soft dough, slightly crispy edges, gooey cheese, and simple tomato flavor. It is easy to make at home and does not require complicated pizza-making skills.
The secret is keeping the crust soft and fluffy while giving the bottom and edges enough time to turn lightly golden. A simple sheet pan makes the signature rectangular shape and gives every slice that familiar school-lunch appearance.
This homemade version is perfect for beginners, busy families, and anyone craving a comforting throwback meal. The ingredients are straightforward, the dough is easy to handle, and the finished pizza can be sliced into small rectangles just like the cafeteria classic.
For another family-friendly meal, try these easy homemade pizza recipes or serve the pizza alongside crispy oven-baked potato wedges.
Ingredients
For the Pizza Dough
- 3 cups all-purpose flour
- 1 tablespoon granulated sugar
- 2 1/4 teaspoons instant yeast
- 1 teaspoon salt
- 1 cup warm water
- 2 tablespoons olive oil
For the Seasoned Beef Topping
- 8 ounces lean ground beef
- 1/4 teaspoon salt
- 1/4 teaspoon black pepper
- 1/2 teaspoon garlic powder
- 1/2 teaspoon onion powder
- 1/4 teaspoon paprika
For the Pizza Sauce
- 1 cup tomato sauce
- 1 tablespoon tomato paste
- 1/2 teaspoon garlic powder
- 1/2 teaspoon dried oregano
- 1/4 teaspoon dried basil
- 1/4 teaspoon onion powder
- 1/4 teaspoon sugar
- 1/4 teaspoon salt
For the Cheese
- 2 cups shredded mozzarella cheese
- 1/2 cup shredded mild cheddar cheese
For the Pan
- 1 tablespoon olive oil
All ingredients are alcohol-free and suitable for a halal-friendly kitchen. For packaged ingredients, choose products with halal certification when required.
Tools Needed
- Large mixing bowl
- Small bowl
- Measuring cups and spoons
- Wooden spoon or spatula
- Large skillet
- 13 x 18-inch rimmed sheet pan
- Rolling pin or lightly oiled hands
- Small saucepan
- Cheese grater
- Kitchen towel or plastic wrap
- Pizza cutter or sharp knife
Step-by-Step Instructions
1. Activate the Dough Ingredients
Add the warm water, sugar, and instant yeast to a large mixing bowl.
Let the mixture sit for about 5 minutes. The water should feel warm, not hot.
Add the flour, salt, and olive oil.
2. Make the Dough
Stir until a soft dough forms.
Turn the dough onto a lightly floured surface and knead for about 5 minutes.
The dough should become smooth and elastic. If it feels very sticky, add flour one tablespoon at a time.
Avoid adding too much flour because a slightly soft dough helps create the tender, fluffy crust associated with school-style pizza.
3. Let the Dough Rise
Place the dough in a lightly oiled bowl.
Cover it with a clean kitchen towel or plastic wrap and let it rise in a warm place for about 45 to 60 minutes.
The dough should become noticeably puffy and roughly double in size.
4. Cook the Beef
While the dough rises, heat a skillet over medium heat.
Add the ground beef and break it into small pieces with a wooden spoon.
Add the salt, black pepper, garlic powder, onion powder, and paprika.
Cook for about 6 to 8 minutes, stirring regularly, until the beef is fully cooked.
Drain any excess grease and set the beef aside to cool slightly.
Small crumbles work best because they distribute evenly across the pizza.
5. Prepare the Pizza Sauce
Add the tomato sauce, tomato paste, garlic powder, oregano, basil, onion powder, sugar, and salt to a small saucepan.
Stir well and warm over low heat for about 5 minutes.
The sauce should be thick, smooth, and easy to spread.
Remove from the heat and let it cool slightly.
6. Prepare the Sheet Pan
Preheat the oven to 425°F.
Pour 1 tablespoon of olive oil onto a 13 x 18-inch rimmed sheet pan.
Spread the oil across the bottom and slightly up the sides of the pan.
The oil helps prevent sticking while also giving the bottom of the crust a lightly crisp texture.
7. Shape the Dough
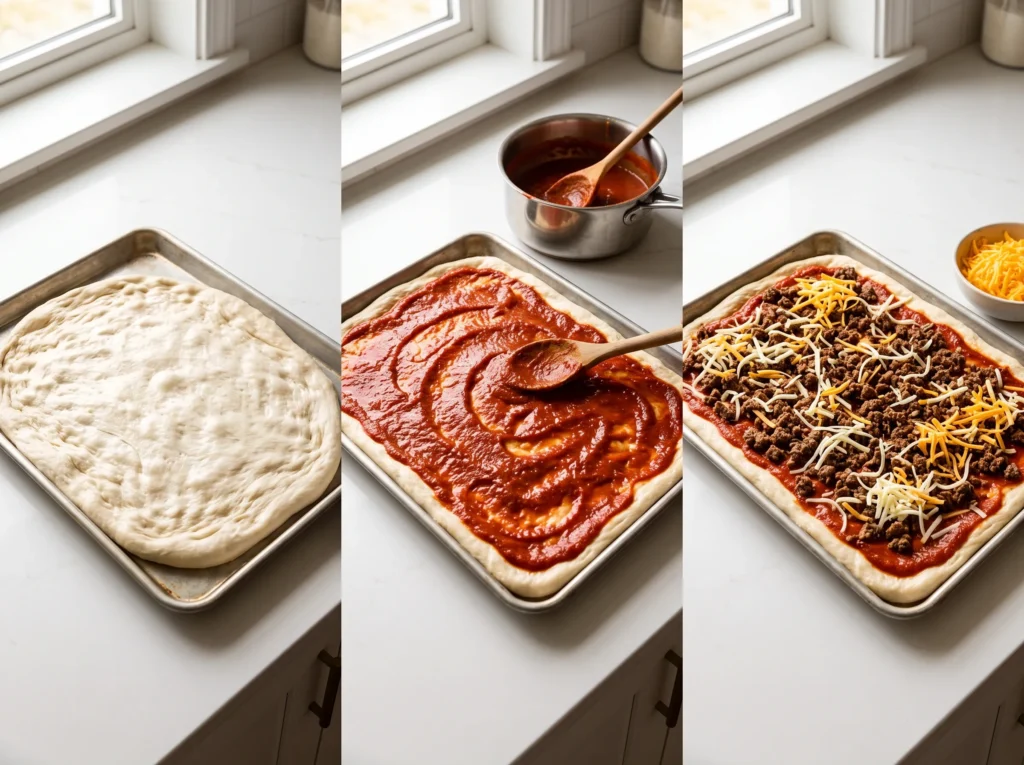
Place the risen dough in the center of the prepared pan.
Use lightly oiled hands to gently stretch the dough toward the edges.
If the dough keeps shrinking back, let it rest for 5 minutes before stretching again.
The goal is a mostly even layer that reaches close to all four corners.
8. Add the Sauce
Spread the prepared pizza sauce evenly over the dough.
Leave a small border around the edges for a soft, golden crust.
Do not add an overly thick layer of sauce. A thin, even coating gives the best balance between tomato flavor and fluffy dough.
9. Add the Beef
Scatter the cooked seasoned beef evenly over the sauce.
Try to distribute the beef all the way toward the edges so each rectangular slice gets a savory topping.
10. Add the Cheese
Sprinkle the shredded mozzarella evenly over the beef.
Add the mild cheddar on top.
The combination creates a creamy, stretchy layer with a slightly richer cheesy flavor.
11. Bake the Pizza
Place the pan on the middle rack of the preheated oven.
Bake for 15 to 20 minutes, or until the crust is golden around the edges and the cheese is fully melted and lightly browned in spots.
The exact baking time can vary depending on the oven and the thickness of the dough.
12. Let It Rest
Remove the pizza from the oven and let it rest for 5 to 10 minutes.
This short resting period allows the melted cheese to settle and makes the pizza easier to cut.
13. Cut Into Rectangles
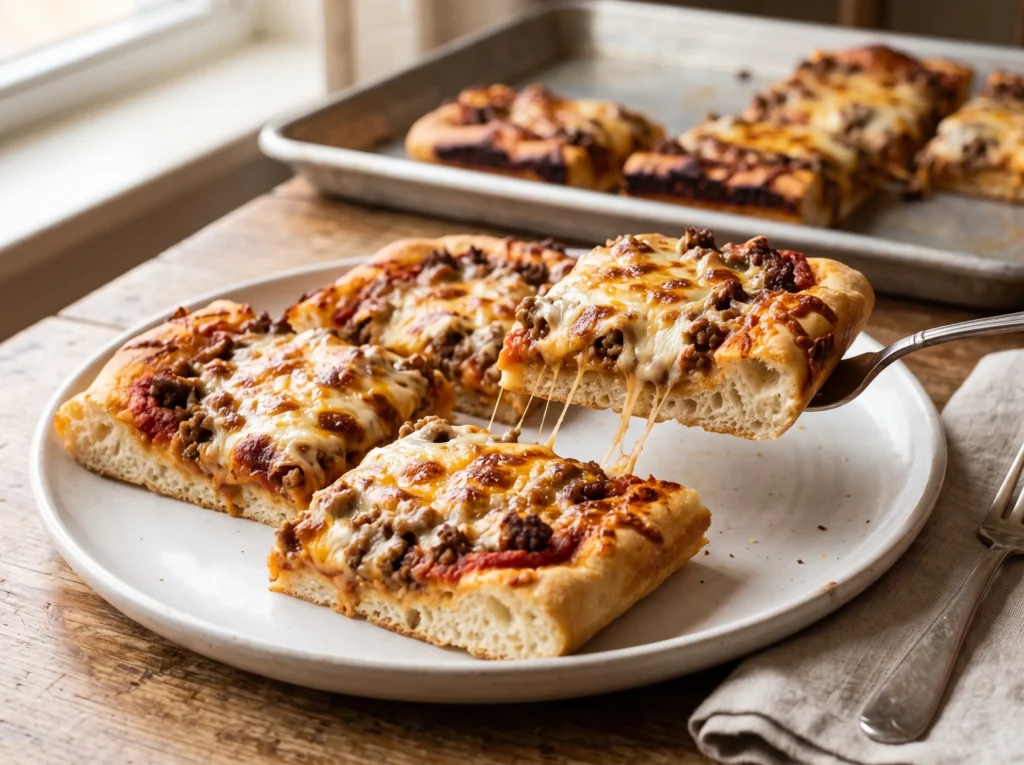
Use a pizza cutter or sharp knife to divide the pizza into rectangular pieces.
For a classic cafeteria-style look, cut the sheet into approximately 12 to 15 smaller rectangles.
Serve warm while the cheese is still soft and stretchy.
Tips & Variations
Keep the Crust Soft
The dough should feel soft and slightly tacky before rising.
Adding too much flour can make the finished crust dense and dry. Use just enough flour to make the dough manageable.
Do Not Overcook the Beef
The ground beef cooks again indirectly in the oven, so it only needs to be fully cooked in the skillet before going onto the pizza.
Small, tender crumbles are ideal for this recipe.
Use a Thick Sauce
A watery sauce can make the center of the pizza soggy.
The tomato paste in this recipe helps create a thicker sauce that sits nicely on the dough.
For more homemade sauce ideas, try this easy homemade pizza sauce with other pizza recipes.
Shred Cheese From a Block
Freshly shredded mozzarella melts smoothly and gives the pizza a soft, gooey texture.
Pre-shredded cheese can still be used when convenience matters, but freshly shredded cheese often gives a creamier finish.
Do Not Stretch the Dough Too Thin
Classic lunchroom-style pizza has a soft, substantial crust.
Keeping the dough reasonably thick gives the finished pizza its fluffy center and lightly crisp edges.
Let the Dough Rest If Needed
If the dough repeatedly pulls away from the edges of the pan, stop stretching it.
Cover it loosely and let it rest for about 5 minutes. The gluten will relax, making the dough easier to shape.
Try Ground Turkey
Ground turkey can replace the ground beef for a lighter topping.
Season it with the same garlic, onion, paprika, salt, and pepper mixture.
Add Vegetables
Finely chopped bell peppers, mushrooms, or onions can be added to the topping.
Cook vegetables briefly before adding them to the pizza so they do not release too much moisture during baking.
Make It Extra Cheesy
For a richer pizza, increase the mozzarella to 2 1/2 cups.
A little extra cheddar can also be sprinkled over the top for deeper flavor and more golden color.
Make Individual Lunchbox Pizzas
Instead of using one large sheet pan, divide the dough into smaller pieces.
Shape each piece into a small rectangle, add the toppings, and bake until golden and bubbly.
This is a fun option for children’s lunches or casual family meals.
Avoid a Soggy Bottom
Do not overload the pizza with sauce or wet toppings.
Make sure cooked meat and vegetables are drained before they go onto the dough.
A fully preheated oven is also important because the heat needs to reach the crust quickly.
Add a Little Crunch
For slightly crispier edges, allow the pizza to bake for an additional 2 to 3 minutes.
Watch carefully during the final minutes so the cheese does not become overly dark.
For another nostalgic family meal, pair it with homemade crispy chicken tenders or a simple fresh salad.
Storage & Serving
Allow leftover pizza to cool before storing.
Place the rectangular slices in an airtight container and refrigerate within 2 hours of cooking.
The pizza will keep well in the refrigerator for up to 3 to 4 days.
For longer storage, wrap individual slices tightly and place them in a freezer-safe bag or container. Freeze for up to 2 months for the best quality.
To reheat refrigerated pizza, place slices in a 375°F oven for about 7 to 10 minutes.
An air fryer can also reheat the slices quickly while keeping the edges pleasantly crisp.
For frozen slices, thaw them in the refrigerator overnight before reheating for the most even texture.
Old School Lunch Pizza is especially good served warm with a simple side salad, fresh fruit, or oven-baked potato wedges.
For a nostalgic lunch spread, cut the pizza into small rectangles and serve several pieces on a large platter.
Frequently Asked Questions
What makes Old School Lunch Pizza different from regular pizza?
The main difference is the style.
School-style pizza is typically made in a rectangular sheet pan with a soft, fluffy crust and smaller portions. The toppings are simple, making the texture and nostalgic flavor especially recognizable.
Can the dough be made the night before?
Yes. Prepare the dough, cover it tightly, and refrigerate it overnight.
Let it sit at room temperature for about 30 to 45 minutes before shaping so it becomes easier to stretch.
Can instant yeast be replaced with active dry yeast?
Yes. Active dry yeast works well in the same general quantity.
Allow a little extra time for the yeast to become active before mixing the dough.
Can this pizza be made without beef?
Absolutely.
Ground turkey, finely chopped cooked chicken, or simply extra cheese can replace the beef. Keep the topping amount moderate so the crust remains fluffy.
Why is the crust not fluffy?
Several things can cause a dense crust, including adding too much flour, insufficient rising time, or using water that is too hot and damages the yeast.
Allowing the dough to rise until visibly puffy is especially important.
Can a smaller pan be used?
Yes. A smaller pan will produce a thicker pizza.
Because thicker dough takes longer to bake, check the center carefully before removing the pizza from the oven.
Can this recipe be made without cheddar?
Yes. Use all mozzarella if preferred.
For a slightly different flavor, a halal-friendly mild cheese blend can also be used.
How do you get crispy edges on school-style pizza?
Use enough olive oil to lightly coat the sheet pan and bake the pizza in a fully preheated oven.
Allowing the edges to become golden before removing the pizza gives them a pleasant crispness while the center stays soft.
Can Old School Lunch Pizza be frozen?
Yes.
Cool the pizza completely, wrap individual pieces tightly, and place them in a freezer-safe container or bag. Use within about 2 months for the best texture.
Can the pizza be prepared ahead of time?
Yes. The dough and sauce can be prepared in advance.
The cooked beef can also be refrigerated ahead of time. Assemble and bake the pizza when ready for the freshest crust and melted cheese.
Conclusion
Soft, cheesy, savory, and wonderfully nostalgic, this homemade pizza brings the familiar cafeteria-style experience straight to the kitchen.
The fluffy rectangular crust holds a rich tomato sauce, seasoned beef, and plenty of melty mozzarella and cheddar. The result is comforting without being complicated.
The recipe is beginner-friendly, uses simple ingredients, and works beautifully for family lunches, casual dinners, parties, or an easy weekend meal.
Cut it into small rectangles for the classic school-lunch look, serve it warm, and enjoy those golden edges and gooey cheese.
For a simple homemade meal packed with nostalgic flavor, Old School Lunch Pizza is a recipe worth adding to the regular rotation.