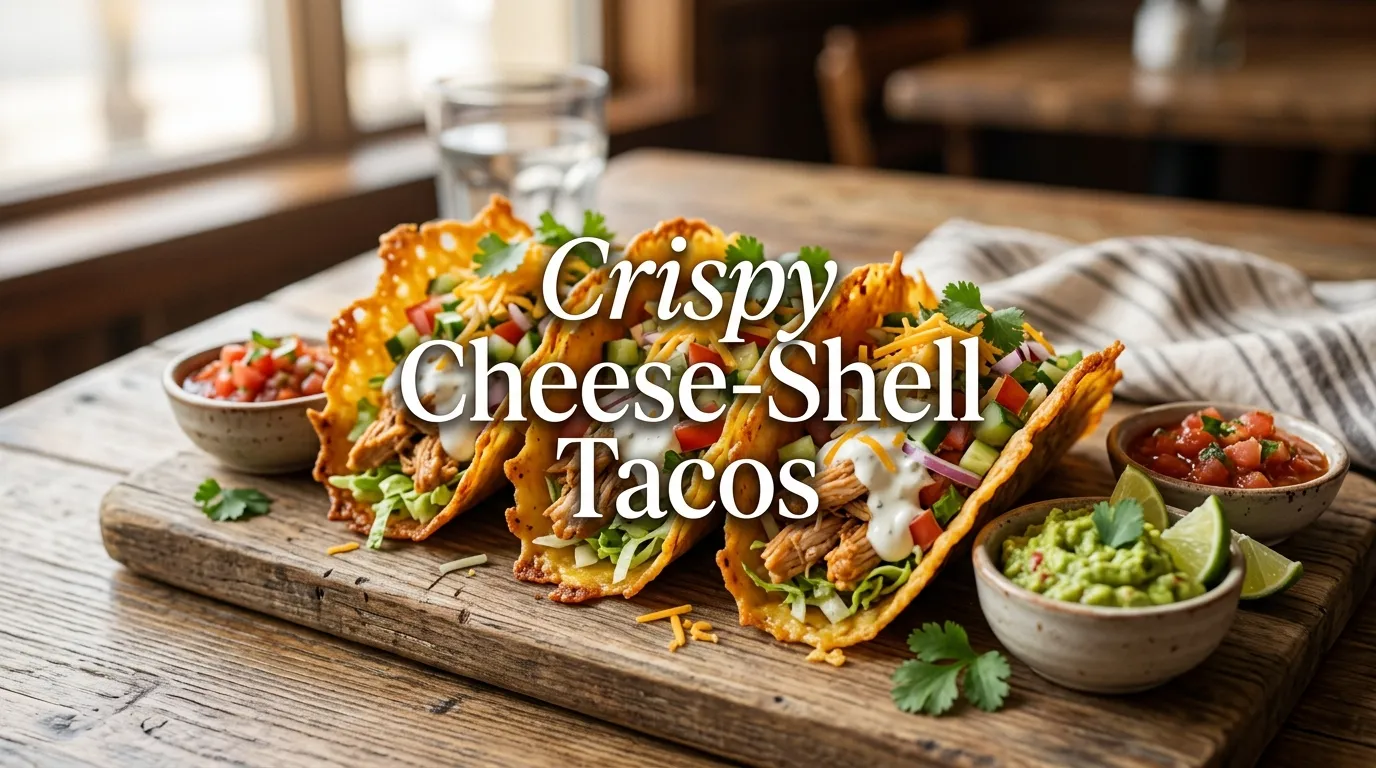
Crispy Cheese-Shell Tacos
Crispy Cheese-Shell Tacos are the perfect combination of crunchy, cheesy, and satisfying. Instead of using traditional taco shells, melted cheese is baked or cooked until golden and shaped into crispy taco shells that hold a delicious, flavour-packed filling.
This easy recipe is perfect for busy weeknights, family dinners, or casual gatherings. Every bite delivers a rich, crispy shell with juicy seasoned chicken, fresh vegetables, and creamy toppings. The recipe is beginner-friendly, requires only simple ingredients, and can easily be customised with favourite fillings.
Anyone looking for a fun twist on classic tacos will love these Crispy Cheese-Shell Tacos. They are packed with flavour, surprisingly easy to make, and naturally gluten-free when prepared with cheese shells alone.
Readers who enjoy easy family dinners may also like the Easy Chicken Wrap Recipe, Homemade Taco Seasoning Guide, and Quick Guacamole Recipe for more delicious meal ideas.
Ingredients for Crispy Cheese-Shell Tacos
For the Cheese Shells
- 2 cups shredded cheddar cheese
- 1 cup shredded mozzarella cheese
- ½ teaspoon paprika
- ¼ teaspoon garlic powder
For the Chicken Filling
- 2 tablespoons olive oil
- 450 g boneless chicken breast, diced
- 1 teaspoon paprika
- 1 teaspoon ground cumin
- ½ teaspoon garlic powder
- ½ teaspoon onion powder
- ½ teaspoon black pepper
- ¾ teaspoon salt
- ½ teaspoon dried oregano
Fresh Toppings
- 1 cup shredded lettuce
- 1 cup diced tomatoes
- ½ cup diced cucumber
- ¼ cup finely chopped red onion
- ½ cup sliced black olives (optional)
- ½ cup shredded cheddar cheese
- ¼ cup chopped fresh coriander
Creamy Sauce
- ½ cup plain Greek yogurt
- 2 tablespoons mayonnaise
- 1 teaspoon lemon juice
- ½ teaspoon garlic powder
- Pinch of salt
Tools Needed
- Large non-stick frying pan
- Baking tray (optional)
- Parchment paper
- Mixing bowls
- Measuring spoons
- Spatula
- Tongs
- Cooling rack
Step-by-Step Instructions
Step 1: Prepare the Filling
Heat olive oil in a large frying pan over medium heat.
Add the diced chicken and cook for about 2 minutes.
Mix paprika, cumin, garlic powder, onion powder, oregano, salt, and black pepper together.
Sprinkle the seasoning over the chicken.
Cook for another 6–8 minutes until the chicken is fully cooked and lightly browned.
Set aside.
Step 2: Prepare the Sauce
Combine Greek yogurt, mayonnaise, garlic powder, lemon juice, and salt in a small bowl.
Mix until smooth.
Refrigerate until ready to serve.

Step 3: Make the Cheese Shells
Heat a non-stick pan over medium heat.
Place about ⅓ cup of the cheese mixture into the pan.
Spread into a thin circle around 15 cm wide.
Cook for 2–3 minutes until the cheese melts completely and the edges become golden brown.
Carefully lift the cheese with a spatula.
Immediately drape it over the handle of a wooden spoon placed between two cups.
Allow it to cool for 3–5 minutes until firm.
Repeat with the remaining cheese.
Step 4: Prepare the Vegetables
Wash and chop all vegetables.
Keep them chilled until serving.
Step 5: Assemble the Tacos
Fill each crispy cheese shell with shredded lettuce.
Add the seasoned chicken.
Top with tomatoes, cucumber, onions, olives, extra cheese, and fresh coriander.
Drizzle generously with the creamy sauce.
Serve immediately while the shells remain perfectly crisp.
Tips & Variations for Crispy Cheese-Shell Tacos
Making cheese shells is easier when medium heat is used. High heat may burn the cheese before it becomes crispy.
Allow the shells to cool completely before filling them. Warm shells may soften quickly.
Use freshly shredded cheese instead of pre-shredded varieties for the best melting results.
Ground chicken or halal-certified beef mince can replace diced chicken.
Add sliced avocado for extra creaminess.
A sprinkle of smoked paprika creates a deeper flavour.
Fresh jalapeños can be added for gentle heat.
Avoid overfilling the tacos, as heavy fillings may cause the shells to crack.
For extra crunch, include finely shredded cabbage instead of lettuce.
Readers looking for more quick meals can also explore the Easy Chicken Quesadilla Recipe, Creamy Garlic Chicken Pasta, and Homemade Salsa Recipe.
Storage & Serving
These tacos are best enjoyed immediately after assembly.
Store the cooked chicken filling in an airtight container in the refrigerator for up to 3 days.
The prepared sauce stays fresh in the refrigerator for up to 4 days.
Cheese shells can be stored in an airtight container for 2 days. Place parchment paper between each shell to prevent sticking.
Freezing the cheese shells is not recommended because they may lose their crisp texture.
Reheat the chicken gently in a frying pan or microwave before assembling fresh tacos.
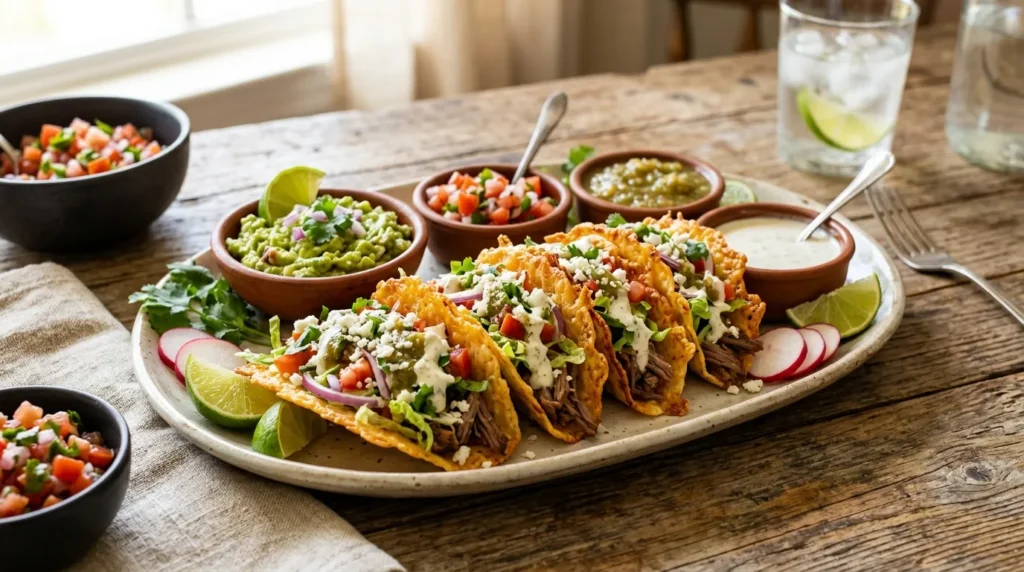
Serve with:
- Fresh guacamole
- Tomato salsa
- Mexican rice
- Corn salad
- Roasted vegetables
- Fresh lemonade
- Mint yogurt dip
Frequently Asked Questions
Can cheese shells be made ahead of time?
Yes. Make them up to two days in advance and store them in an airtight container with parchment paper between each shell.
Which cheese works best?
Cheddar creates the crispiest shell, while mozzarella adds flexibility and extra flavour.
Why did the cheese shell break?
The shell may have become too thin or cooled for too long before shaping.
Can beef be used instead of chicken?
Yes. Halal-certified beef mince or diced beef works very well with the same seasoning blend.
Can these tacos be made vegetarian?
Absolutely. Replace the chicken with sautéed mushrooms, black beans, chickpeas, or grilled vegetables.
Are cheese-shell tacos gluten-free?
Yes. The cheese shells themselves are naturally gluten-free. Always check packaged ingredients to confirm.
How can the tacos stay crispy longer?
Allow the cheese shells to cool completely and only fill them immediately before serving.
Can the filling be spicy?
Yes. Add chilli flakes, fresh green chillies, or extra paprika according to taste.
Can these be made in the oven?
Yes. Bake circles of shredded cheese at 200°C for about 6–8 minutes until golden before shaping.
What sauces go well with cheese-shell tacos?
Garlic yogurt sauce, avocado sauce, chipotle-style mayonnaise made without alcohol, or fresh salsa all pair beautifully.
Conclusion
Crispy Cheese-Shell Tacos are a simple way to transform everyday ingredients into a fun and impressive meal. The golden cheese shell adds incredible crunch, while the juicy seasoned chicken and fresh toppings create the perfect balance of flavours and textures.
This easy recipe is ideal for beginners, busy families, and anyone who enjoys homemade comfort food with a creative twist. Serve these Crispy Cheese-Shell Tacos for lunch, dinner, parties, or weekend gatherings, and enjoy a meal that is guaranteed to disappear quickly. Don’t forget to share this recipe with family and friends who love cheesy, crispy, flavour-packed dishes.