Homemade Fluffy Cinnamon Rolls with Silky Vanilla Glaze
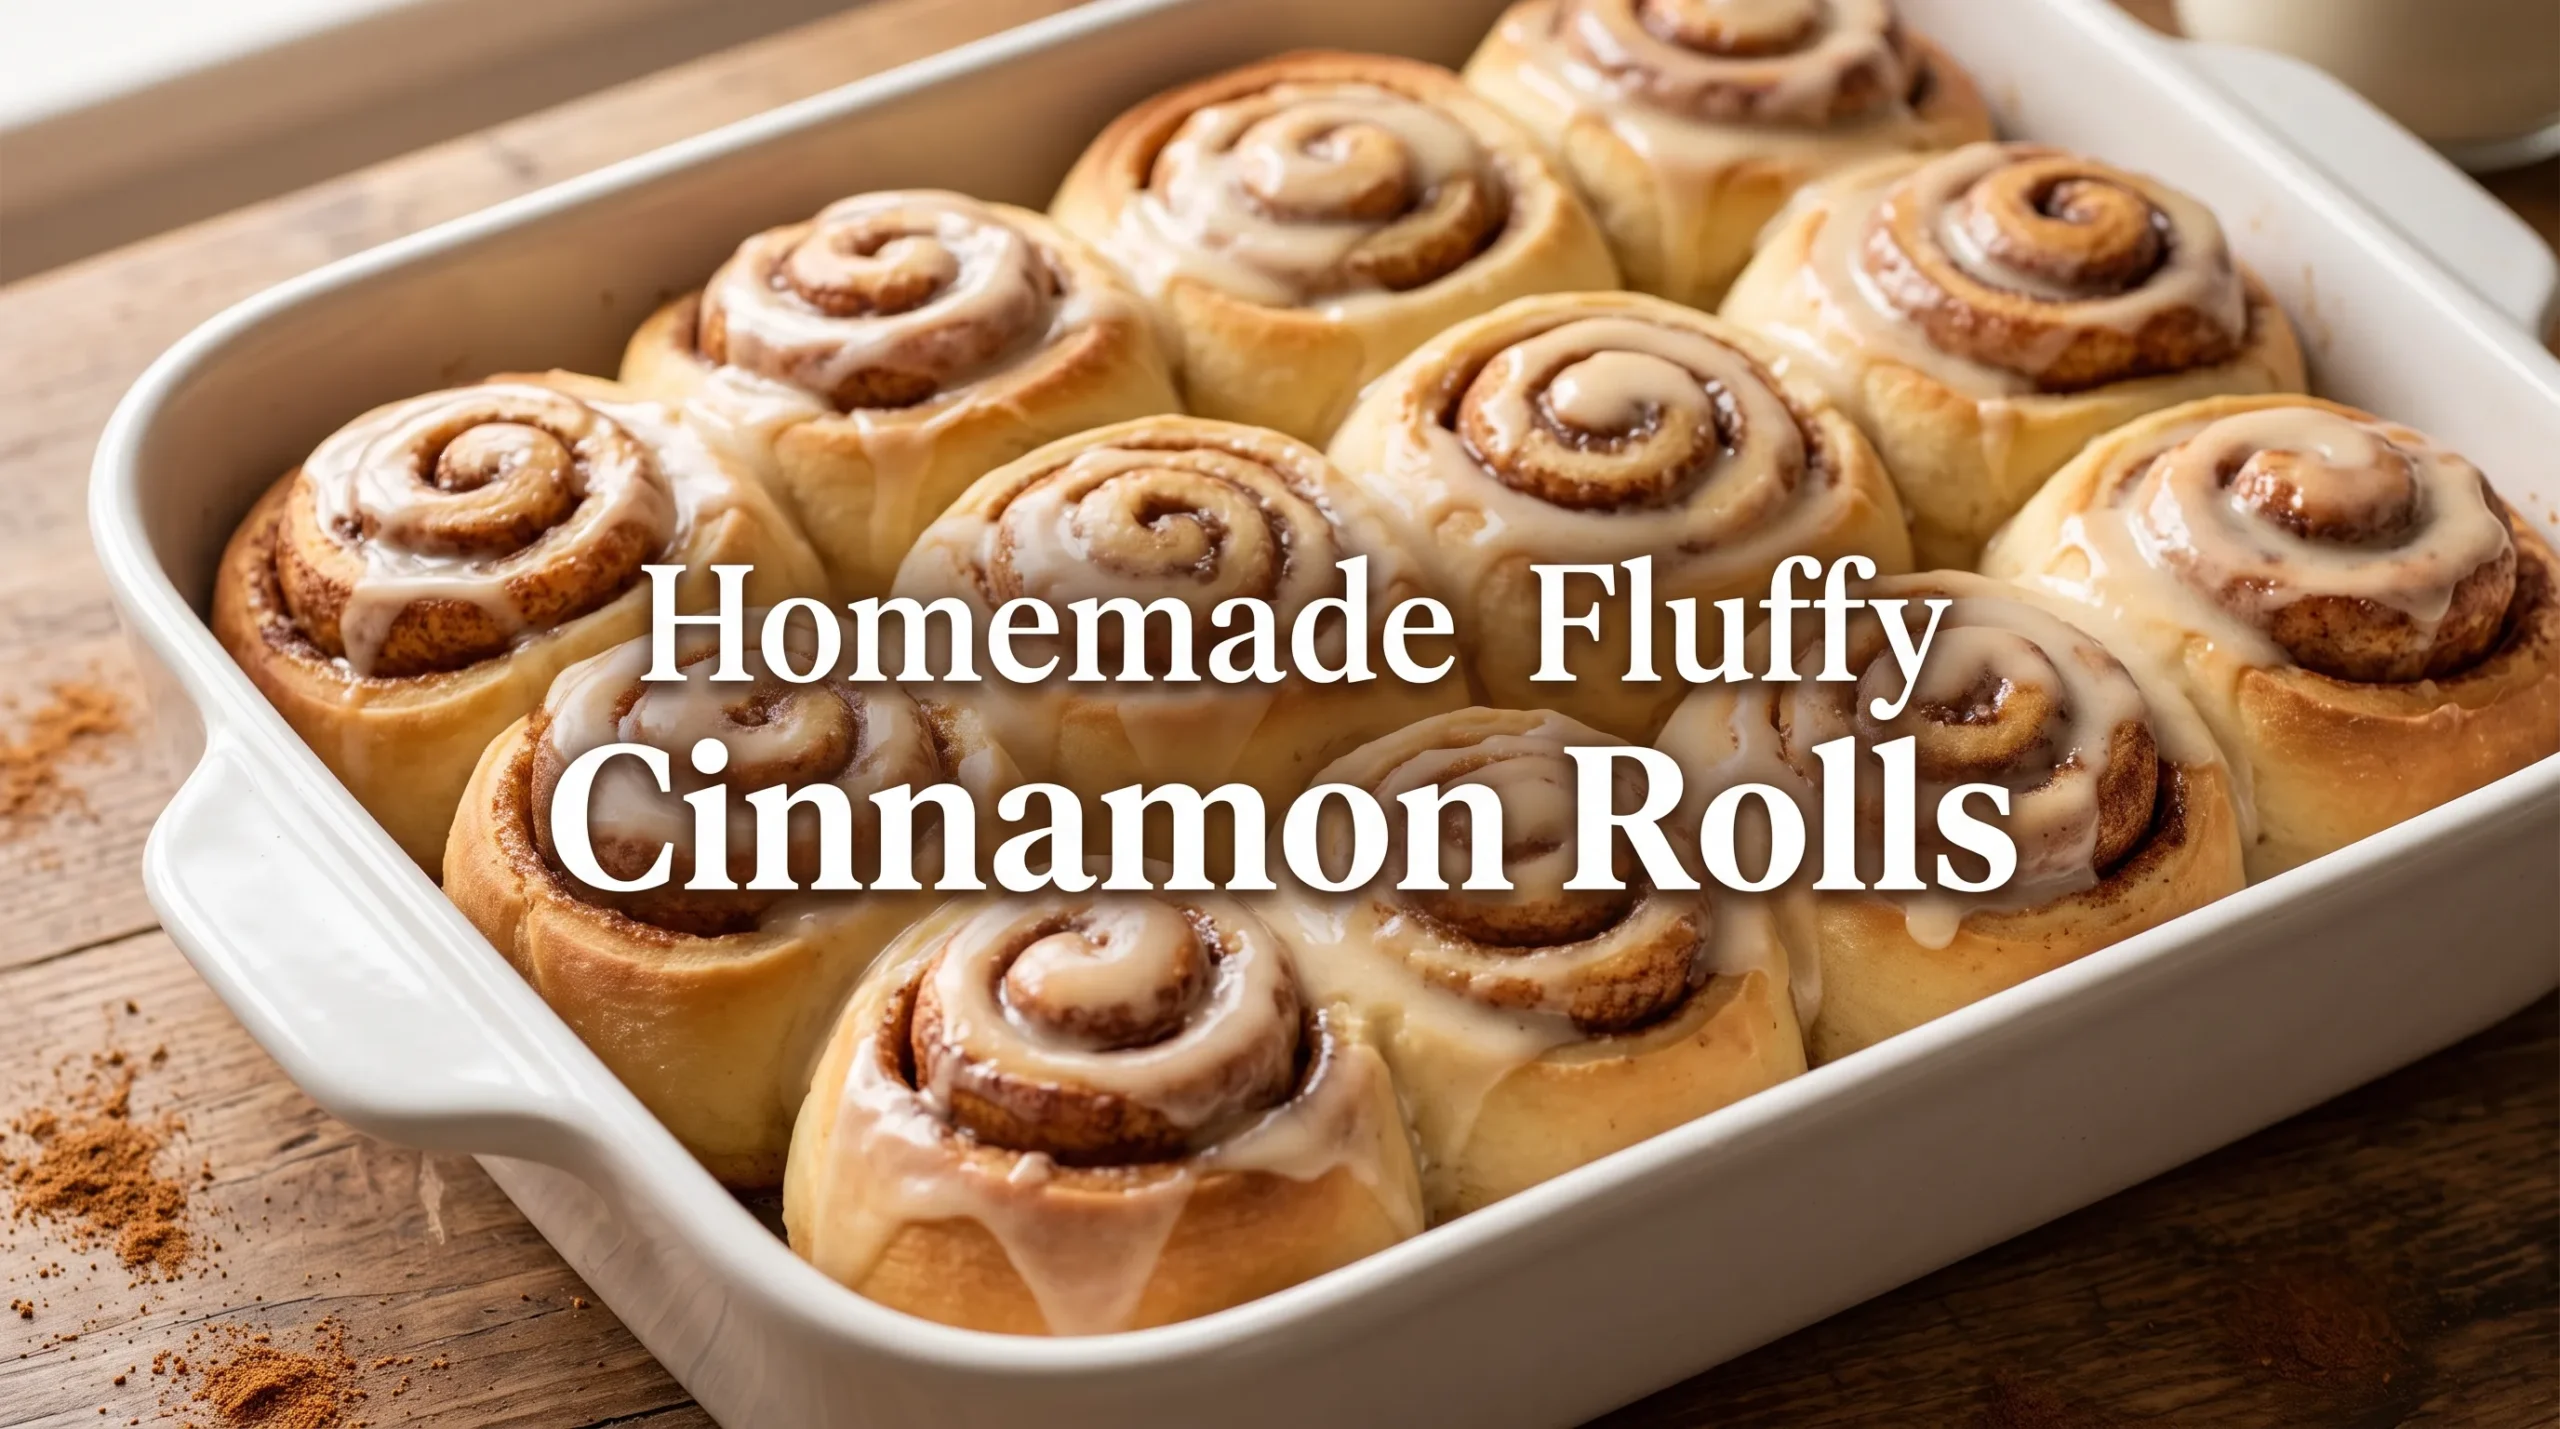
Nothing beats the smell of freshly baked cinnamon rolls filling the kitchen. These Homemade Fluffy Cinnamon Rolls with Silky Vanilla Glaze are soft, pillowy, buttery, and packed with a warm cinnamon-sugar filling.
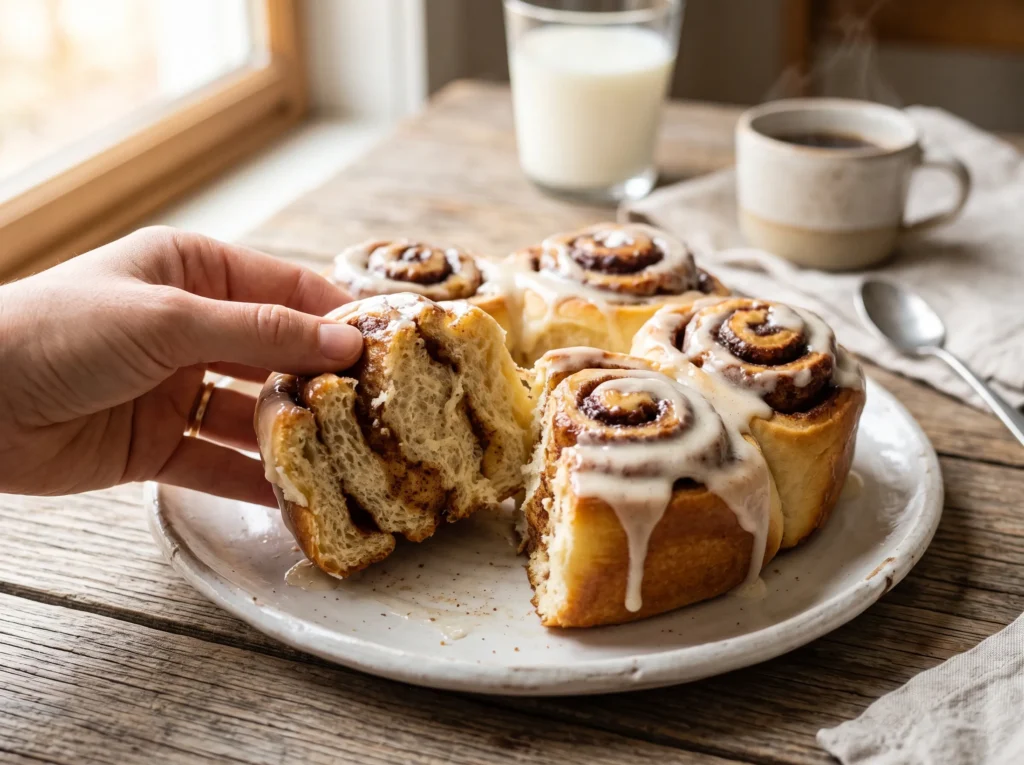
Each roll has a tender center, golden edges, and a rich swirl of cinnamon in every bite. The silky vanilla glaze melts gently over the warm rolls, creating a creamy finish without making them overly sweet.
This recipe keeps the process simple enough for beginners while still delivering bakery-style results. The dough uses basic ingredients, and a little patience during rising is all that is needed for beautifully fluffy cinnamon rolls.
Serve them warm for breakfast, brunch, an afternoon treat, or a cozy weekend dessert. For another comforting breakfast idea, try these easy homemade pancakes or pair the rolls with fluffy scrambled eggs for a satisfying brunch.
Ingredients
For the Cinnamon Roll Dough
- 3 ½ cups (438 g) all-purpose flour
- ¼ cup (50 g) granulated sugar
- 2 ¼ teaspoons (7 g) instant yeast
- ¾ teaspoon salt
- ¾ cup (180 ml) warm whole milk
- ¼ cup (60 ml) warm water
- 1 large egg, room temperature
- ¼ cup (57 g) unsalted butter, melted and slightly cooled
For the Cinnamon Filling
- ½ cup (100 g) light brown sugar, packed
- 2 tablespoons ground cinnamon
- ¼ cup (57 g) unsalted butter, softened
For the Silky Vanilla Glaze
- 1 ½ cups (180 g) powdered sugar
- 2 tablespoons whole milk
- 1 tablespoon unsalted butter, melted
- 1 teaspoon pure vanilla extract
- Pinch of salt
Tools and Equipment
- Large mixing bowl
- Small mixing bowl
- Wooden spoon or rubber spatula
- Measuring cups and spoons or kitchen scale
- Rolling pin
- 9 x 13-inch baking dish
- Pastry brush
- Clean kitchen towel or plastic wrap
- Sharp knife or unflavored dental floss
- Wire cooling rack
Step-by-Step Instructions
1. Warm the milk and water
Combine the warm milk and warm water in a small bowl or measuring jug.
The liquid should feel warm but not hot. Very hot liquid can damage the yeast and prevent the dough from rising properly.
2. Combine the dry ingredients
Add the flour, granulated sugar, instant yeast, and salt to a large mixing bowl.
Stir briefly until the ingredients are evenly distributed.
3. Make the dough
Add the warm milk mixture, egg, and melted butter to the dry ingredients.
Stir with a wooden spoon or rubber spatula until a soft, slightly sticky dough forms.
4. Knead the dough
Transfer the dough to a lightly floured surface.
Knead for about 7–9 minutes, until the dough becomes smooth, elastic, and soft.
The dough should feel slightly tacky but should not stick heavily to the hands or work surface. Add flour a tablespoon at a time only if necessary.
5. Let the dough rise
Place the dough in a lightly greased bowl.
Cover with a clean kitchen towel or plastic wrap and leave it in a warm, draft-free place for about 60–90 minutes, or until the dough has roughly doubled in size.
The rising time can vary depending on room temperature.
6. Prepare the cinnamon filling
While the dough rises, combine the brown sugar and ground cinnamon in a small bowl.
Keep the softened butter separate so it can be spread evenly over the dough.
7. Roll out the dough
Once the dough has doubled, gently press it down to release excess air.
Transfer it to a lightly floured surface and roll it into a rectangle approximately 16 x 12 inches.
Try to keep the thickness even from edge to edge.
8. Add the butter
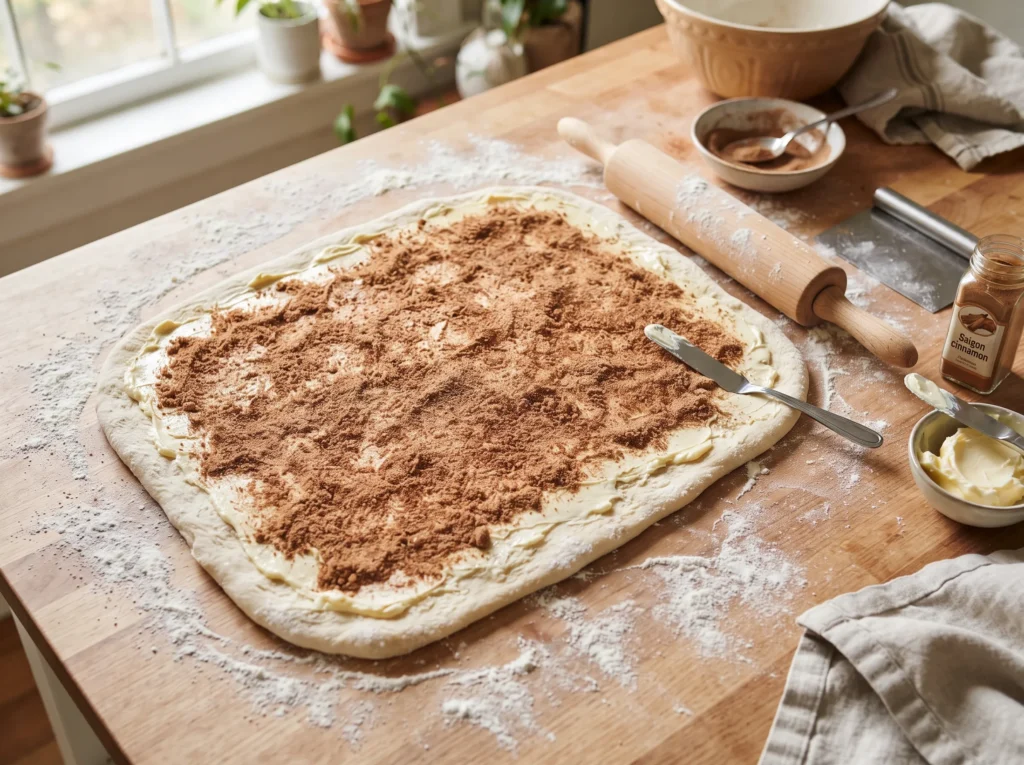
Spread the softened butter evenly over the surface of the dough.
Leave a small border around the edges to make rolling easier.
9. Add the cinnamon-sugar mixture
Sprinkle the brown sugar and cinnamon mixture evenly over the butter.
Press the mixture gently into the butter with the back of a spoon or your fingertips.
This creates a rich, fragrant filling that melts into the dough during baking.
10. Roll the dough
Starting from one of the longer sides, roll the dough into a firm log.
Roll steadily without squeezing the dough too tightly. A snug roll helps create defined cinnamon swirls without making the center dense.
11. Cut the rolls
Use a sharp knife to cut the log into 12 equal pieces.
For especially neat slices, unflavored dental floss can be slipped underneath the log, crossed over the top, and pulled to cut each roll cleanly.
12. Arrange the rolls
Lightly grease a 9 x 13-inch baking dish.
Arrange the 12 rolls in the dish, leaving a little space between each one.
Cover the dish and let the rolls rise again for about 30–45 minutes.
They should look noticeably puffier before baking.
13. Preheat the oven
During the final rise, preheat the oven to 350°F (175°C).
Make sure the oven has fully reached temperature before placing the rolls inside.
14. Bake the cinnamon rolls
Bake for 22–27 minutes, or until the tops are lightly golden and the centers are cooked through.
Avoid overbaking. The rolls should remain soft and fluffy rather than becoming dry or heavily browned.
15. Prepare the vanilla glaze
While the rolls bake, add the powdered sugar, milk, melted butter, vanilla extract, and salt to a small bowl.
Whisk until smooth, creamy, and silky.
If the glaze is too thick, add milk a teaspoon at a time. If it is too thin, add a little more powdered sugar.
16. Glaze the warm rolls
Remove the cinnamon rolls from the oven and let them cool for about 5–10 minutes.
Drizzle the silky vanilla glaze generously over the warm rolls, allowing it to melt into the swirls and settle into the soft centers.
Serve warm for the best texture and flavor.
Tips & Variations for Homemade Fluffy Cinnamon Rolls with Silky Vanilla Glaze
Use warm, not hot, liquid
The milk and water should be comfortably warm.
If the liquid is too hot, it can interfere with the yeast. If it is too cool, the dough may take much longer to rise.
Do not add too much flour
A common mistake is adding flour every time the dough feels slightly sticky.
Cinnamon roll dough should be soft and slightly tacky. Too much flour can make the finished rolls heavy instead of light and fluffy.
Add only small amounts of extra flour when truly necessary.
Give the dough enough time to rise
The first rise builds the structure and airy texture that makes these rolls fluffy.
The second rise gives the shaped rolls another chance to become light and puffy before baking.
Rushing either rise can result in dense cinnamon rolls.
Roll the dough evenly
An evenly rolled rectangle helps produce cinnamon rolls that are similar in size.
If one side is much thicker than the other, some rolls may bake faster while others remain doughy in the center.
Keep the filling balanced
The cinnamon filling should be generous enough to create a rich swirl but not so thick that it spills out while rolling.
Spread the butter evenly before adding the cinnamon-sugar mixture.
Do not overbake
The rolls should be lightly golden on top rather than deeply brown.
Overbaking removes moisture from the dough and can turn the soft centers firm.
For more useful baking guidance, check out these simple yeast baking tips.
For extra-soft cinnamon rolls
For an especially tender result, avoid adding excess flour during kneading.
The dough should become smooth and elastic while remaining soft. A little stickiness is preferable to a stiff dough.
Easy overnight option
The shaped rolls can be prepared the night before and refrigerated before the final rise.
Cover the baking dish tightly and refrigerate overnight. The next morning, let the rolls sit at room temperature until puffy before baking.
This method makes them convenient for weekend breakfasts and brunch gatherings.
Add chopped nuts
For extra texture, sprinkle ½ cup of finely chopped pecans or walnuts over the cinnamon filling before rolling.
Make sure the nuts are fresh and finely chopped so they do not make the rolls difficult to slice.
Add raisins
For a classic variation, add ½ cup of raisins over the cinnamon-sugar mixture.
For plumper raisins, soak them briefly in warm water, drain thoroughly, and pat dry before adding them to the filling.
Make them extra vanilla-rich
For a stronger vanilla flavor, increase the vanilla extract in the glaze to 1½ teaspoons.
Use pure vanilla extract and check the label if strict alcohol-free ingredients are required. For a completely alcohol-free preparation, use a clearly labeled alcohol-free vanilla flavoring.
Dairy-free variation
Replace the whole milk with an unsweetened plant-based milk and use a dairy-free baking butter.
Choose products that are suitable for the intended dietary requirements and check labels for alcohol-based flavorings or other unwanted ingredients.
Common mistakes to avoid
Using hot liquid: Excessive heat can interfere with yeast activity.
Adding too much flour: This creates dense, dry rolls.
Skipping the second rise: The shaped rolls need this time to become light and airy.
Rolling too tightly: An overly tight roll can compress the dough.
Cutting uneven pieces: Different-sized rolls will not bake at the same rate.
Overbaking: A darker top does not mean better cinnamon rolls.
Adding glaze immediately: Very hot rolls can make the glaze excessively thin. A short cooling period helps the glaze stay creamy while still melting beautifully.
For another cozy homemade bake, these soft homemade dinner rolls use a similarly tender dough technique.
Storage & Serving
How to store cinnamon rolls
Allow the cinnamon rolls to cool completely before storing leftovers.
Place them in an airtight container and keep them at room temperature for up to 2 days.
For longer storage, refrigerate them for up to 5 days. Keep them tightly covered to prevent the dough from drying out.
How to reheat cinnamon rolls
Place one cinnamon roll on a microwave-safe plate and warm it for about 10–20 seconds.
The exact time depends on the microwave and the size of the roll. Heat gently to prevent the center from becoming tough.
For several rolls, cover the baking dish loosely with foil and warm them in a 300°F (150°C) oven until heated through.
Can cinnamon rolls be frozen?
Yes. Baked cinnamon rolls can be frozen for up to 2–3 months for the best quality.
Wrap each roll tightly in plastic wrap or place several rolls in a freezer-safe container.
Thaw overnight in the refrigerator or at room temperature, then warm gently before serving.
For the best appearance, add fresh glaze after reheating rather than freezing the rolls with a heavy layer of glaze.
Serving ideas
These cinnamon rolls are best served slightly warm when the centers are soft and the glaze is creamy.
Serve them with fresh fruit, berries, sliced apples, or a cup of tea.
For a weekend brunch, arrange them on a serving platter alongside fresh fruit salad and a simple egg dish.
A light dusting of powdered sugar can also be added just before serving for an elegant finish.
Frequently Asked Questions
1. Why are cinnamon rolls not fluffy?
Dense cinnamon rolls are often caused by too much flour, insufficient rising time, or inactive yeast.
The dough should remain soft, and both rising periods should be given enough time for the dough to become visibly puffy.
2. Can cinnamon rolls be made without a stand mixer?
Yes. This recipe can be kneaded entirely by hand.
Kneading for several minutes develops the dough’s elasticity and gives the finished rolls their soft, structured texture.
3. How can cinnamon rolls stay soft overnight?
Store them tightly covered once they have cooled.
Keeping air away from the rolls prevents moisture from escaping and helps preserve their tender texture.
4. Can active dry yeast be used instead of instant yeast?
Yes. Active dry yeast can generally be substituted in the same amount.
Because active dry yeast may take slightly longer to activate and rise, watch the dough rather than relying only on the clock.
5. Can the dough rise in the refrigerator?
Yes. A slow refrigerator rise can be useful when preparing cinnamon rolls ahead of time.
The cooler temperature slows yeast activity, so the dough will need more time than it would in a warm kitchen.
6. Why did the cinnamon filling leak out?
Filling can escape when the dough is rolled too loosely, the butter is too soft, or too much filling is used.
Leave a small border around the dough and roll the log snugly without squeezing it.
7. Can the vanilla glaze be made thicker?
Yes. Add powdered sugar one tablespoon at a time until the desired consistency is reached.
A thicker glaze will sit on top of the rolls, while a thinner glaze will melt more deeply into the warm swirls.
8. Can cinnamon rolls be prepared the night before?
Yes. Shape the rolls, place them in the baking dish, cover tightly, and refrigerate overnight.
Allow them to become puffy at room temperature before baking the next morning.
9. What is the best way to cut cinnamon rolls?
A sharp knife works well, but unflavored dental floss can create especially clean cuts.
Clean cuts help preserve the spiral shape and prevent the soft dough from being flattened.
10. Can the recipe be doubled?
Yes. A larger batch can be prepared for gatherings.
Use two baking dishes rather than crowding too many rolls into one pan. Overcrowding can affect how evenly the rolls bake.
Conclusion
Soft, buttery, cinnamon-filled, and finished with a creamy vanilla glaze, these cinnamon rolls are a comforting homemade treat that feels special without requiring complicated baking skills.
The secret to the fluffy texture is simple: keep the dough soft, give it enough time to rise, and avoid overbaking. Once the warm rolls are covered with silky vanilla glaze, the result is rich, fragrant, and wonderfully tender.
Whether served for breakfast, brunch, a family gathering, or a cozy afternoon treat, these Homemade Fluffy Cinnamon Rolls with Silky Vanilla Glaze are sure to disappear quickly.
Bake a batch, serve them warm, and enjoy the irresistible combination of pillowy dough, buttery cinnamon sugar, and smooth vanilla glaze.