Easy No-Bake Mini Cheesecakes with Biscoff & Nutella
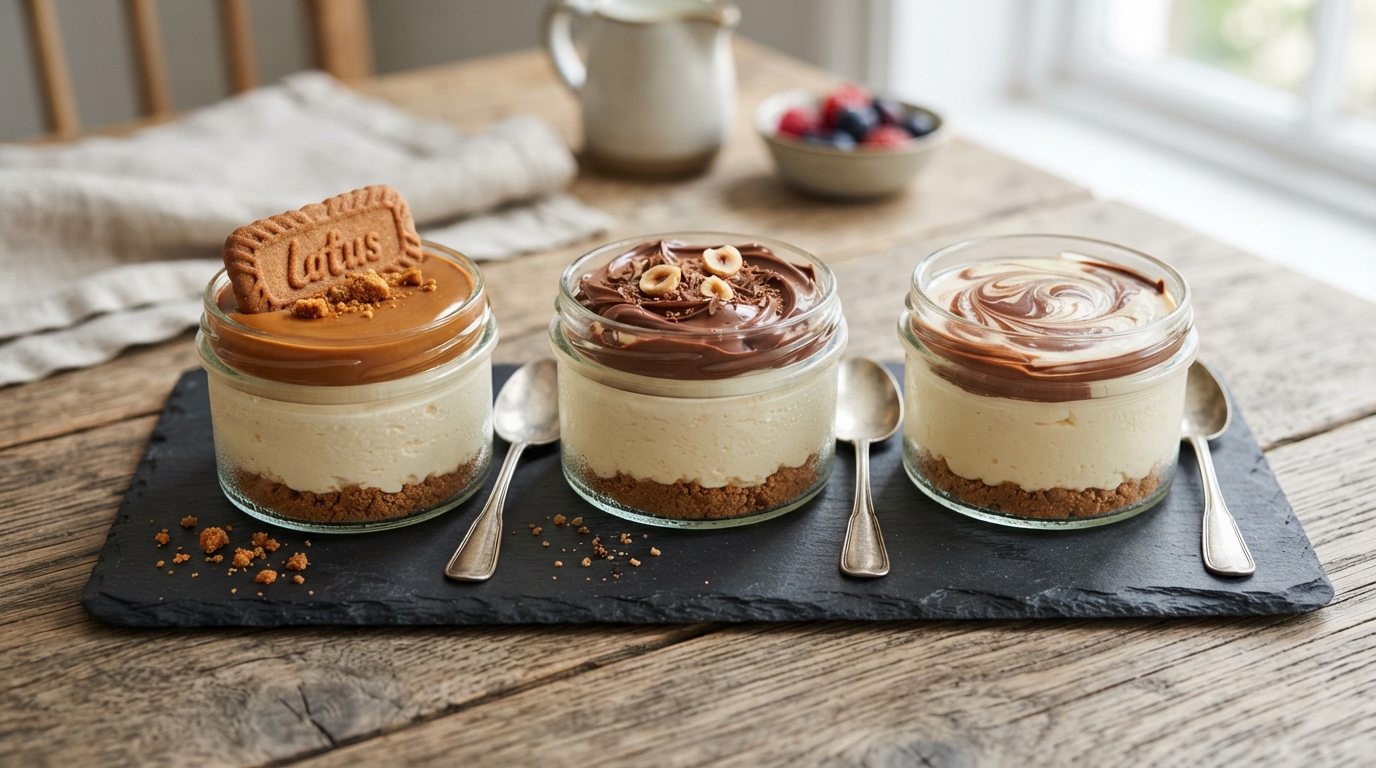
These no-bake mini cheesecakes deliver creamy, café-style treats without turning on the oven. The first time I made them, the silky filling and crisp cookie bases disappeared in minutes at a family gathering. Soft cream cheese blended with whipped cream and a touch of gelatin creates a light yet stable texture that holds its shape beautifully. Topped with glossy Biscoff, blueberry, or Nutella, each 4-inch cake feels special yet stays simple enough for weeknight baking.
Worth trying next: Creamy no-bake pie ideas
Why you’ll love this recipe
These mini cheesecakes are foolproof, crowd-pleasing, and endlessly customizable for any occasion.
- No oven needed for perfect results every time
- Creamy filling sets firm yet stays light
- Cookie bases add crunch and flavor contrast
- Make-ahead friendly for stress-free entertaining
Ingredients
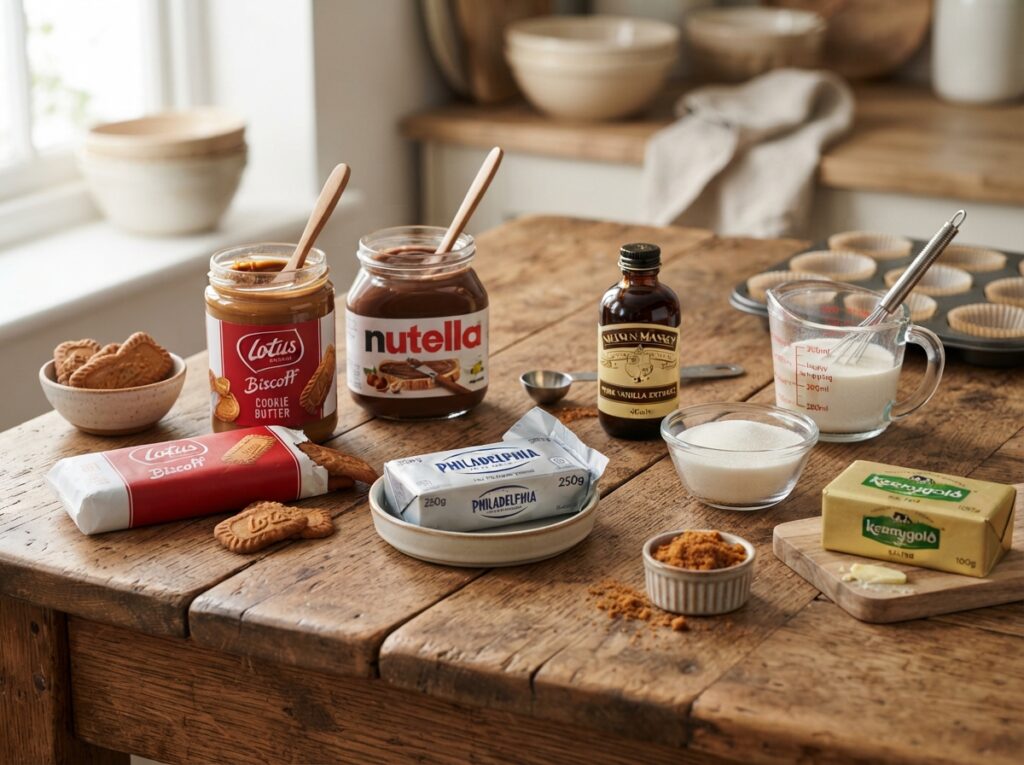
Gather these simple ingredients for six 4-inch no-bake mini cheesecakes with your choice of bases and toppings.
- 250g Biscoff cookies
- 24 Oreo cookies
- 4 tbsp melted butter
- 500g chilled all-purpose cream
- 450g room-temperature cream cheese
- 1/4 cup sugar
- 1 tsp vanilla extract
- 1 cup Nutella spread
- 2 tbsp gelatin powder
- 1/4 cup boiling water
- 3-4 tbsp Biscoff creamy spread
- 3-4 tbsp Nutella
- Blueberry toppings
- Parchment paper and square cake boxes
If cream cheese is unavailable, full-fat mascarpone works well for a richer texture. Swap Biscoff cookies with graham crackers or digestive biscuits. Gelatin can be replaced with agar-agar following package ratios for a vegetarian version, though setting time may vary slightly.
Check this out too: Homemade cookie crumb bases
Step-by-step instructions
Follow these clear steps to create silky no-bake mini cheesecakes with crisp bases and glossy toppings.
Step 1: Prepare the cookie bases
Crush 250g Biscoff cookies or 24 Oreos until fine crumbs form. Mix Oreo crumbs with 4 tbsp melted butter, then press firmly into parchment-lined 4-inch pans.
Step 2: Chill the bases
Place the filled pans in the refrigerator so the bases firm up. This creates a solid foundation that holds the creamy filling without crumbling later.
Step 3: Bloom the gelatin
Stir 2 tbsp gelatin powder into 1/4 cup boiling water until fully dissolved. Let the mixture cool slightly so it blends smoothly without cooking the cream.
Step 4: Whip the cream
Beat 500g chilled all-purpose cream with a mixer until soft peaks form. Keep the bowl cold for the lightest, most stable whipped cream possible.
Step 5: Mix the cheese filling
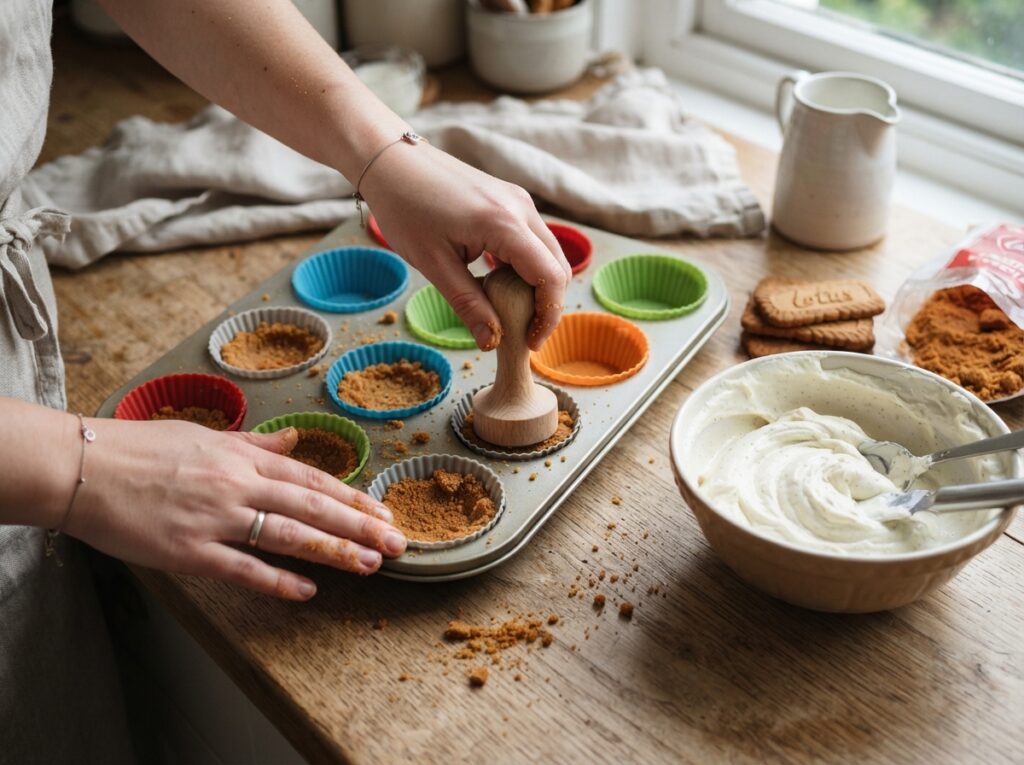
Beat 450g room-temperature cream cheese with 1/4 cup sugar and 1 tsp vanilla until smooth. For Nutella version, blend in 1 cup Nutella until fully combined.
Step 6: Combine and set
Gently fold the whipped cream and cooled gelatin mixture into the cream cheese. Spoon the filling over the chilled bases and smooth the tops evenly.
Step 7: Chill until firm
Refrigerate the pans for several hours or overnight until the filling sets completely. Carefully unmold each cake onto parchment-lined square boxes.
Step 8: Add the toppings
Microwave 3-4 tbsp Biscoff or Nutella briefly until pourable, then spoon over the cakes. Finish some with blueberry toppings for a fresh, colorful contrast.
Tips & common mistakes
A few careful habits ensure smooth filling and clean presentation every single time.
- Always use chilled cream for stable peaks
- Soften cream cheese fully to avoid lumps
- Cool gelatin before mixing into the cream
- Press bases firmly so they stay intact
Recipe variations
Simple swaps turn the basic formula into new flavor profiles without changing the method.
- Swap Biscoff for chocolate cookie crumbs
- Stir lemon zest into the cream cheese base
- Use strawberry or mango toppings instead
- Make a lighter version with reduced sugar
What to serve with this recipe
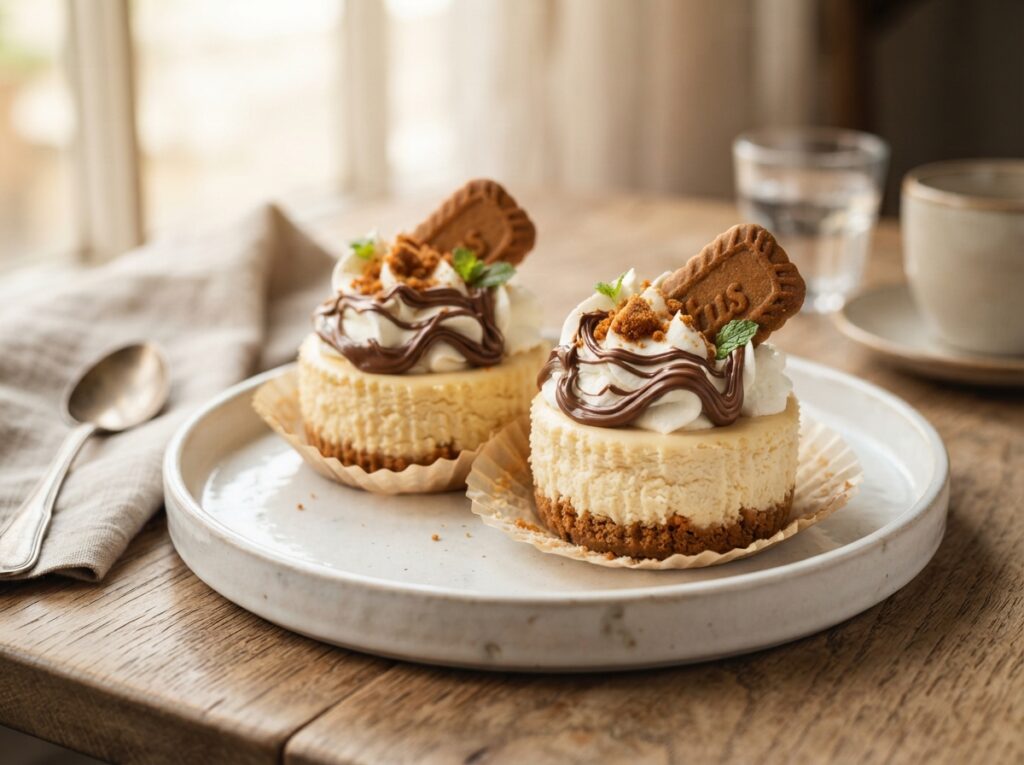
Pair these mini cheesecakes with simple sides that balance their richness and sweetness.
- Fresh berries or sliced seasonal fruit
- Hot espresso or creamy latte
- Light sparkling lemonade or iced tea
- Toasted nuts for extra crunch
Another reader favorite: Quick berry compote toppings
Frequently asked questions
These answers address the most common questions about making and storing the mini cheesecakes.
Can I make these cheesecakes ahead of time?
Yes, prepare them up to two days in advance and keep refrigerated. Add the glossy toppings just before serving for the freshest look and texture.
How do I unmold the cakes cleanly?
Run a thin knife around the edge of the pan after chilling. Gently push from the bottom while supporting the cake with your other hand.
Can I freeze the finished cheesecakes?
Freeze without toppings for up to one month. Thaw overnight in the refrigerator and add toppings once fully defrosted for best results.
What if I do not have gelatin?
Agar-agar can substitute, though the texture will be slightly firmer. Follow the package conversion and cool the mixture before folding it in.
Final thoughts
These no-bake mini cheesecakes prove that impressive desserts do not need complicated techniques or long baking times. The creamy filling, crisp bases, and customizable toppings make them perfect for gatherings or quiet evenings at home. Once you master the simple method, you will find yourself returning to it again and again. Try a batch this weekend and share your favorite topping combination in the comments below.