Crunchy Cheesy Beef Tacos
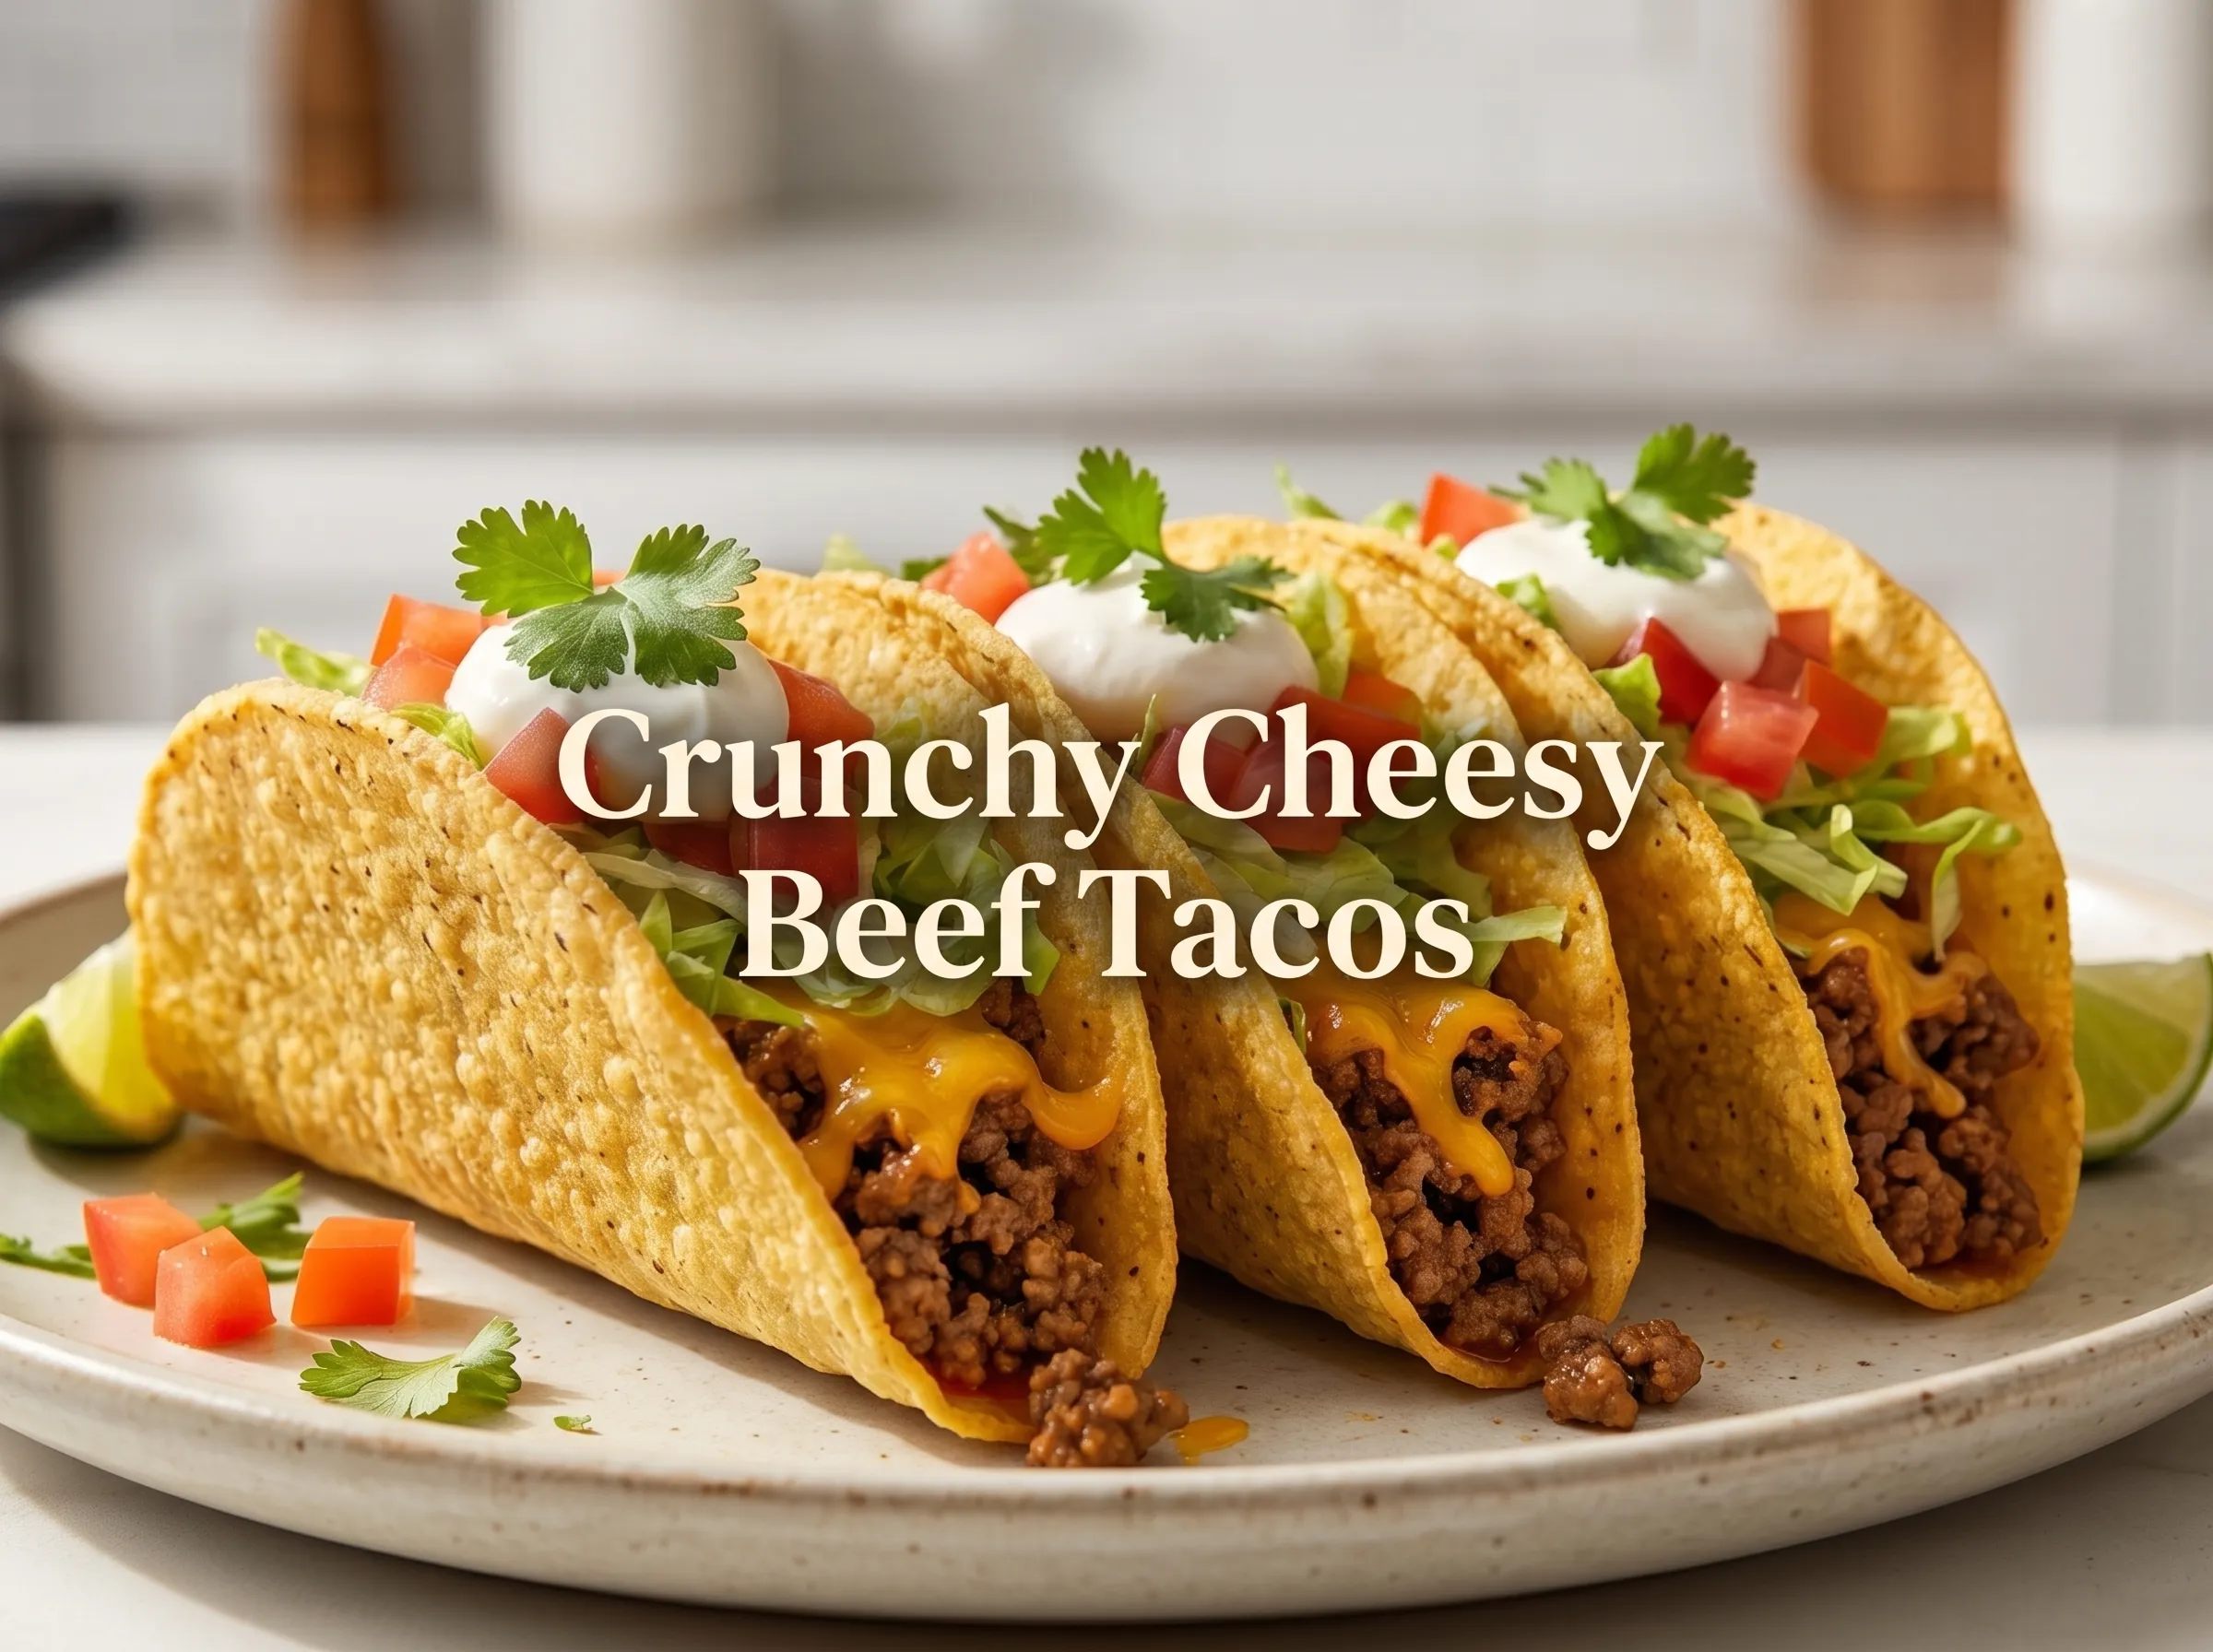
Crispy taco shells, juicy seasoned beef, and plenty of melted cheese come together in these irresistible Crunchy Cheesy Beef Tacos. Every bite has a satisfying crunch followed by rich, savory beef and gooey cheese.
This Crunchy Cheesy Beef Tacos Recipe is simple enough for a busy weeknight but delicious enough for a casual weekend dinner. The filling comes together quickly, and the tacos can be customized with favorite toppings.
The secret is keeping the beef flavorful without making it too wet. A well-seasoned beef filling pairs perfectly with crunchy taco shells and melted cheddar cheese.
Fresh lettuce, juicy tomatoes, creamy sour cream, and a little salsa add bright flavors and cool contrast. The result is a family-friendly taco dinner with plenty of texture in every bite.
For another easy Mexican-inspired dinner, try these easy cheesy steak quesadillas or serve the tacos alongside crispy loaded potato rounds for a fun sharing-style meal.
Ingredients
For the Beef Filling
- 1 pound (450 g) lean ground beef
- 1 tablespoon olive oil
- 1 small yellow onion, finely diced
- 2 cloves garlic, minced
- 1 tablespoon tomato paste
- 1 teaspoon ground cumin
- 1 teaspoon paprika
- 1 teaspoon chili powder
- 1/2 teaspoon dried oregano
- 1/2 teaspoon salt
- 1/4 teaspoon black pepper
- 1/4 cup (60 ml) water
For the Tacos
- 10 crunchy corn taco shells
- 1 1/2 cups (150 g) shredded cheddar cheese
- 1 cup shredded lettuce
- 1 medium tomato, diced
- 1/2 cup sour cream
- 1/2 cup mild salsa
- 2 tablespoons chopped fresh cilantro, optional
- 1 small lime, cut into wedges
Tools Needed
- Large skillet
- Wooden spoon or spatula
- Baking sheet
- Small knife
- Cutting board
- Measuring spoons
- Cheese grater, if shredding cheese from a block
Step-by-Step Instructions
1. Prepare the vegetables
Finely dice the onion and tomato. Mince the garlic and shred the lettuce if needed.
Keep the toppings ready before cooking the beef so the tacos can be assembled while everything is warm.
2. Cook the onion
Heat the olive oil in a large skillet over medium heat.
Add the diced onion and cook for about 2 to 3 minutes, until softened and slightly translucent.
3. Brown the beef
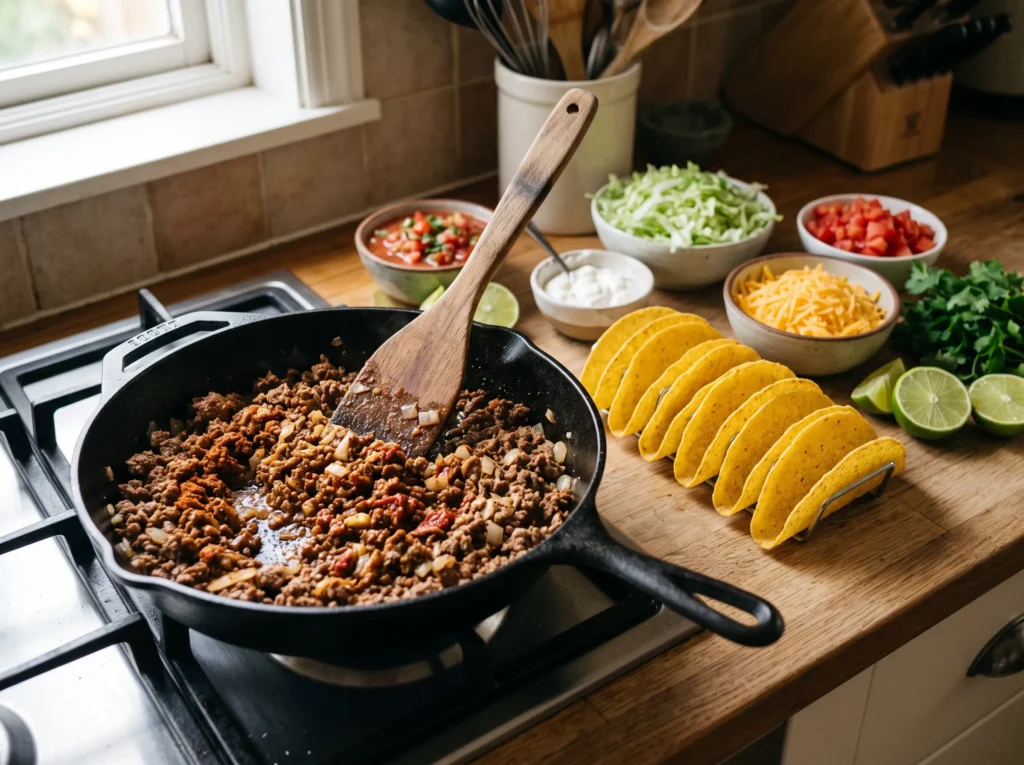
Add the ground beef to the skillet.
Break it apart with a wooden spoon and cook for 6 to 8 minutes, stirring occasionally, until browned and fully cooked.
If there is a large amount of excess fat, carefully drain it before continuing.
4. Add the garlic and seasonings
Add the minced garlic, tomato paste, cumin, paprika, chili powder, oregano, salt, and black pepper.
Stir well and cook for about 1 minute. The spices should become fragrant without burning.
5. Finish the beef filling
Pour in the water and stir everything together.
Cook for another 2 to 3 minutes, allowing the liquid to reduce slightly. The beef should be moist and flavorful but not watery.
Remove the skillet from the heat.
6. Warm the taco shells
Preheat the oven according to the taco shell package instructions.
Arrange the crunchy shells upright on a baking sheet and warm them until heated through.
Avoid overbaking, as the shells can become overly hard or develop a burnt flavor.
7. Add the cheese
Divide the seasoned beef among the warm taco shells.
Top each taco with shredded cheddar cheese.
Place the filled tacos back in the oven for 2 to 3 minutes, just until the cheese becomes melted and gooey.
8. Add the fresh toppings
Carefully remove the tacos from the oven.
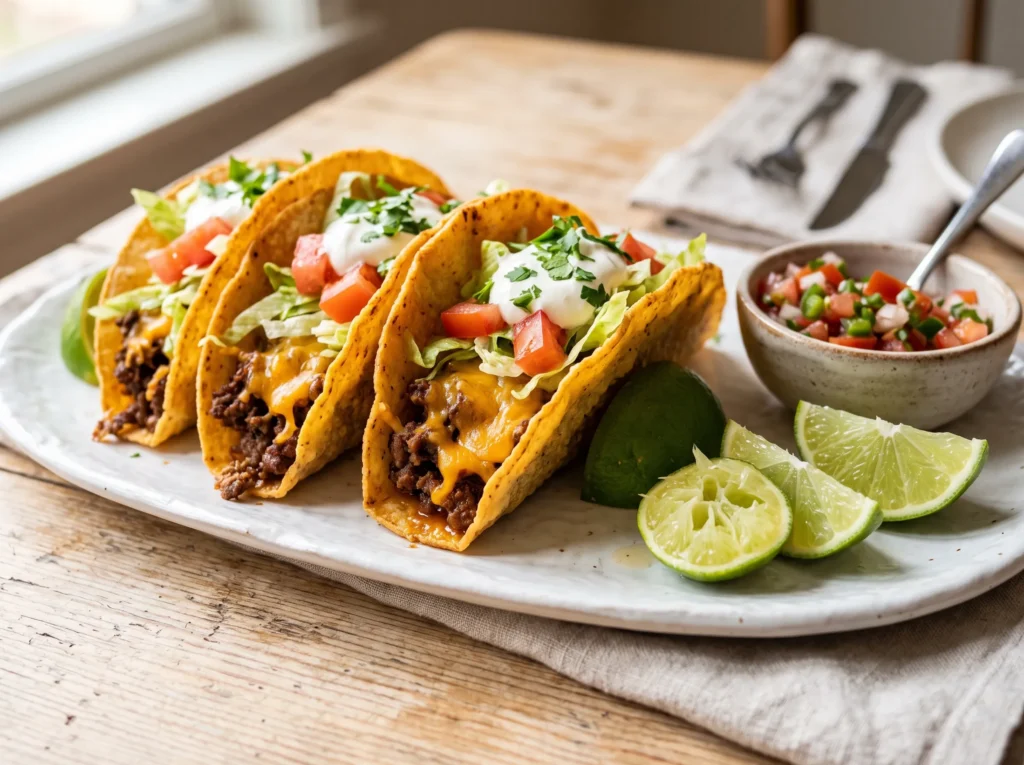
Top with shredded lettuce, diced tomato, sour cream, salsa, and chopped cilantro if desired.
9. Serve immediately
Finish each taco with a squeeze of fresh lime juice.
Serve while the shells are still crisp and the cheese is warm and melty.
Tips & Variations
Keep the beef filling fairly dry
The biggest enemy of crunchy tacos is excess moisture. Let the water reduce before filling the shells.
A thick, savory beef mixture keeps the taco shells crisp for longer.
Shred cheese for better melting
Freshly shredded cheddar melts smoothly and gives the tacos a rich, gooey finish.
Pre-shredded cheese can also work, making it a convenient option for busy cooks.
Use lean ground beef
Lean ground beef provides plenty of flavor without leaving the filling excessively greasy.
If using regular ground beef, drain excess fat after browning.
Adjust the spice level
For mild tacos, use a mild chili powder and mild salsa.
For more heat, add a pinch of crushed red pepper or use a spicy salsa. Jalapeño slices can also be added as a topping.
Try a different cheese
Cheddar is an easy choice, but Monterey Jack, Colby Jack, or a mild Mexican-style cheese blend can also be used.
A combination of cheddar and Monterey Jack creates an especially creamy, stretchy topping.
Add extra vegetables
Diced bell peppers, corn, or finely chopped mushrooms can be cooked with the onion.
Keep added vegetables finely chopped so the filling remains easy to spoon into the taco shells.
Make the tacos extra cheesy
For an even richer taco, sprinkle a little cheese into the bottom of each shell before adding the beef.
Add another layer of cheese over the beef before briefly warming the tacos in the oven.
Avoid overfilling
It can be tempting to pile the shells high, but too much filling can make them difficult to eat.
A moderate amount of beef followed by fresh toppings gives the best balance of crunch and flavor.
Common mistakes to avoid
Do not add watery salsa directly into the beef mixture unless the liquid is reduced completely.
Do not let the taco shells sit filled for a long time before serving. The moisture from the beef and toppings can soften the shells.
Do not cook the garlic for too long. Burnt garlic can make the entire filling taste bitter.
Storage & Serving
Crunchy tacos are best served immediately because the shells naturally soften as they sit with the warm filling and fresh toppings.
For leftovers, store the cooked beef separately from the taco shells and toppings.
Place cooled beef in an airtight container and refrigerate for up to 3 to 4 days.
The beef can also be frozen for up to 3 months. Allow it to cool completely before transferring it to a freezer-safe container or bag.
When ready to eat, thaw frozen beef in the refrigerator and reheat it in a skillet or microwave until steaming hot.
Warm fresh taco shells separately and assemble just before serving.
For the best texture, never freeze fully assembled tacos with lettuce, tomato, sour cream, and salsa.
These tacos pair well with simple sides such as seasoned rice, corn, black beans, fresh salad, or homemade potato wedges. A bowl of fresh salsa and extra sour cream also makes an easy serving option.
For a lighter side, a crisp tomato-cucumber salad adds refreshing crunch alongside the rich beef and cheese.
Frequently Asked Questions
Can crunchy beef tacos be made ahead of time?
The beef filling can be prepared ahead and refrigerated for up to 3 to 4 days. Assemble and warm the tacos shortly before serving for the best crunch.
Why do crunchy taco shells become soggy?
Moisture from the beef, salsa, sour cream, and vegetables can soften the shells. Keeping the filling relatively dry and adding wet toppings immediately before serving helps preserve the crunch.
Can ground turkey be used instead of beef?
Yes. Ground turkey can replace the ground beef using the same seasonings. Because turkey is leaner, an extra teaspoon of olive oil can help keep the filling moist.
What cheese is best for crunchy tacos?
Cheddar works especially well because it has a rich flavor and melts nicely. Monterey Jack, Colby Jack, or a mild cheese blend are also excellent choices.
Are these tacos spicy?
The basic recipe has a mild-to-medium level of spice. The heat can easily be adjusted by changing the chili powder and salsa.
Can flour taco shells be used?
Yes, although the texture will be different. Crunchy corn shells provide the classic crisp bite, while flour-based shells are softer and more flexible.
How can tacos stay crispy longer?
Avoid watery fillings, drain excess beef fat, and assemble the tacos as close to serving time as possible. Keeping lettuce and tomato well drained also helps.
Can the beef filling be frozen?
Yes. Cooked beef filling freezes well for up to 3 months when stored properly in an airtight freezer-safe container.
What toppings go well with beef tacos?
Lettuce, tomato, cheddar cheese, sour cream, salsa, cilantro, and lime are simple choices. Diced avocado, jalapeños, corn, or black beans can also be added.
Can the tacos be made without sour cream?
Absolutely. Sour cream can be replaced with plain Greek yogurt, or simply left out. Salsa and fresh lime provide plenty of moisture and flavor.
Conclusion
These Crunchy Cheesy Beef Tacos bring together everything that makes taco night satisfying: crisp shells, juicy seasoned beef, creamy melted cheese, and fresh toppings.
The recipe uses simple ingredients and straightforward steps, making it an excellent choice for beginners and busy home cooks.
The combination of crunchy, savory, creamy, and fresh textures makes every bite exciting. Serve the tacos hot with lime wedges and favorite sides for an easy dinner everyone can enjoy.
For a quick weeknight meal with plenty of flavor and minimal fuss, this Crunchy Cheesy Beef Tacos Recipe is a delicious choice. Prepare a batch, add favorite toppings, and enjoy them while the shells are perfectly crisp.