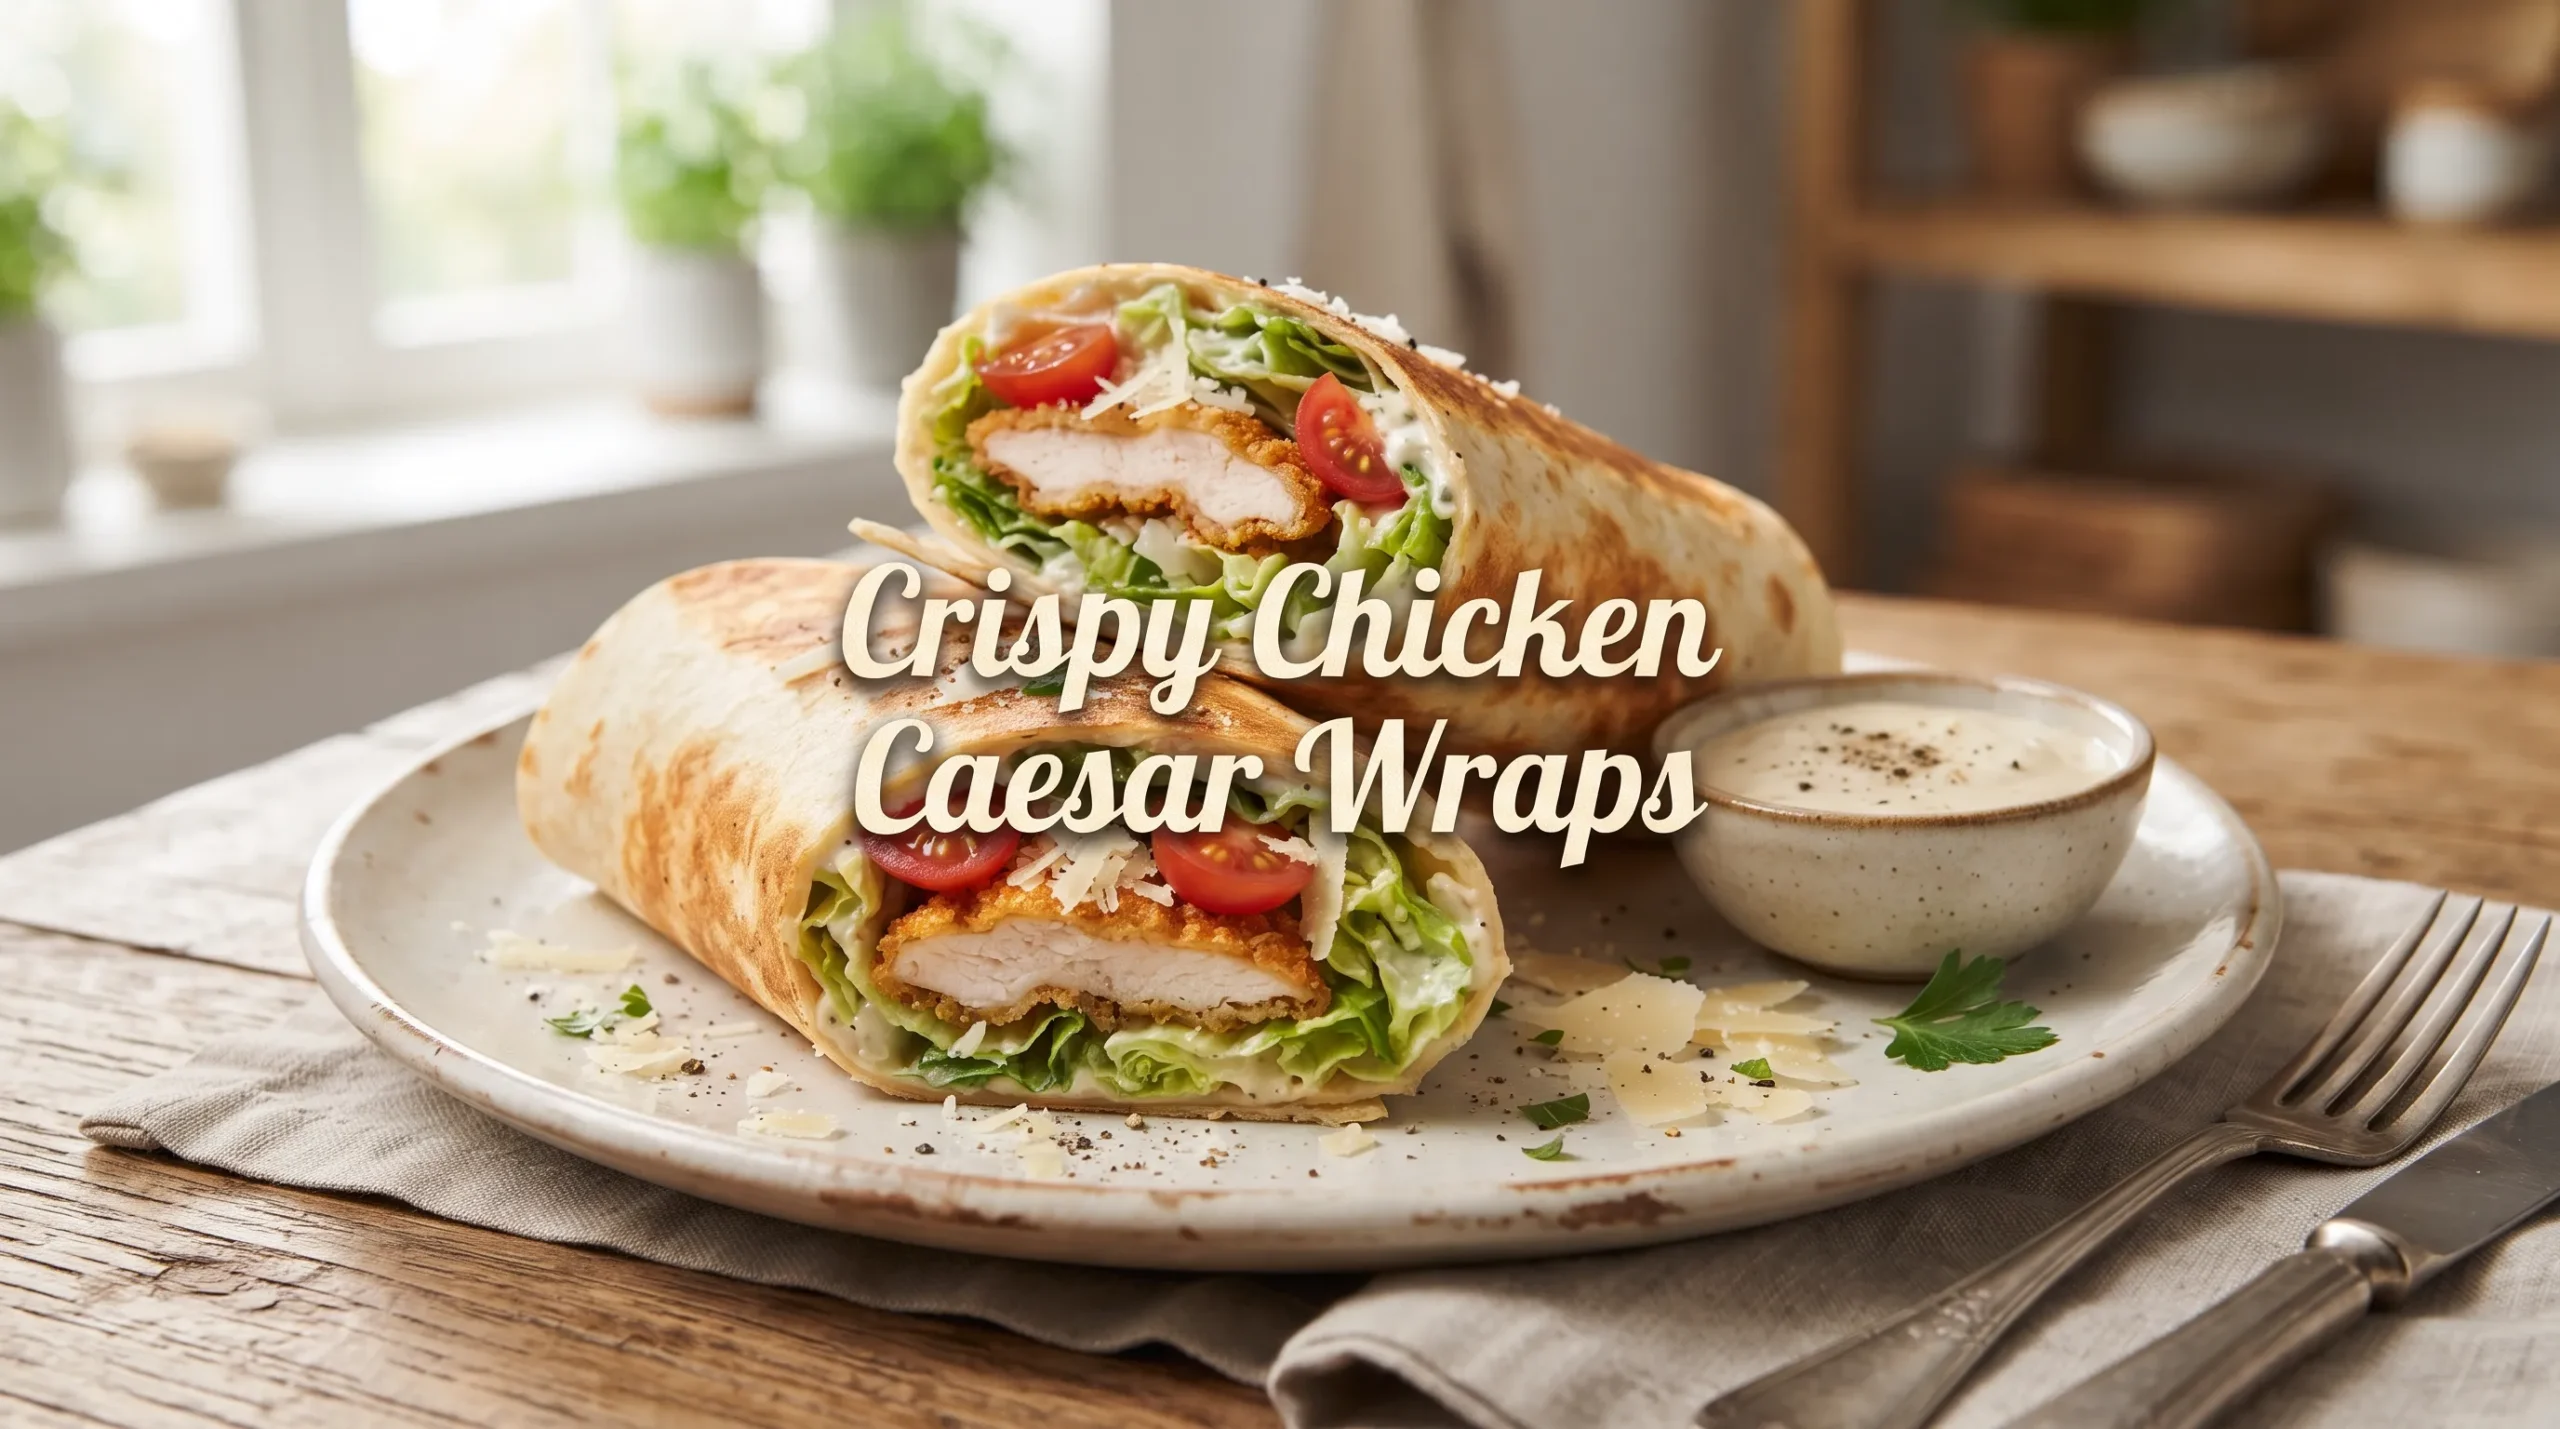
Crispy Chicken Caesar Wraps
Golden, crunchy chicken tucked into a soft tortilla with crisp lettuce, creamy Caesar dressing, and savory Parmesan makes these Crispy Chicken Caesar Wraps an easy lunch worth repeating.
The chicken has a crisp, seasoned coating on the outside while staying juicy and tender inside. Fresh romaine adds a cool crunch, and the creamy Caesar dressing brings everything together with a rich, tangy flavor.
These wraps are especially useful for busy weekdays because the chicken can be prepared ahead and the filling comes together quickly. They are filling without feeling overly heavy and work beautifully for lunch, picnics, casual dinners, or meal prep.
The recipe uses halal-friendly ingredients and contains no alcohol. A simple homemade Caesar-style dressing keeps the flavor creamy and fresh without complicated ingredients.
For another quick handheld meal, try this easy crispy chicken wrap recipe.
Ingredients
For the Crispy Chicken
- 500 g boneless, skinless chicken breasts
- 1/2 teaspoon salt
- 1/2 teaspoon paprika
- 1/2 teaspoon garlic powder
- 1/4 teaspoon black pepper
- 1/4 teaspoon onion powder
- 1/2 teaspoon dried oregano
- 1 large egg
- 2 tablespoons milk
- 80 g all-purpose flour
- 60 g plain breadcrumbs
- 40 g panko breadcrumbs
- 3 tablespoons vegetable oil, for pan-frying
For the Caesar-Style Dressing
- 5 tablespoons mayonnaise
- 2 tablespoons plain Greek yogurt
- 1 tablespoon lemon juice
- 1 teaspoon Dijon mustard
- 1 small garlic clove, finely grated
- 25 g finely grated Parmesan cheese
- 1/4 teaspoon black pepper
- 1/4 teaspoon salt
For the Wraps
- 4 large flour tortillas
- 3 cups chopped romaine lettuce
- 1/2 cup finely grated Parmesan cheese
- 1/2 cup cherry tomatoes, halved
- 1/4 cup crispy breadcrumbs, optional
- 2 tablespoons extra Caesar-style dressing, for drizzling
Tools & Equipment
- Large skillet
- Cutting board
- Sharp knife
- Three shallow bowls
- Small mixing bowl
- Whisk or spoon
- Tongs or spatula
- Paper towels
- Measuring spoons and kitchen scale
Step-by-Step Instructions
1. Prepare the Chicken
Place the chicken breasts on a cutting board.
If they are thick, slice them horizontally or gently pound them until they are about 1–1.5 cm thick.
This helps the chicken cook evenly and makes it easier to fit inside the tortillas.
2. Season the Chicken
Mix the salt, paprika, garlic powder, black pepper, onion powder, and dried oregano in a small bowl.
Sprinkle the seasoning evenly over both sides of the chicken.
Gently press the seasoning onto the surface.
3. Set Up the Coating
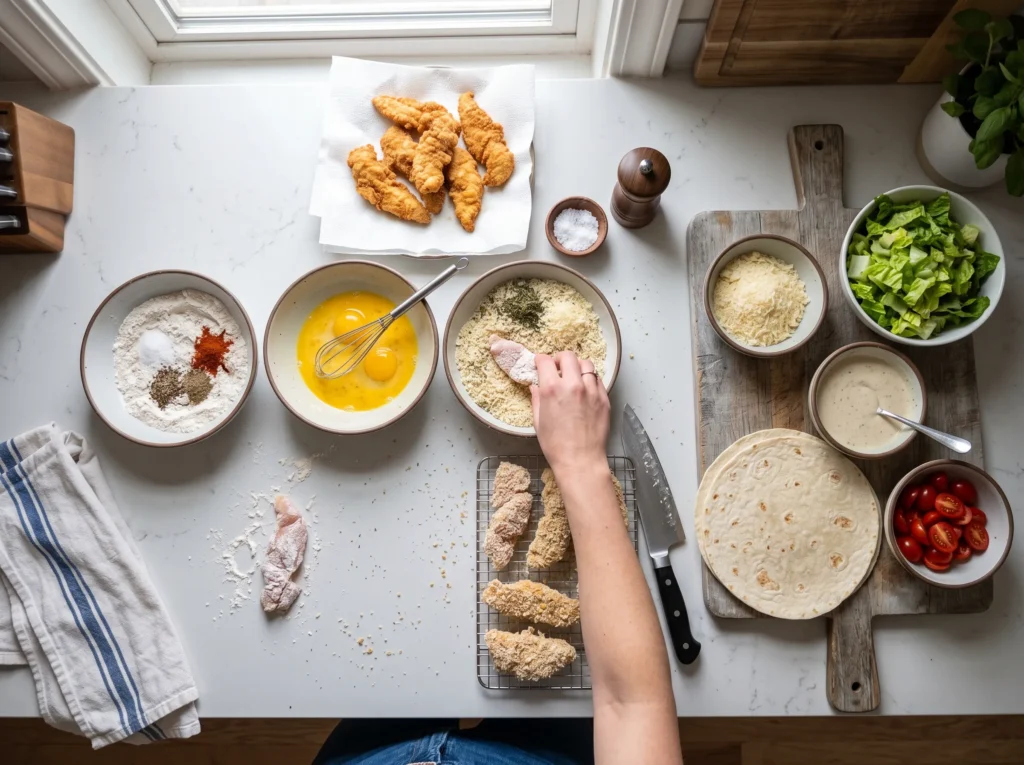
Place the flour in one shallow bowl.
In a second bowl, whisk together the egg and milk.
In a third bowl, combine the plain breadcrumbs and panko breadcrumbs.
The combination of regular breadcrumbs and panko creates a crisp, textured coating.
4. Coat the Chicken
Take one seasoned chicken piece and coat it lightly in flour.
Dip it into the egg mixture, allowing excess egg to drip away.
Finally, press it into the breadcrumb mixture until completely coated.
Repeat with the remaining chicken pieces.
5. Heat the Oil
Pour the vegetable oil into a large skillet.
Heat over medium heat until the oil is hot but not smoking.
A small breadcrumb dropped into the pan should sizzle immediately.
6. Cook the Chicken
Carefully place the coated chicken into the skillet.
Cook for approximately 4–5 minutes on each side, depending on thickness.
The coating should become deep golden and crispy, while the chicken should reach 74°C (165°F) in the center.
Avoid overcrowding the pan. Cook in batches if necessary.
7. Drain and Rest
Transfer the cooked chicken to a paper towel-lined plate.
Allow it to rest for about 5 minutes.
Resting keeps the chicken juicy and makes it easier to slice without losing too much moisture.
8. Make the Caesar-Style Dressing
Add the mayonnaise, Greek yogurt, lemon juice, Dijon mustard, grated garlic, Parmesan, black pepper, and salt to a small bowl.
Mix until smooth and creamy.
Taste and adjust the lemon juice or seasoning if needed.
The dressing should be creamy, tangy, garlicky, and rich without being too heavy.
9. Prepare the Lettuce Filling
Place the chopped romaine lettuce in a bowl.
Add half of the Caesar-style dressing and toss gently until the lettuce is lightly coated.
Avoid adding too much dressing because excess moisture can make the tortillas soggy.
10. Slice the Chicken
Use a sharp knife to slice the crispy chicken into thin strips.
Keep the pieces fairly small so each bite contains chicken, lettuce, dressing, and Parmesan.
11. Warm the Tortillas
Warm each tortilla in a dry skillet for about 10–15 seconds per side.
The tortillas should become soft and flexible.
Do not overheat them or they may become dry and difficult to roll.
12. Build the Wraps
Lay one tortilla flat.
Place a portion of dressed romaine in the center.
Add sliced crispy chicken, Parmesan cheese, and halved cherry tomatoes.
Add a little extra Caesar-style dressing and sprinkle with crispy breadcrumbs if using.
Keep the filling slightly below the center of the tortilla.
13. Fold the Wrap
Fold the bottom edge of the tortilla over the filling.
Fold both sides inward.
Roll the wrap firmly upward until the filling is completely enclosed.
Repeat with the remaining tortillas.
14. Crisp the Finished Wraps
For extra crunch, place the wrapped tortillas seam-side down in a dry skillet over medium-low heat.
Toast for about 1–2 minutes per side until lightly golden.
This optional step gives the tortilla a warm, crisp exterior while keeping the filling creamy and tender.
15. Slice and Serve
Let each wrap rest for about 1 minute.
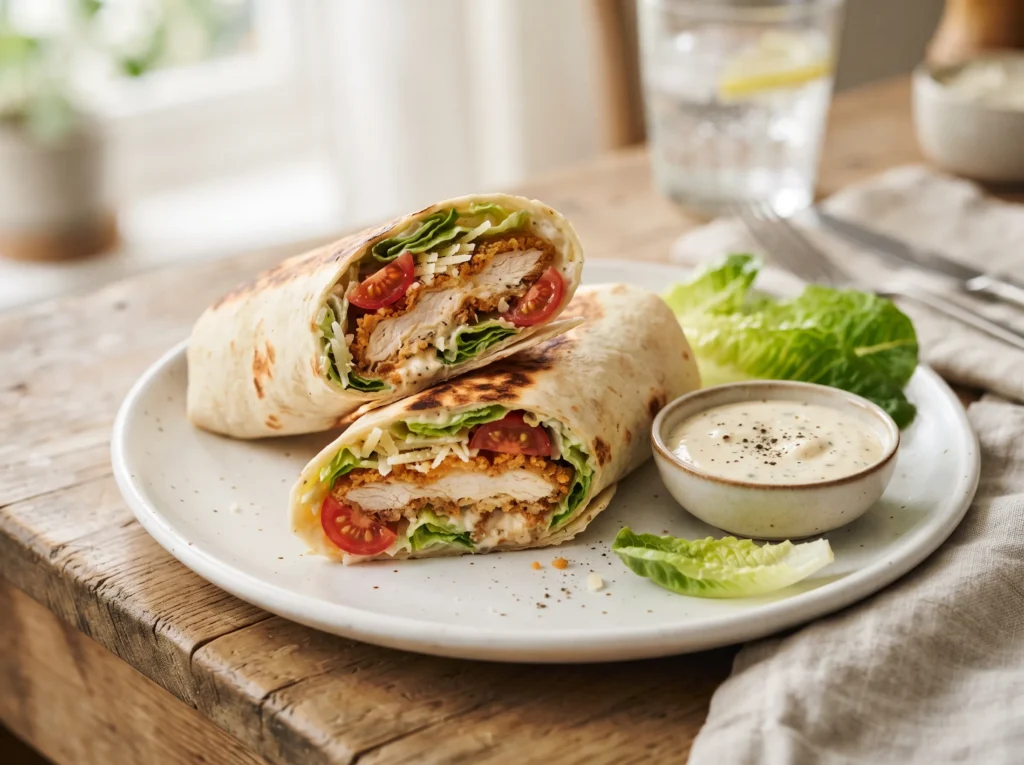
Slice diagonally through the center and serve immediately.
The best bite combines crisp chicken, cool crunchy romaine, creamy dressing, Parmesan, and a soft toasted tortilla.
Crispy Chicken Caesar Wraps Tips & Variations
Keep the Chicken Evenly Thick
Uneven chicken pieces can cook at different speeds.
Pounding the chicken to an even thickness helps the coating turn golden before the inside becomes overcooked.
Use Panko for Extra Crunch
Panko breadcrumbs have larger flakes than regular breadcrumbs.
They create a lighter, crispier coating that stays pleasantly crunchy inside the wrap.
Do Not Overcrowd the Pan
Too many chicken pieces at once can lower the oil temperature.
This can result in a greasy coating instead of a crisp one.
Give each piece enough space to brown properly.
Drain the Chicken Properly
Place the cooked chicken on a paper towel-lined plate for a few minutes.
Avoid stacking hot chicken pieces because trapped steam can soften the crispy coating.
Dry the Romaine Well
Water left on the lettuce can dilute the dressing and soften the tortilla.
After washing the romaine, dry it thoroughly before chopping.
Use Fresh Parmesan
Freshly grated Parmesan melts into the dressing more smoothly and provides a stronger savory flavor.
Pre-grated cheese can still work, but freshly grated Parmesan gives the best texture.
Make the Dressing Lighter
For a lighter Caesar-style dressing, replace some of the mayonnaise with Greek yogurt.
The dressing will remain creamy while having a fresher, slightly tangier taste.
Add a Spicy Kick
Add a pinch of chili flakes or a small amount of halal-friendly hot sauce to the dressing.
Spicy chicken can also be made by adding a little cayenne pepper to the breadcrumb mixture.
Try Grilled Chicken
For a lighter variation, replace the crispy chicken with grilled seasoned chicken.
The wrap will have less crunch but still deliver the creamy Caesar flavor.
Add Avocado
Thin avocado slices add a buttery, creamy texture.
Add them just before rolling the wraps so they stay fresh and firm.
Use a Whole-Wheat Tortilla
Whole-wheat tortillas add a slightly nutty flavor and extra texture.
Choose large tortillas that are flexible enough to fold without cracking.
Avoid Overfilling
A generously filled wrap is delicious, but too much filling makes rolling difficult.
Keep the ingredients centered and leave enough tortilla around the edges for folding.
For another quick lunch option, this creamy chicken salad wrap is an easy alternative.
Storage & Serving
Crispy Chicken Caesar Wraps are best served immediately after assembly.
The longer the dressed lettuce sits inside the tortilla, the softer the wrap becomes.
For meal prep, keep the components separate. Store the cooked chicken, dressing, chopped lettuce, Parmesan, tomatoes, and tortillas in separate containers.
Cooked chicken can generally be refrigerated for 3–4 days when stored properly.
The Caesar-style dressing can be kept refrigerated in an airtight container for about 3–4 days.
Assemble each wrap shortly before eating for the best texture.
Freezing the finished wrap is not recommended because the lettuce, creamy dressing, and tomatoes can become watery after thawing.
For a complete meal, serve the wraps with potato wedges, cucumber salad, coleslaw, fresh fruit, or a simple vegetable soup.
A small bowl of extra Caesar-style dressing can also be served on the side for dipping.
For a lighter plate, skip the extra dressing and serve the wrap with a fresh green salad.
Frequently Asked Questions
1. Can chicken Caesar wraps be made ahead of time?
Yes, but the components should ideally be stored separately. Assemble the wrap shortly before serving to keep the tortilla and crispy chicken from becoming soft.
2. How do you keep crispy chicken crispy in a wrap?
Let the chicken cool slightly before assembling and avoid adding excessive dressing. Toasting the finished wrap briefly in a dry skillet also helps restore some crispness.
3. Can an air fryer be used for the chicken?
Yes. Breaded chicken can be air-fried until golden and fully cooked. Cooking time varies according to thickness and the specific air fryer, so check that the center reaches 74°C (165°F).
4. Can chicken thighs be used?
Yes. Boneless, skinless chicken thighs are a flavorful alternative and tend to remain juicy. They may require slightly different cooking times because of their thickness.
5. What can replace Parmesan cheese?
A mild hard cheese can be used if Parmesan is unavailable. The flavor will be slightly different, but the creamy dressing will still work well.
6. Can the Caesar dressing be made without anchovies?
Yes. This recipe is already designed without anchovies, making it simple, halal-friendly, and easy to prepare with common ingredients.
7. Why does the tortilla become soggy?
Excess dressing, wet lettuce, and juicy tomatoes can release moisture into the tortilla. Dry the vegetables well and use only enough dressing to lightly coat the filling.
8. What lettuce is best for a Caesar wrap?
Romaine is the best choice because it has sturdy leaves and a naturally crisp texture. It holds up well against creamy dressing and warm chicken.
Conclusion
Crispy chicken, crunchy romaine, creamy Caesar-style dressing, Parmesan, and soft toasted tortillas come together beautifully in these Crispy Chicken Caesar Wraps.
The recipe is simple enough for a busy weekday while still delivering the satisfying texture of a restaurant-style wrap.
Keep the chicken golden and crisp, use fresh crunchy lettuce, and assemble the wraps just before serving for the best result.
With a few easy ingredient swaps, the recipe can also be made lighter, spicier, or more filling.
These Crispy Chicken Caesar Wraps are a delicious choice for lunch, dinner, picnics, or casual family meals.