Biscoff Lava Cake
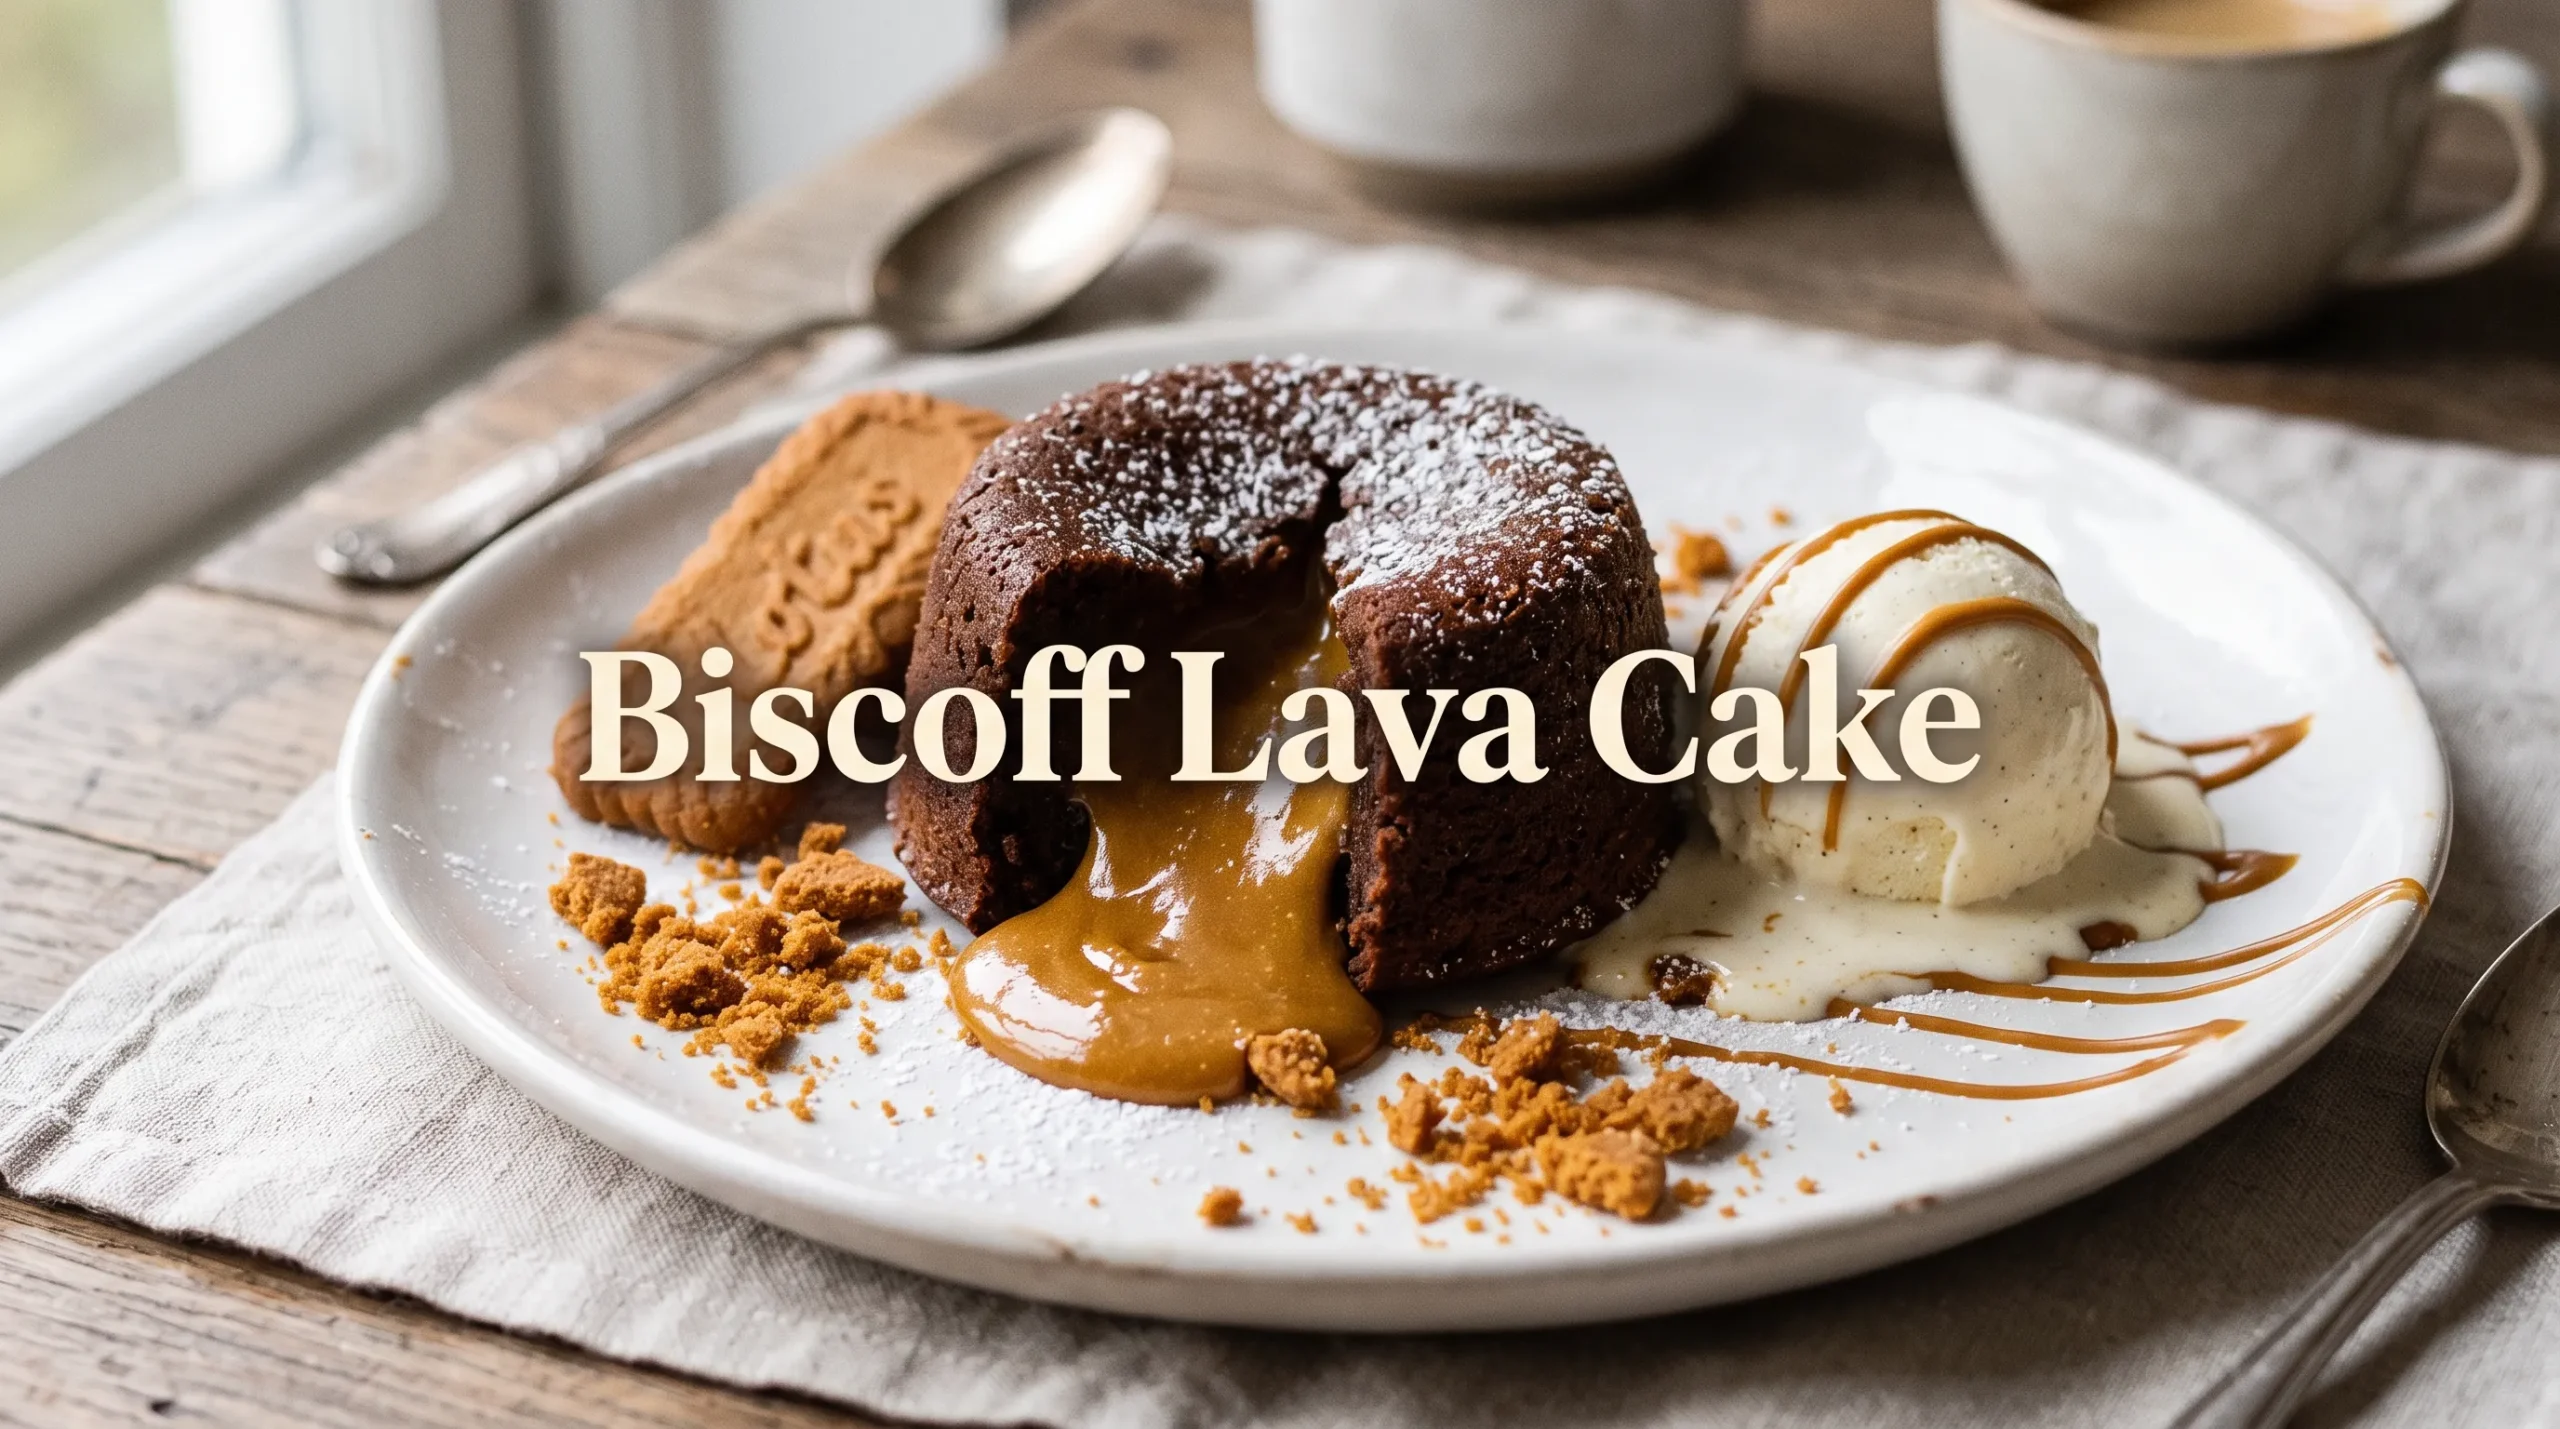
Cut into a warm Biscoff Lava Cake and watch the thick, golden cookie butter center slowly flow onto the plate. The outside is soft and chocolatey, while the middle stays rich, creamy, and irresistibly gooey.
This easy dessert combines a classic molten chocolate cake with the sweet, spiced flavor of Biscoff cookie butter. Crushed Biscoff biscuits add extra crunch and make the dessert even more tempting.
The best part is that this recipe looks impressive but is surprisingly simple. The batter comes together in one bowl, and the cakes bake in individual ramekins for an elegant dessert that feels special without complicated techniques.
The secret to a perfect molten center is baking time. The edges need to be set while the middle remains soft enough for the cookie butter filling to melt.
This Biscoff Lava Cake is perfect for date nights, dinner parties, family dessert, or a cozy weekend treat. It can be served straight from the oven with vanilla ice cream, whipped cream, or a light dusting of powdered sugar.
For another indulgent dessert, serve it alongside [an easy chocolate brownie recipe] or add [a creamy homemade vanilla ice cream] for a classic warm-and-cold combination.
The flavor is rich without being complicated. Chocolate provides a deep, bittersweet base, while Biscoff cookie butter adds caramel-like sweetness and gentle cinnamon-spice notes.
A few crushed biscuits on top provide a delicate crunch against the soft cake and creamy center.
This recipe uses simple ingredients commonly found in a home kitchen. No alcohol or complicated flavoring is needed, making it suitable for a halal-friendly dessert table when all packaged ingredients are checked for suitable ingredients.
Ingredients
For the Lava Cakes
- 4 ounces semi-sweet chocolate, finely chopped
- 1/2 cup unsalted butter
- 2 large eggs
- 2 large egg yolks
- 1/3 cup granulated sugar
- 1 teaspoon vanilla extract
- 1/4 teaspoon salt
- 1/2 cup all-purpose flour
- 1/4 cup unsweetened cocoa powder
- 1/2 teaspoon baking powder
For the Biscoff Filling
- 1/2 cup Biscoff cookie butter
- 2 tablespoons finely crushed Biscoff biscuits
For Preparing the Ramekins
- 1 tablespoon softened unsalted butter
- 1 tablespoon unsweetened cocoa powder
For Serving
- 4 Biscoff biscuits, broken into pieces
- 1/4 cup powdered sugar
- 1 cup vanilla ice cream
- Extra Biscoff cookie butter, slightly warmed, optional
Tools Needed
- 4 small ramekins, about 6 ounces each
- Microwave-safe bowl or heatproof bowl
- Mixing bowl
- Whisk
- Rubber spatula
- Measuring cups and spoons
- Baking sheet
- Small spoon
- Cooling rack, optional
Step-by-Step Instructions
1. Prepare the Ramekins
Preheat the oven to 400°F.
Grease four 6-ounce ramekins generously with softened butter.
Dust the inside of each ramekin with cocoa powder, turning the ramekin until the bottom and sides are lightly coated. Shake out any excess.
This coating helps the cakes release more easily after baking.
2. Prepare the Biscoff Filling
Place the Biscoff cookie butter in a small bowl.
Add the crushed Biscoff biscuits and stir until combined.
Divide the mixture into four small portions and place them on a parchment-lined plate.
Chill the portions for about 10 minutes while preparing the cake batter. Slightly chilled cookie butter is easier to place in the center of the batter.
3. Melt the Chocolate and Butter
Add the chopped chocolate and butter to a microwave-safe bowl.
Heat in 20-second intervals, stirring between each interval, until completely melted and smooth.
The mixture should look glossy and fluid.
Allow it to cool for a few minutes before adding the eggs.
4. Whisk the Eggs and Sugar
Add the eggs, egg yolks, sugar, vanilla extract, and salt to a mixing bowl.
Whisk for about 1 minute, until the mixture looks smooth and slightly lighter.
There is no need to whip the eggs to a thick foam. A simple whisking is enough.
5. Add the Chocolate Mixture
Slowly pour the melted chocolate and butter into the egg mixture.
Whisk gently until everything is evenly combined.
The batter should become smooth, glossy, and rich.
6. Add the Dry Ingredients
Sift the flour, cocoa powder, and baking powder over the chocolate mixture.
Use a rubber spatula to fold the dry ingredients into the batter.
Stop mixing as soon as no dry streaks remain. Overmixing can make the cakes heavier.
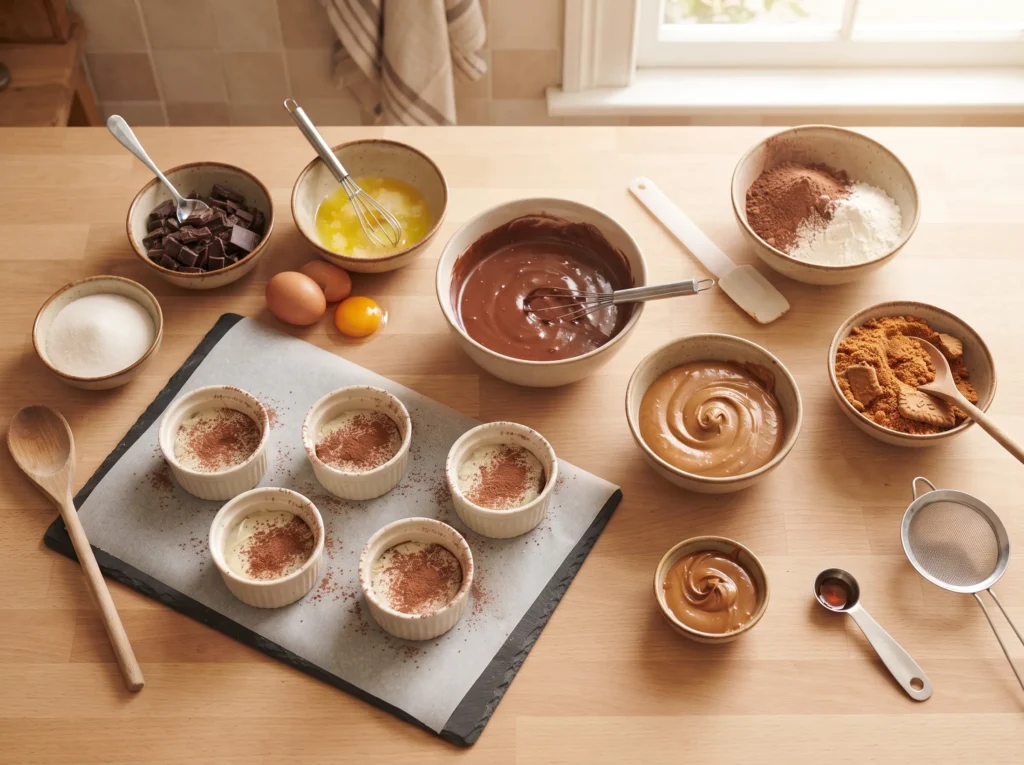
7. Fill the Ramekins
Spoon about half of the batter evenly into the prepared ramekins.
Place one chilled portion of Biscoff filling in the center of each cake.
Keep the filling away from the sides of the ramekins so it stays enclosed during baking.
8. Cover the Filling
Divide the remaining batter between the four ramekins.
Make sure the Biscoff filling is completely covered.
Smooth the tops gently with a spoon or spatula.
9. Bake the Lava Cakes
Place the ramekins on a baking sheet.
Bake for about 10 to 12 minutes.
The edges should look firm and set, while the centers should still have a slight softness.
Do not overbake. A few extra minutes can turn the molten center into a fully set cake.
10. Rest Briefly
Remove the ramekins from the oven.
Let the cakes rest for about 1 minute.
Do not leave them sitting for too long because the residual heat will continue cooking the centers.
11. Turn Out the Cakes
Place a serving plate upside down over each ramekin.
Carefully flip the ramekin and plate together.
Lift the ramekin slowly.
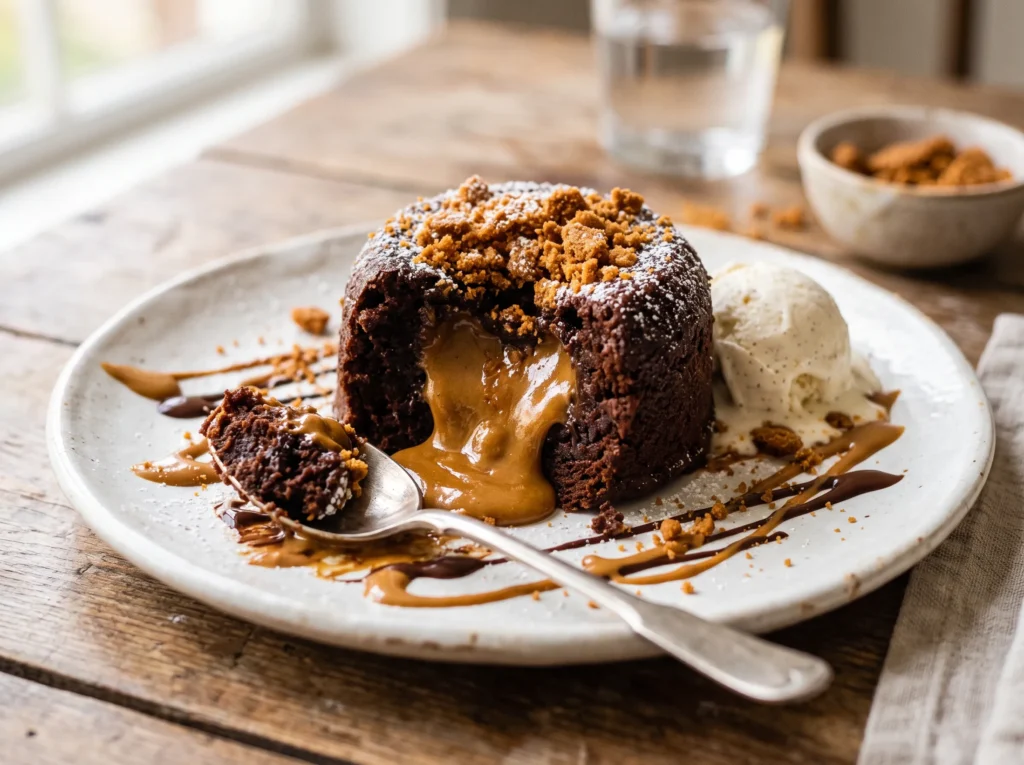
The cake should release onto the plate with a soft, set exterior and a warm Biscoff center.
12. Add the Toppings
Dust the cakes lightly with powdered sugar.
Add a scoop of vanilla ice cream beside each cake.
Finish with broken Biscoff biscuits and, if desired, a thin drizzle of slightly warmed cookie butter.
Serve immediately while the center is warm and gooey.
Tips & Variations
Use Room-Temperature Eggs
Room-temperature eggs mix more easily with the melted chocolate and butter.
If the eggs are cold, place them in warm water for a few minutes before using.
Do Not Overheat the Chocolate
Chocolate can become thick or grainy when overheated.
Short microwave intervals with frequent stirring are safer than heating it continuously.
Chill the Biscoff Filling
Slightly chilled cookie butter is easier to handle and place in the middle of the batter.
It also helps create a more defined molten center during baking.
Do Not Overmix the Batter
Once the flour is added, fold gently.
Overmixing develops gluten and can make the finished cakes less tender.
Watch the Baking Time
Every oven is slightly different, so the first batch may require a little adjustment.
Start checking at 10 minutes. The edges should be firm while the centers still look slightly soft.
Use the Right Ramekins
Six-ounce ramekins are ideal for this amount of batter.
Larger or smaller ramekins will change the baking time, so adjust carefully if using a different size.
Grease Thoroughly
Make sure the butter reaches the bottom corners and sides of each ramekin.
A light coating of cocoa powder provides an additional layer that helps the cakes release cleanly.
Use Good-Quality Chocolate
Chocolate is a major part of the cake, so choose a chocolate with a flavor that tastes good on its own.
Semi-sweet chocolate provides a balanced base that works especially well with sweet Biscoff cookie butter.
Make the Center Extra Gooey
For an especially molten middle, avoid adding extra flour and do not extend the baking time.
The goal is a set outer cake with a soft center.
Add a Peanut Butter Twist
Biscoff cookie butter can be combined with a small amount of creamy peanut butter for a nutty variation.
Use 1 tablespoon peanut butter mixed with 3 tablespoons Biscoff cookie butter.
Add White Chocolate
A few small pieces of white chocolate can be placed in the center with the cookie butter.
This creates a sweeter, creamier filling.
Add Extra Biscuit Crunch
For a stronger Biscoff flavor, sprinkle finely crushed biscuits into the ramekins before adding the batter.
Keep the layer thin so the cakes can still release easily.
Make Individual Mini Cakes
Smaller ramekins can be used to create smaller portions.
Begin checking them several minutes earlier because smaller cakes cook faster.
Serve With Fresh Berries
Fresh strawberries or raspberries provide a bright contrast to the rich chocolate and sweet cookie butter.
The slight tartness helps balance the dessert.
Avoid These Common Mistakes
Do not fill the ramekins all the way to the top.
Do not skip greasing the ramekins.
Do not overbake the cakes if a molten center is the goal.
Do not try to flip the cakes immediately after removing them from the oven. A short one-minute rest makes handling easier.
Storage & Serving
How to Store Leftovers
Lava cakes are best served immediately because the center is designed to remain molten.
If leftovers are necessary, allow the cakes to cool completely before covering and refrigerating.
Store them in an airtight container in the refrigerator for up to 2 days.
How to Reheat
Place a refrigerated cake on a microwave-safe plate.
Heat for about 10 to 15 seconds at a time until warmed through.
The center may not return to exactly the same molten texture as freshly baked cake, so reheating should be gentle.
Can Biscoff Lava Cake Be Frozen?
Yes. Unbaked filled cakes can be frozen before baking.
Cover the filled ramekins tightly and freeze for up to 1 month.
Bake directly from frozen, adding a few extra minutes to the baking time. Check the center carefully during the first attempt because freezer temperature and ramekin size can affect the timing.
Make-Ahead Option
The cakes can be assembled several hours ahead and refrigerated before baking.
Cover the ramekins tightly and bring them out while the oven preheats.
Because the batter is chilled, the cakes may need an extra minute or two in the oven.
Best Serving Temperature
Serve Biscoff lava cakes warm.
The contrast between the soft chocolate cake, flowing cookie butter center, and cold vanilla ice cream makes the dessert especially satisfying.
Serving Ideas
A scoop of vanilla ice cream is the simplest pairing.
Whipped cream, sliced strawberries, crushed Biscoff biscuits, chocolate shavings, or a light dusting of powdered sugar also work beautifully.
For another cozy dessert combination, pair the cake with [a warm homemade chocolate pudding] or [an easy cinnamon apple dessert].
Frequently Asked Questions
1. Why is the center of my lava cake not runny?
The most common reason is overbaking.
Even one or two extra minutes can cause the center to set. Start checking the cakes at the lower end of the recommended baking time.
2. Can Biscoff spread be used instead of cookie butter?
Yes. Biscoff spread and cookie butter can generally be used interchangeably in this recipe.
Choose a smooth variety for the easiest filling.
3. Can this recipe be made without eggs?
Eggs help provide structure and contribute to the soft texture of the lava cake.
An egg-free version would require a different formula, so simply removing the eggs is not recommended.
4. Can milk chocolate be used?
Yes. Milk chocolate can replace semi-sweet chocolate.
The finished dessert will be sweeter and have a softer chocolate flavor, so reducing the sugar slightly can help balance it.
5. Can the lava cakes be made without cocoa powder?
The cocoa powder adds chocolate flavor and helps coat the ramekins.
For the cake batter, it is better to keep the cocoa powder because removing it changes the balance of the dry ingredients.
6. How do you know when a lava cake is done?
The edges should look firm and baked, while the center should remain slightly soft.
A small wobble in the middle is a good sign. A completely firm center usually means the cake has been baked too long for a molten texture.
7. Can Biscoff Lava Cake be made in a muffin pan?
Yes, but the portions will be smaller and cook faster.
Grease the muffin cavities very well and begin checking the cakes several minutes before the standard baking time.
8. Can the cakes be prepared ahead?
Yes. Assemble the cakes, cover them, and refrigerate them for several hours before baking.
Add a little extra baking time if the cakes are going directly from the refrigerator into the oven.
9. What can replace Biscoff cookie butter?
Smooth speculoos-style cookie butter can be used.
For a different flavor, creamy peanut butter or almond butter can also work, although the characteristic spiced cookie flavor will be different.
10. Is Biscoff Lava Cake halal-friendly?
The recipe itself uses no alcohol or alcoholic ingredients.
For a halal-friendly result, check the ingredient labels of chocolate, biscuits, vanilla extract, and other packaged ingredients, as formulations can vary by product and market.
Conclusion
Warm chocolate cake and creamy cookie butter make an irresistible combination, especially when the center stays soft and molten.
This recipe keeps the process simple while creating a dessert that looks elegant enough for guests. The rich chocolate exterior, sweet Biscoff filling, and crunchy biscuit topping offer several textures in every bite.
Serve the cakes fresh from the oven with cold vanilla ice cream for the best contrast.
Once the basic method is mastered, the filling can be customized with peanut butter, white chocolate, fresh berries, or extra biscuit crumbs.
For an easy dessert that feels luxurious without complicated preparation, Biscoff Lava Cake is a delicious choice. Serve it warm, break into that gooey center, and enjoy it straight away.